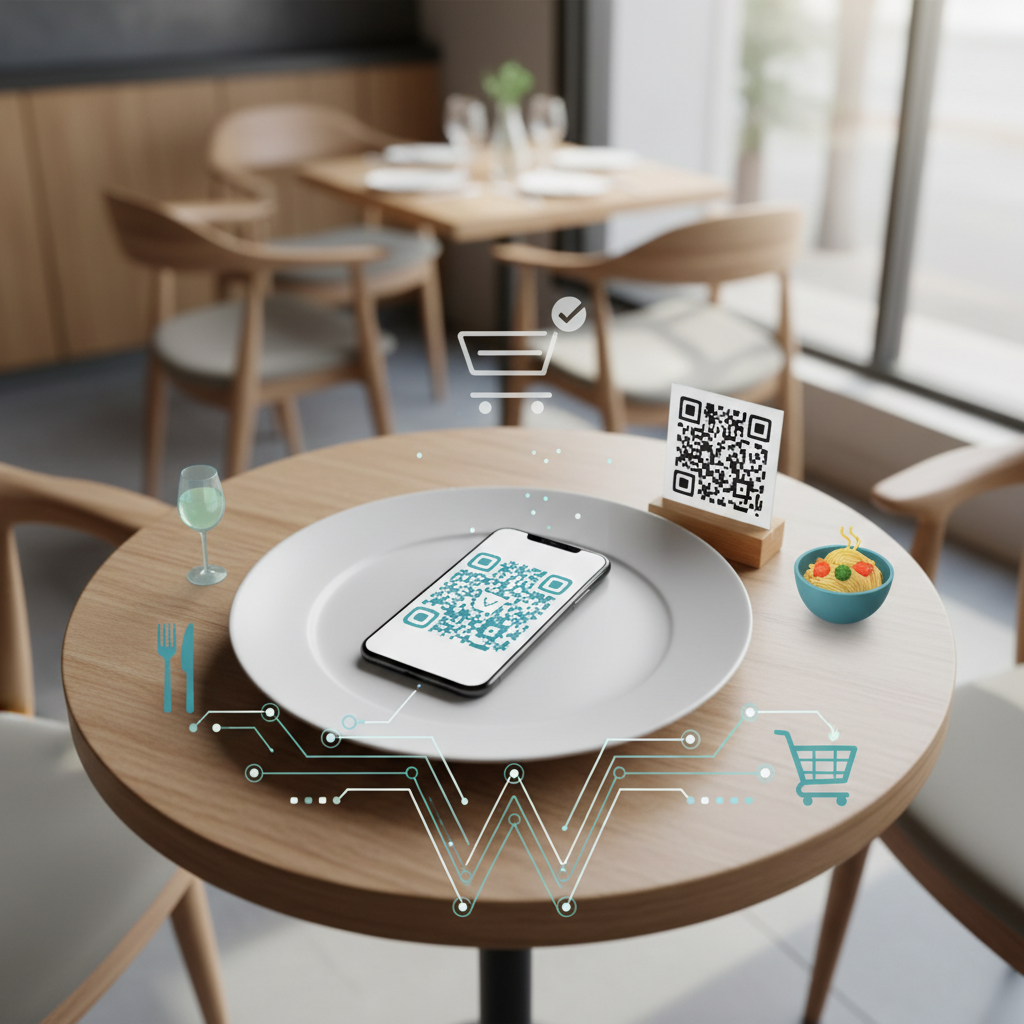
A guest scans the code at Table 12, orders a burger without onions, and pays on their phone. The kitchen receives the order with the right modifiers and table number. Nobody has to wave down a server—or guess where the burger belongs.
That’s the goal. But putting a QR code on a table doesn’t create that workflow by itself. For a reliable WooCommerce setup in 2026, the menu, checkout, payment gateway, and kitchen system all need to agree on what the order is and where it’s going.
How QR Code Ordering Works—and What You Need Before Setup
A basic QR menu is just a shortcut. Scan it, and your phone opens a PDF or web page. Guests can browse, but a staff member still takes the order and handles payment.
Table ordering goes further. The QR code opens an ordering page that establishes a table context. Guests choose dishes, configure options, and submit an order through WooCommerce. Depending on the supported workflow, they pay online or choose an approved in-person payment method. The restaurant receives an actionable order, not simply a menu visit.
Table identification is the critical connection. WooCommerce manages products, carts, checkout, and orders, but its standard setup doesn’t provide a complete restaurant table-ordering workflow. You need an extension that explicitly supports dine-in ordering and carries table information into the order.
Before starting, have these essentials ready:
- A mobile-friendly WordPress site with WooCommerce installed and tested.
- HTTPS across the entire site, including menu and checkout pages.
- A payment gateway suitable for your location, currency, and intended payment methods.
- A restaurant ordering extension with documented dine-in and table-identification support.
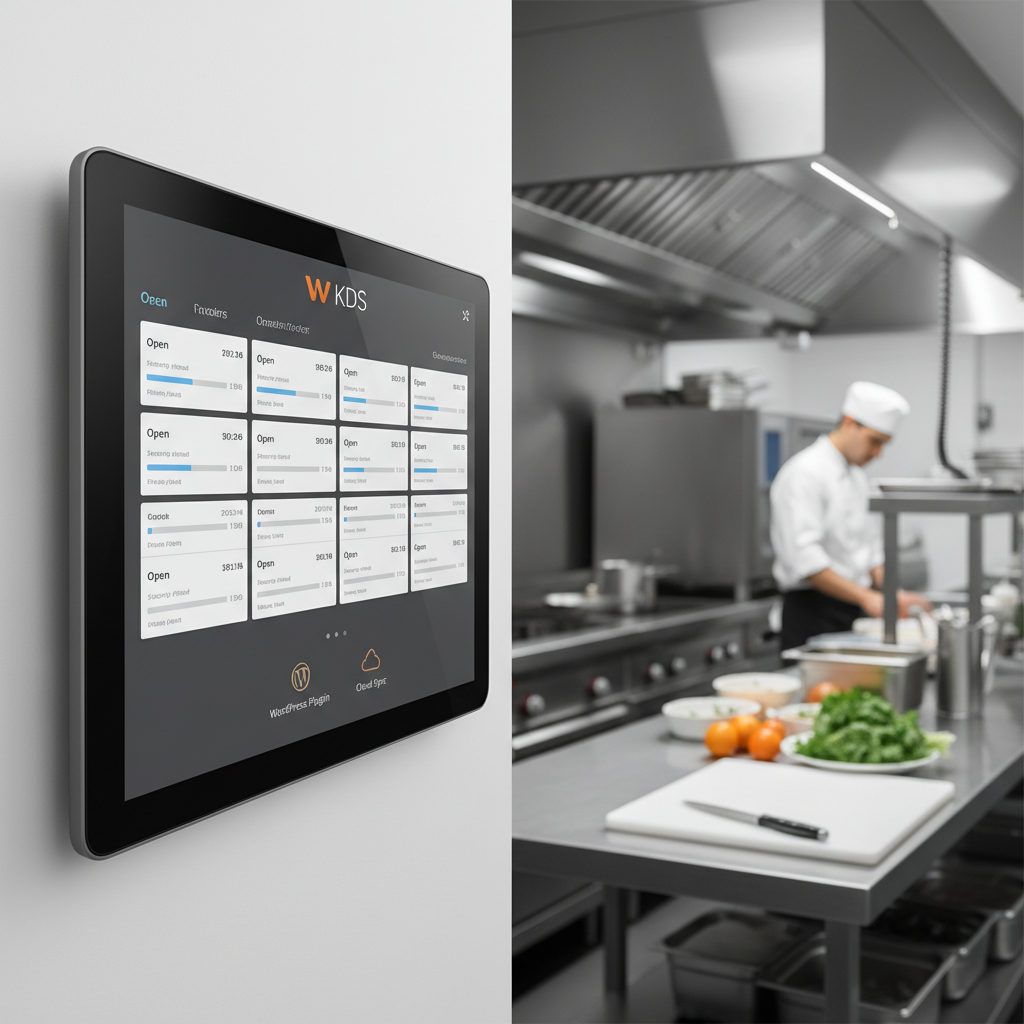
- A defined way for staff to receive orders: an attended order screen, kitchen display, or compatible printer.
Decide who owns the process when something goes wrong, too. If the kitchen printer disconnects, does someone monitor a screen? If payment succeeds but the guest closes their browser, can staff still find the order? Those operational decisions matter as much as the plugin settings.
Choose a WooCommerce QR Ordering Plugin That Fits Your Restaurant
Start with the ordering workflow rather than the prettiest menu demo. A menu can look excellent on a phone and still lose the table number at checkout. That’s a very attractive problem you don’t want.
For a WooCommerce-based restaurant, FoodMaster is the natural starting point. Its restaurant ordering plugin with QR table ordering brings delivery, pickup, dine-in, POS, kitchen display, and automatic printing into the same product offering. Its zero-commission ordering model avoids a plugin commission on orders; payment-processing fees and other operating costs still apply.
Before committing, confirm the current version’s requirements and the exact workflow your restaurant needs. A feature label such as “printing” doesn’t establish compatibility with every printer or connection method.
- Table context: Does each table have a supported link, and does its identifier reach the order record and kitchen output?
- Guest checkout: Can customers order without creating an account?
- Modifiers: Can you enforce required choices, selection limits, and any extra charges?
- Availability: Can staff disable dishes quickly, and are unavailable selections checked before submission?
- Payment methods: Are online payment and any intended pay-at-counter process supported?
- Checkout compatibility: Does the extension support your actual checkout—WooCommerce Checkout blocks or the classic shortcode-based checkout?
Ask to see a complete test order rather than isolated screenshots. Follow a modified dish from the menu to the kitchen display or printed ticket. Check table labels, quantities, notes, modifier prices, and whether routing can distinguish kitchen items from bar items if you need separate preparation stations.
For printing, verify hardware models, required software or bridge devices, connection requirements, and recovery after a disconnection. For a kitchen display, check how new orders become visible and how staff acknowledge them.
Shared tabs, split bills, and paying after eating deserve separate questions. Multiple guests scanning the same table code doesn’t automatically give them a shared cart or combined bill. These workflows require explicit extension or POS support; they aren’t standard WooCommerce behavior.
Set Up Your Dine-In Menu and Table-Specific Ordering Links
Build a menu that works on a small screen
Work on a staging site first, using test payments. Create categories that match how guests order: starters, burgers, pizzas, sides, drinks, and desserts. Keep names familiar. “From the Garden” might sound charming, but “Salads” is easier to find when someone is hungry.
Build products and options using your extension’s supported product types and modifier controls. For a burger, that might mean one required patty choice, optional paid cheese, and a “no onions” option. Mark required selections clearly and enforce them during order validation—not just visually.
Use structured choices for decisions the kitchen must interpret consistently. Free-text notes are useful for extra requests, but they shouldn’t replace required cooking or size selections. Display allergen information clearly and provide a way to ask staff about allergies; a modifier selection isn’t a guarantee against cross-contact.
Configure availability next. Staff need a quick procedure for marking an item sold out, plus a rule for handling items already in carts. Dish-level stock doesn’t necessarily track shared ingredients, so ingredient inventory requires separately verified support.
Enable dine-in and create table identifiers
In the restaurant extension’s supported settings, enable dine-in ordering and create or assign table identifiers. The exact screens vary by version, so follow the current documentation rather than adding invented URL parameters.
Use unambiguous labels: “Main Room — Table 12” is safer than “12” if your terrace also has a Table 12. Generate or copy each table’s supported ordering link, then configure how dine-in differs from pickup and delivery. Check opening hours, menu availability, and any applicable charges or tax treatment.
A table number in a URL alone proves very little. A link can display “Table 12” while WooCommerce creates an order without that information. The extension must recognize the identifier, retain the correct context through checkout, and save it with the order.
Trace one order all the way through
Use this example as your first acceptance test: a guest scans Table 12’s code and orders one cheeseburger, selects the required patty, removes onions, and adds sparkling water.
Confirm that the ordering page visibly identifies Table 12. Add the items, open the cart, and proceed to checkout. Check that the table context survives each step, including any supported off-site payment redirect.
After submission, inspect the WooCommerce order record. It should retain the dine-in fulfillment type, Table 12 identifier, quantities, modifiers, and payment information. Finally, inspect the actual kitchen output: “Table 12” and “no onions” must be readable where staff prepare the food—not merely buried in an admin screen.
[IMAGE: Mobile ordering page labeled Main Room — Table 12 beside its WooCommerce order record and kitchen ticket, showing the same cheeseburger modifiers and table identifier]
Configure Payments and Send Orders to the Kitchen
Keep checkout short without breaking other order types
In WooCommerce’s Accounts & Privacy settings, enable ordering without an account if your workflow allows it. Then test while logged out. An administrator’s browser can hide account-related friction that a first-time guest will encounter.
Dine-in customers generally don’t need delivery address fields. Remove or conditionally hide unnecessary fields using controls compatible with your restaurant extension and checkout type. Don’t globally strip address fields from a site that also delivers food.
Some billing details may still be required by your gateway, fraud checks, or tax configuration. Test those requirements before shortening checkout. Collect only the customer information you actually need, and explain its use in your privacy notice.
Choose when an order becomes kitchen-ready
For online payment, the usual goal is to release an order once the gateway confirms successful payment. WooCommerce commonly puts paid orders for physical goods into Processing, but gateways and extensions can use different transitions. Test the actual combination rather than routing every newly created order straight to the kitchen.
A supported pay-at-counter workflow needs a different rule. Decide whether staff start preparation before payment or hold the order until the cashier confirms payment. “Order received” and “payment received” are not interchangeable.
Pending payment, On hold, Failed, and Cancelled orders shouldn’t all trigger the same kitchen action. Write down which state releases food preparation, which state requires review, and what staff should do when a payment notification arrives late.
The kitchen ticket should show the order number, table label, submission time, item quantities, modifiers, and relevant preparation notes. Display payment status where useful, but don’t expose unnecessary customer or billing information on a kitchen screen.
Define failure and duplicate-handling rules
Check that refreshing a confirmation page or receiving a repeated gateway notification doesn’t create another preparation ticket. Ask how the integration identifies an already-routed order and whether an intentional reprint is clearly marked.
Two separate paid orders are trickier. A guest may tap again because the first attempt appeared stuck. Give staff a procedure to compare order numbers, timestamps, items, and payment records before cancelling or refunding anything. Similar orders from one table may be perfectly legitimate.
If you want optional gratuities, checkout tipping for WooCommerce can add preset or custom tip amounts. Verify compatibility with your checkout configuration, keep the choice transparent, and check how tips appear in reporting.
Create, Print, and Place Your Restaurant’s QR Codes
Once the workflow works, generate one QR code for each supported table URL. Prefer stable links on your restaurant’s own domain where possible. If you use a redirect, make sure it preserves the table information the extension expects.
Keep a simple register matching physical tables, destination links, and printed codes. When furniture moves or table numbers change, update that register before staff put the wrong stand back out.
Print a high-contrast code with a clear blank margin around it. Avoid stretching the image, putting artwork over its central pattern, or placing it against a busy background. Glossy finishes can introduce glare, so test the finished material—not just the image on your laptop.
As a starting point, try a code around 4 cm wide on a tabletop stand, then adjust after real scanning tests. There’s no universal size that guarantees success: code density, camera quality, distance, lighting, and print quality all matter.
Test multiple phones under daytime and evening lighting, both seated and standing. Include a visible table label and a readable fallback address. If that address opens a general menu rather than preserving table context, explain how guests should identify their table through the supported workflow.
Accessibility continues after the scan. Use readable text, adequate contrast, labeled form controls, keyboard-operable options, and errors that explain how to fix a selection. Don’t rely on color alone to communicate sold-out items or required choices.
Provide a staff-assisted ordering alternative for guests without a suitable phone, internet connection, or ability to use the online interface. And make tamper checks part of opening duties: staff should inspect stands for replacement stickers and verify suspicious codes before customers scan them.
[IMAGE: Restaurant table stand with a high-contrast QR code, visible Table 12 label, readable fallback ordering address, and a short message offering staff-assisted ordering]
Test the Full Table-Ordering Journey Before Launch
A successful test from your own phone isn’t a launch plan. Run a small service rehearsal with different devices, separate browser sessions, someone acting as cashier, and someone watching the kitchen output.
Use test-mode payments for most checks, then carry out an authorized live transaction to verify production behavior. Confirm receipt and follow your gateway’s refund procedure if needed; processing costs may apply.
- Two tables at once: Submit distinct orders from Tables 12 and 14. Confirm that each order and ticket retains the correct table.
- Switching tables: Build a cart at Table 12, then scan Table 14. Verify the documented behavior and that guests can see which table will receive the order.
- Lost connectivity: Disconnect before submission and during the payment return. Check that recovery doesn’t encourage an accidental duplicate.
- Sold-out items: Disable a dish after a guest adds it. Confirm checkout revalidates availability and gives a useful message.
- Payment failure: Test a declined payment and cancellation. Neither should silently become a paid kitchen order.
- Repeated taps: Tap submit twice, reload confirmation, and retry after a delay. Inspect both payment and order records.
- Kitchen receipt: Confirm the order is noticed, readable, acknowledged, and prepared once. Test printer or display disconnection and recovery.
Keep caching away from customer-specific state
Exclude WooCommerce cart, checkout, and customer account pages from full-page caching. Confirm that your host, caching plugin, and CDN respect WooCommerce sessions and don’t cache customer-specific responses or interfere with cart operations.
Table context adds another risk. A cache that ignores query parameters or serves personalized menu output across sessions could display the wrong table. Follow the extension’s caching guidance and test table links in fresh browsers. Don’t assume a fast page is a correct page.
Treat table links as identifiers, not proof of presence
A printed QR code can be photographed and its link shared. HTTPS protects the connection; it doesn’t prove that the person ordering is sitting in your restaurant. Static table links alone therefore cannot prevent remote orders.
For unpaid orders especially, consider an explicitly supported staff-confirmation process or time-limited table session activated when guests are seated. Confirm how session expiry and table turnover work. A session feature only helps if its validation actually restricts ordering—not simply remembers the table number.
Launch with a few tables before covering the whole room. Track scan-to-order conversion using table-link landing visits as a clearly labeled proxy for scans, elapsed ordering time, and table-routing errors. Separate online-paid and pay-at-counter results, and configure analytics in line with your privacy obligations.
The real success measure is straightforward: guests know their order went through, staff know whether it’s paid, and the kitchen knows where it belongs. Get those three things right before adding more features.
Commission-free ordering
Run restaurant orders on your own WordPress site
FoodMaster adds delivery, pickup, dine-in, POS, and kitchen tools — with zero per-order fees.