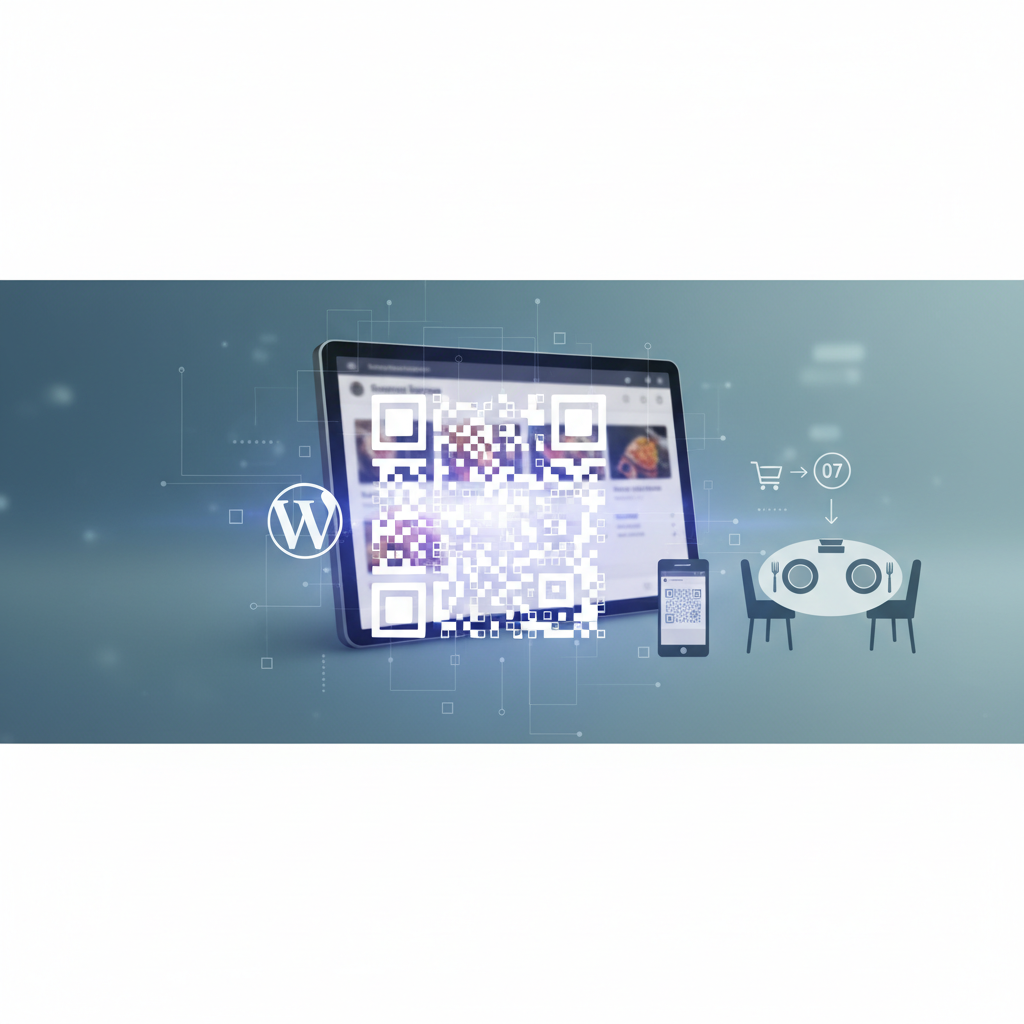
A QR code on a restaurant table can open a readable menu—or take a customer all the way from “extra cheese, please” to a paid order in the kitchen. Those are very different setups, even though the printed square looks much the same.
The sensible approach is to build the menu first, give it a permanent address, and add ordering only when your checkout and kitchen workflow are ready. Here’s how to put those pieces together in WordPress without turning dinner service into a software test.
Choose Your Setup: A View-Only QR Menu or Table Ordering
A QR code stores information. For a restaurant menu, that information is usually a web address that the customer’s phone opens in a browser. The code itself doesn’t manage dishes, recognize tables, or process payments; the website behind it does.
Option 1: A view-only menu
This is a normal WordPress page containing your food and drinks. Customers scan, browse, and order through a member of staff.
You need a domain, WordPress hosting, HTTPS, and a mobile-friendly theme. If your restaurant already has those, you can often add a menu using the built-in block editor without buying another plugin. Likewise, generating a static QR code doesn’t inherently require a subscription.
I’d start here if the immediate problem is outdated printed menus. It’s a useful improvement on its own, not a half-finished ordering system.
Option 2: A menu with table ordering
Ordering adds a cart, checkout, order records, and a way to identify the diner’s table. WooCommerce supplies the ecommerce foundation; a compatible restaurant plugin supplies the dine-in workflow.
Budget for suitable hosting, any restaurant plugin license, and payment processing if you accept online payments. Kitchen printers, display devices, and integration services may introduce separate costs. WooCommerce’s core software is free, but running an ordering service isn’t necessarily cost-free.
For this setup, FoodMaster is our go-to WooCommerce restaurant ordering plugin with QR table ordering. It includes dine-in ordering, POS, kitchen display, and automatic printing capabilities. Its zero-commission ordering model doesn’t eliminate hosting or payment processor fees, so keep those separate in your budget.
Build a Mobile-Friendly Restaurant Menu in WordPress
Create a dedicated page under Pages → Add New and give it a short, durable slug such as “menu.” Use a theme layout that leaves enough room for food descriptions without oversized banners pushing everything below the first screen.
A customer standing beside a table shouldn’t need to dismiss a newsletter popup before finding the drinks.
Organize around how customers choose
Start with recognizable categories: Starters, Pizza, Burgers, Sides, Drinks. On longer menus, add category links near the top that jump to the corresponding headings. Keep heading levels logical rather than choosing them just for their visual size.
Each dish needs a name, useful description, and clear price. For example: “Roasted vegetable pizza — tomato, mozzarella, courgette, and peppers — £13.50.” If different sizes have different prices, make that apparent before the customer starts ordering.
Use readable text, sufficient color contrast, and controls that are comfortable to tap. Don’t rely on color alone to distinguish vegetarian dishes, selected options, or sold-out items. Check the page with enlarged text, too: prices shouldn’t disappear off-screen when someone increases their browser’s font size.
Make dietary information genuinely useful
Define labels such as vegetarian and vegan, and keep allergen information specific to each dish. A general “ask about allergies” message isn’t a substitute for accurate information or whatever disclosure rules apply locally.
Distinguish ingredients from cross-contact risks, and explain how diners can speak with staff. If substitutions change allergen information, your team needs a process for updating the menu—not just an editable website.
Choose blocks or a structured menu plugin
WordPress blocks work well for a short, view-only menu. Headings, paragraphs, and image blocks are enough to make something readable and maintainable. Prefer accessible HTML to an image-only or PDF-only menu; PDFs can remain an optional download.
A restaurant menu plugin becomes more useful when staff regularly update availability, maintain many categories, or connect dishes to ordering. Check that its output supports keyboard navigation and readable text; installing a plugin doesn’t automatically make a menu accessible.
For ordering, connect each purchasable dish to a WooCommerce product through the ordering plugin’s supported workflow. Keep prices and availability in that product data rather than maintaining a second, manually typed ordering menu. Configure required choices in the product setup, then check they appear correctly in the mobile interface.
Use compressed, appropriately sized food photos rather than camera originals. Give meaningful images useful alternative text, and leave decorative images with empty alternative text. A few good photos usually serve diners better than a slow-loading gallery of every side sauce.
Generate a QR Code That Keeps Working When Your Menu Changes
Keep the menu address stable; change the content behind it. A printed code pointing to your permanent menu page can keep working while you change prices, remove dishes, or replace photographs.
Publish the page first and confirm that its HTTPS address opens without a login. Use an address on a domain your restaurant controls, and check that both the domain and HTTPS certificate will be renewed reliably.
Static versus provider-managed dynamic codes
A static QR code directly encodes your chosen address. You can’t edit that encoded address after printing, but you can edit the page it opens. That’s usually all a view-only menu needs.
A provider-managed dynamic code typically encodes a redirect address. The provider forwards visitors to a destination you can change in its dashboard. That can be convenient, but introduces another dependency: the redirect service must remain available, and continued functionality may depend on its terms or subscription.
“Static” doesn’t mean your dishes are frozen forever. Conversely, “dynamic” doesn’t automatically mean better. For a permanent menu address, a direct static code keeps the chain short.
Create and test the print file
- Copy the published HTTPS menu address and check it in a private browser window.
- Generate a QR code that encodes that address directly. Confirm you’re not unintentionally creating a trial-based redirect.
- Download a vector file such as SVG, or a high-resolution PNG suitable for the intended print size.
- Place it on the table-card artwork with instructions and a readable menu address underneath.
Use strong contrast—dark modules on a light background—and preserve the QR code’s clear surrounding margin. A standard QR code needs a quiet zone at least four modules wide on every side. Keep logos and decorative elements outside the code.
Print an actual-size sample before ordering the full batch. A code around 3–4 cm wide can be a reasonable starting point for close-range table scanning, but address length, printing quality, lighting, and viewing distance affect readability. Test several phones under restaurant lighting, including through any protective holder; glossy reflections can spoil otherwise good artwork.
[IMAGE: Printed restaurant menu QR table card showing a high-contrast code, clear surrounding margin, readable fallback menu address, and a phone displaying the mobile menu]
Add Table Identification and WooCommerce Ordering
View-only QR codes can all open the same page. Table ordering needs something more: a reliable connection between the scan and the table where the food belongs.
Before installing an ordering plugin, confirm that it explicitly supports dine-in orders, table-specific links or codes, and your WooCommerce checkout type. Compatibility with WooCommerce doesn’t necessarily mean compatibility with both the Checkout block and the classic shortcode checkout.
FoodMaster’s dine-in and QR table ordering system makes it a natural fit here. Check its current requirements against your theme, checkout configuration, payment methods, and intended kitchen hardware before committing to the live setup.
Generate a separate code for each table
Create your table records or identifiers using the plugin’s documented process. Use unambiguous labels such as “Dining Room 12” and “Terrace 12” if numbers repeat across areas.
Next, obtain each table’s ordering link and generate its QR code. Print the table label on the card as well. That gives staff and customers a simple way to spot a card that has wandered across the room.
Don’t invent a URL parameter and assume the job is done. Adding “?table=12” to an address only sends a value to the website. Without software to validate it, preserve it, display it, and save it to the order, it’s just extra text.
Follow the identifier all the way through
On scanning, the ordering system should recognize a valid table and establish the appropriate ordering context. The menu or cart should visibly say something like “Ordering for Dining Room 12,” with a clear way to get help if that’s wrong.
The table context must survive adding products, changing quantities, and moving into checkout. Test a payment method that redirects away from the site, too. The finished order needs a saved table identifier—not merely a value that existed in the customer’s browser.
Finally, check that staff can see the same table in the order dashboard and kitchen output. A successful payment with no table attached is an operational problem, even if the checkout technically worked.
Watch for stale sessions and shared caching
A returning customer’s browser may still have a cart or table context from an earlier visit. Test what happens when that person scans a different table’s code. The system should make any conflict obvious rather than silently choosing a destination.
Follow the plugin’s cache guidance so personalized table information isn’t served to another customer. Have a developer check server-side table validation if anything is unclear. And remember: a table QR code can be photographed and shared, so scanning one is not proof of physical presence.
Connect Payments and Send Orders to the Kitchen
The payment decision comes before printer configuration. Decide exactly when an order becomes authorized for preparation, then make the software reflect that policy.
Pay now or pay at the table
With pay-now ordering, customers complete online payment before the kitchen receives an actionable ticket. This can simplify collection, but failed payments, authentication steps, and delayed payment notifications need proper handling.
Use a supported gateway integration rather than collecting card details in custom fields. For the separate gateway configuration walkthrough, locate the existing guide through WPSlash’s Stripe tutorial search; the table-ordering checks here apply after that setup.
Pay-at-table ordering sends the request before money is collected. That may suit a staffed dining room, provided the plugin supports the workflow and the ticket clearly identifies the order as unpaid. Decide whether staff must accept it before preparation and who records settlement afterward.
Don’t assume separate orders from the same table automatically become one running bill. Table identification and tab management are different capabilities. If you need combined bills or split payments, verify that exact behavior with your POS and ordering setup.
Test the kitchen output, not just the order dashboard
A WooCommerce order can look perfect on screen while its printed ticket omits the preparation notes. Place a test order with two identical dishes, different selected options where supported, and a clearly recognizable note.
Check that the printer or kitchen display receives the order number, table identifier, item quantities, item-specific choices, and relevant preparation notes. Order-level comments and line-item options are often stored differently; both need deliberate verification.
FoodMaster includes kitchen display and automatic printing capabilities, which makes it a sensible starting point for this workflow. Still, confirm supported printer models, connection methods, and any required local software. “Automatic printing” isn’t a promise that every receipt printer will work with every network.
[IMAGE: Kitchen display beside a receipt printer showing a sample dine-in order with Dining Room 12, item quantities, preparation notes, order number, and payment state]
Prevent premature and duplicate preparation
For pay-now orders, release tickets only when the gateway confirms the payment state your policy requires. Don’t trigger cooking merely because an order record exists or the customer reaches a return page. An authorization is also not necessarily a captured payment.
For approved pay-later orders, use an explicit acceptance rule. Test duplicate payment notifications, checkout refreshes, printer reconnections, and manual reprints: the same order should not quietly become two meals.
Keep a fallback order screen available, assign someone to monitor it, and agree on what staff do when the printer or internet connection fails. Email notifications alone are a poor kitchen queue.
Test the Customer Journey and Launch Your Table QR Codes
Test with someone who didn’t build the site. Hand them a phone and ask them to order lunch without coaching. Any point where you feel tempted to explain the interface deserves attention.
Run gateway sandbox tests first, then make a controlled live purchase and refund where supported. A sandbox can validate much of the flow, but it won’t prove your live credentials and kitchen connections are correct.
Your pre-launch checklist
- Scanning: Try multiple phones, normal camera apps, dim lighting, and the final table-card holder.
- Readability: Check enlarged text, prices, long dish names, and mobile layouts without horizontal scrolling.
- Accessibility: Navigate with a keyboard; check visible focus, labeled controls, understandable errors, and a basic screen-reader journey.
- Table confirmation: Confirm the table on entry, in the cart or checkout, in the saved order, and in kitchen output.
- Availability: Make a dish unavailable after adding it to a cart, and confirm checkout handles the change clearly.
- Payments: Test success, decline, canceled authentication, and delayed confirmation without preparing unauthorized orders.
- Repeat actions: Double-tap submission, refresh, revisit checkout, and retry after a connection interruption.
- Kitchen receipt: Verify quantities, choices, notes, payment state, and recovery after disconnecting the printer.
Fix failures at their source
For wrong-table orders, first compare the printed label with the destination encoded in the QR code. Then inspect session handling, caching, and what happens when a diner scans a second table with an existing cart. Reprinting every card won’t fix a stale-session bug.
For broken destinations, check the domain, HTTPS certificate, page publication status, changed slugs, and any redirect service. If a menu address must change, preserve the old path with a suitable redirect and retest the printed codes.
Print a readable short menu address beneath each QR code, preferably on your own domain. Customers who use that general address will still need a supported way to identify their table—or staff assistance. Keep a printed menu and staff-assisted ordering available for people without a suitable phone or who simply need help.
Launch on a few tables before covering the whole restaurant. During opening checks, inspect cards for damage or stickers placed over the original codes, scan representative samples, and confirm current prices and availability. Repeat the full ordering test after significant plugin, checkout, or payment changes.
The QR code is the easy part. A dependable service comes from keeping the destination stable, the table unmistakable, and the kitchen informed—so customers can get back to choosing dessert.
Commission-free ordering
Run restaurant orders on your own WordPress site
FoodMaster adds delivery, pickup, dine-in, POS, and kitchen tools — with zero per-order fees.