On this page
- Why Third-Party Delivery Integrations Matter for WordPress Restaurants
- How Third-Party Delivery Integrations Actually Work
- Model 1: Manual (tablet-per-app)
- Model 2: Middleware / order aggregator apps
- Model 3: Direct WooCommerce plugins or custom API work
- Step-by-Step: Connecting Uber Eats, DoorDash, and Deliveroo to WooCommerce
- Step 1: Get merchant accounts in order
- Step 2: Choose a middleware
- Step 3: Install and configure the WooCommerce connector
- Step 4: Test with a live order
- Managing Menus, Pricing, and Stock Across All Channels
- Delivery pricing to offset commissions
- Real-time stock and 86 management
- Opening hours and prep times
- Photos and descriptions that convert
- Third-Party Aggregators vs. Self-Hosted Ordering on WooCommerce
- Via Uber Eats / DoorDash / Deliveroo
- Via your WooCommerce site (with FoodMaster)
Running a restaurant on WooCommerce gives you something the aggregators will never hand back: control. But ignoring Restaurant Website (2026)”>Restaurant Website to DoorDash, Uber Eats & Grubhub (2026)”>Uber Eats, DoorDash, and Deliveroo isn’t a strategy either — those apps are where hungry customers actually search at 7 PM on a Tuesday. The real question isn’t whether to use them, but how to plug them into your WooCommerce workflow so you’re not juggling four tablets, re-typing orders, or bleeding 30% off every ticket.
This guide walks through exactly that: the mechanics of connecting each platform, the middleware options worth considering, how to price for delivery without scaring customers off, and — most importantly — how to use aggregators for discovery while pushing repeat customers to your commission-free WooCommerce checkout.
Why Third-Party Delivery Integrations Matter for WordPress Restaurants
Food delivery aggregators are no longer optional exposure. Industry reporting from firms like Bloomberg Second Measure and Statista consistently shows Uber Eats, DoorDash, and Deliveroo dominating the online food delivery share across North America, the UK, and Europe. For a neighborhood pizzeria or a small chain, they act as a paid discovery layer — new customers find you there before they ever visit your website.
The cost of that visibility, however, is steep. Commissions typically run 15% to 30% per order, depending on the tier you sign up for (basic listing vs. priority placement vs. full delivery service). On a $25 ticket, that’s $3.75–$7.50 gone before you touch a single ingredient. Add packaging, card processing fees on your end, and driver tips that don’t flow to your kitchen, and the math gets uncomfortable fast.
Then there’s the operational tax. Without integration, staff manually re-key tablet orders into your POS or WooCommerce dashboard. That leads to:
- Missed orders during rushes when tablets get buried under receipts.
- Menu mismatches — a sold-out item still visible on DoorDash while updated on your site.
- Wrong pricing across channels when you forget to update three dashboards.
- Refund disputes because a modifier didn’t transfer correctly.
Syncing aggregators with WooCommerce solves all of that — and gives you a single source of truth for menu, stock, and reporting. By the end of this article you’ll know how the integrations work, which tools to use, and how to structure a channel mix that keeps margin on your side of the ledger.
How Third-Party Delivery Integrations Actually Work
Under the hood, every aggregator maintains its own merchant portal and its own order flow. When a customer taps “Place order” in the Uber Eats app, that order lives in Uber’s system first. Getting it into your kitchen involves one of three integration models.
Model 1: Manual (tablet-per-app)
The aggregator ships you a tablet. Orders ring in there, staff accept them, print a ticket, and physically walk it to the line. If you want it in WooCommerce for reporting, someone re-enters it. This is fine at very low volume, but breaks down above roughly 20–30 delivery orders per day.
Model 2: Middleware / order aggregator apps
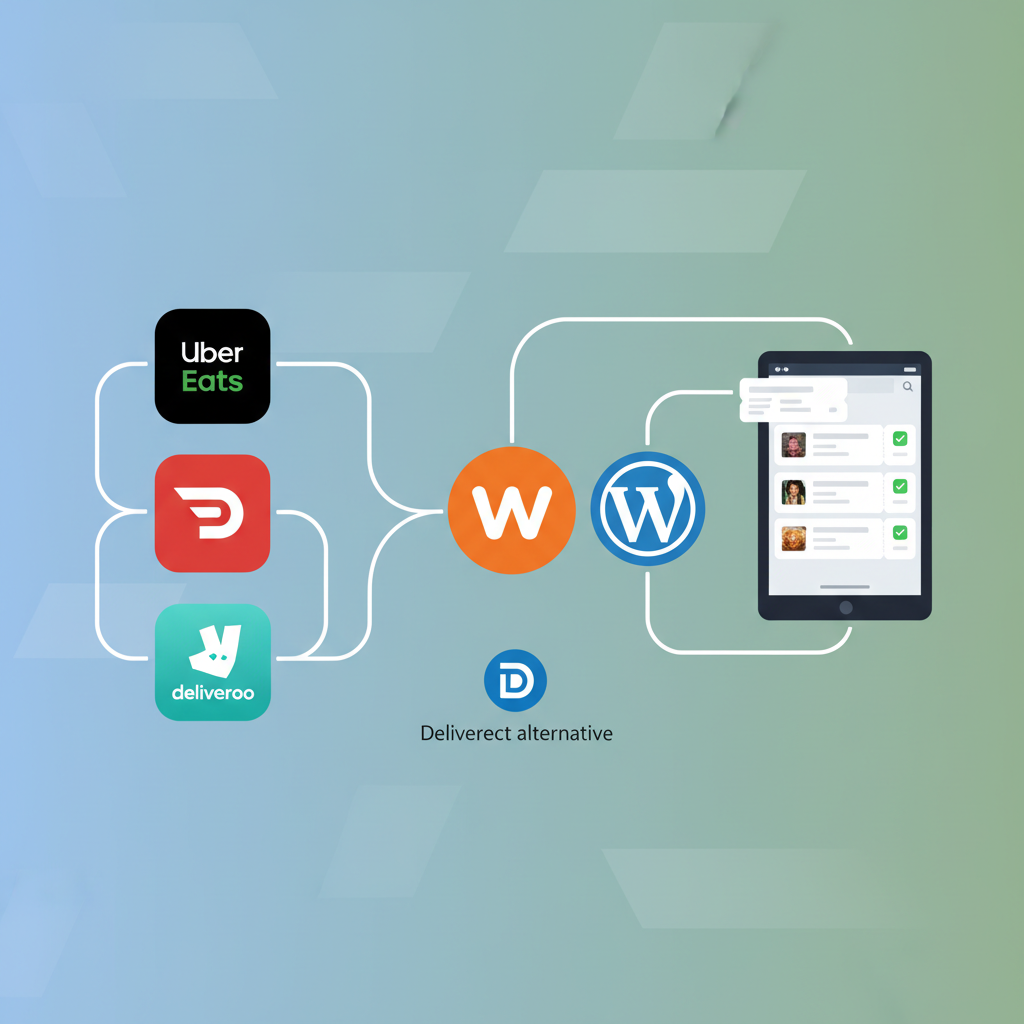
Services like Deliverect, Otter, Cuboh, and HubRise sit between the delivery platforms and your POS or WooCommerce site. They hold certified API connections to each marketplace, receive orders via webhook, normalize the data, and inject it into your system as a standard WooCommerce order. Menu updates flow the other way — you edit once in WooCommerce (or in the middleware dashboard), and the change pushes to Uber Eats, DoorDash, and Deliveroo simultaneously.
This is the standard model for restaurants doing serious volume across multiple channels. Middleware typically costs $50–$150 per location per month, which is trivial compared to the labor and error cost of manual entry.
Model 3: Direct WooCommerce plugins or custom API work
Some plugins connect one aggregator directly to WooCommerce. This can work for single-platform setups (e.g. only Uber Eats), but the aggregators heavily gate their APIs — you generally need to be an approved technology partner. In practice, most WooCommerce restaurants either go through middleware or use a hybrid: middleware for aggregators, and a native plugin like FoodMaster for direct online ordering on their own site.
The three technical pieces you’ll hear about constantly:
- Webhooks — instant notifications when a new order is placed. This is how orders arrive in near real-time instead of being polled every few minutes.
- Order injection — the process of writing that order into your POS/WooCommerce with the correct items, modifiers, taxes, and customer notes.
- Menu sync — pushing your master menu (with photos, prices, descriptions, and 86 status) out to each marketplace so you don’t maintain three copies by hand.
[IMAGE: diagram showing WooCommerce site connected via middleware to Uber Eats, DoorDash, and Deliveroo with arrows for orders and menu sync]
Step-by-Step: Connecting Uber Eats, DoorDash, and Deliveroo to WooCommerce
Here’s the practical sequence. The specifics of each dashboard change quarterly, but the flow is stable.
Step 1: Get merchant accounts in order
- Uber Eats — sign up at Uber Eats Manager. You’ll need your business license, tax ID, banking info, and menu photos. Approval typically takes 3–7 days.
- DoorDash — apply through the DoorDash Merchant portal. Choose between Marketplace (their drivers) and Storefront (your own site, their logistics). For this guide we’re focused on Marketplace.
- Deliveroo — apply via the Deliveroo Restaurant Hub. UK, EU, and select international markets only. Onboarding includes a photography visit in many cities.
Once each account is live, grab your store ID (sometimes called merchant ID or location ID) from each portal. You’ll need these to link the middleware.
Step 2: Choose a middleware
Quick decision guide:
- Deliverect — strong across Europe and North America, deep menu management, works with dozens of POS systems.
- Otter — popular in the US, includes a unified tablet if you want one, decent analytics.
- Cuboh — friendly for smaller US/Canadian operators, competitive pricing.
- HubRise — Europe-focused, developer-friendly, plays well with WooCommerce via its open API.
Request the WooCommerce connector during onboarding. Not every middleware ships a plug-and-play WooCommerce plugin; some require a small integration project via their REST API or through a partner like Zapier or Make for lightweight setups.
Step 3: Install and configure the WooCommerce connector
- Install the middleware’s WooCommerce plugin (or a compatible bridge plugin).
- Paste your middleware API key into WooCommerce settings.
- Authorize the connection — the middleware will fetch your WooCommerce product catalog.
- Map WooCommerce categories to aggregator menu sections. This is where you decide, for example, that WooCommerce category “Pizzas” appears as “Wood-Fired Pizza” on Uber Eats.
- Map modifiers (WooCommerce product add-ons or variations) to aggregator modifier groups. This is the fiddliest part — extra cheese, size choices, cooking temperature — but skipping it causes order errors later.
Step 4: Test with a live order
Never launch without a real-world test. Put yourself on the app, order a low-cost item with modifiers and a special instruction (“no onions, extra napkins”), and confirm:
- The order appears in WooCommerce within 30 seconds.
- Modifiers and notes come through intact.
- The kitchen printer or KDS prints the correct ticket.
- Taxes and totals reconcile with what the customer paid.
- Marking the order “ready” or “picked up” updates the aggregator’s status.
Do this test for each platform separately. Uber’s modifier structure isn’t identical to DoorDash’s, and edge cases usually surface here rather than at 8 PM on Friday.
Managing Menus, Pricing, and Stock Across All Channels
Once integrations are live, the discipline shifts to menu management. Treat WooCommerce as your single source of truth. Any change — new item, price bump, seasonal special, 86’d item — happens there first, then syncs outward.
Delivery pricing to offset commissions
Most successful multi-channel restaurants use two price tiers: dine-in / direct-order pricing and marketplace pricing. If Uber Eats charges you 25% commission, listing a $12 burger at $14.50 on the app protects your margin while your WooCommerce site still shows $12. Customers who compare will discover your website is cheaper — which is exactly what you want.
Rough rule of thumb: mark up marketplace menus by 15–20% to cover the average commission plus packaging. Test elasticity with a couple of items first; some categories (family meals, combos) tolerate the markup better than single-item snacks.
Real-time stock and 86 management
If you sell 40 portions of tiramisu and run out at 8:15 PM, you don’t want Uber Eats still selling it at 8:30. Middleware handles this: mark the item unavailable in WooCommerce (FoodMaster and similar plugins have a one-click “out of stock for today” toggle), and the middleware pushes 86 status to every connected marketplace within seconds.
Opening hours and prep times
Sync trading hours in one place. Also update prep time dynamically during rushes — most platforms let you extend from a default of 15 minutes up to 45 or 60. This reduces late deliveries and the negative reviews that follow.
Photos and descriptions that convert
Marketplace conversion is largely visual. Data published by Uber Eats has repeatedly shown that adding a photo to an item can meaningfully increase orders for that item. Practical rules:
- Shoot on a plain background, natural light, top-down or 45°.
- One dish per photo — no crowded plates.
- Descriptions under 140 characters, lead with the hero ingredient.
- Include dietary tags (V, VG, GF) — filters use them.
[IMAGE: side-by-side comparison of a poorly lit food photo versus a bright, professional overhead shot of the same dish]
Third-Party Aggregators vs. Self-Hosted Ordering on WooCommerce
Once integrations are humming, run the numbers on true cost per order. Here’s a realistic comparison for a $30 order:
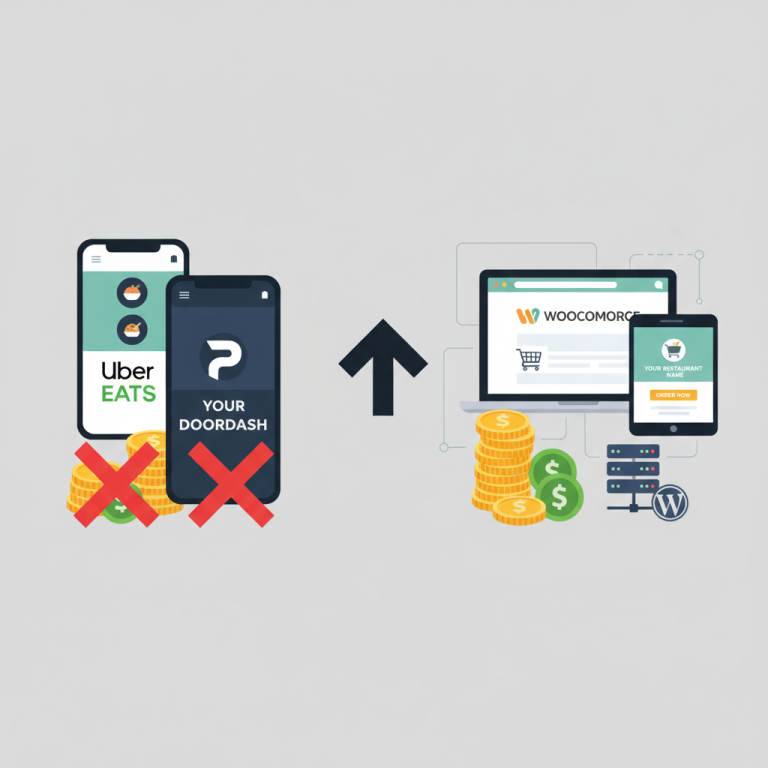
Via Uber Eats / DoorDash / Deliveroo
- Commission (25% average): –$7.50
- Marketplace pricing markup applied: +$5.00 (customer paid $35)
- Packaging: –$0.80
- Net to restaurant: roughly $26.70 on a $35 customer spend
- Customer data: you don’t own it
Via your WooCommerce site (with FoodMaster)
- Payment processing (Stripe/Square, ~2.9% + $0.30): –$1.17
- Packaging: –$0.80
- Your own driver or lightweight delivery service: variable, often $3–$5 or delivery fee passed to customer
- Net to restaurant: roughly $28 on a $30 customer spend
- Customer data: fully yours — email, phone, order history, address
The dollar difference per order looks modest, but the strategic difference is huge. On your own site you can run loyalty programs, email marketing, SMS win-back campaigns, and promote higher-margin items. On aggregators, you’re renting an audience — the moment you stop paying commission, that audience disappears.
The winning play is a hybrid strategy:
- Use aggregators for discovery — new customers, off-peak fill-in orders, tourist areas.
- Convert those customers to your WooCommerce site for repeat business.
- Reward direct ordering with better pricing, faster delivery, or loyalty points.
This is where a purpose-built plugin like FoodMaster’s restaurant ordering system earns its place. It handles delivery zones by postcode or radius, pickup time slots, dine-in QR ordering, kitchen display, autom
Commission-free ordering
Run restaurant orders on your own WordPress site
FoodMaster adds delivery, pickup, dine-in, POS, and kitchen tools — with zero per-order fees.