
On this page
- Why Mobile Wallets Matter for Restaurant Ordering
- Payment Gateways That Support Apple Pay and Google Pay on WooCommerce
- Stripe
- Square
- PayPal
- Mollie
- Adyen
- Step-by-Step: Setting Up Apple Pay on Your WooCommerce Restaurant Site
- 1. Install the Stripe plugin
- 2. Connect your Stripe account
- 3. Enable the Payment Request Button
- 4. Verify your domain with Apple
- 5. Test on a real iPhone
- Step-by-Step: Enabling Google Pay for Faster Android Checkout
- Confirm the button renders correctly
- Position the button inside the FoodMaster flow
- Mobile testing checklist
- Optimizing the Checkout Experience for One-Tap Ordering
- Put the Express Checkout button above the fold
- Strip the checkout to essentials
- Enable guest checkout
- Save addresses for repeat customers
- Handle tips, delivery fees, and scheduled orders correctly
Watch someone order dinner on their phone. They tap a burger, add fries, hit checkout — and then hesitate. If your form asks for a card number, expiry, CVV, billing address, and phone number, you’ve already lost about a third of them. Hungry people are impatient people, and typing a 16-digit card number with one thumb while balancing a toddler on the other hip is exactly the kind of friction that kills orders.
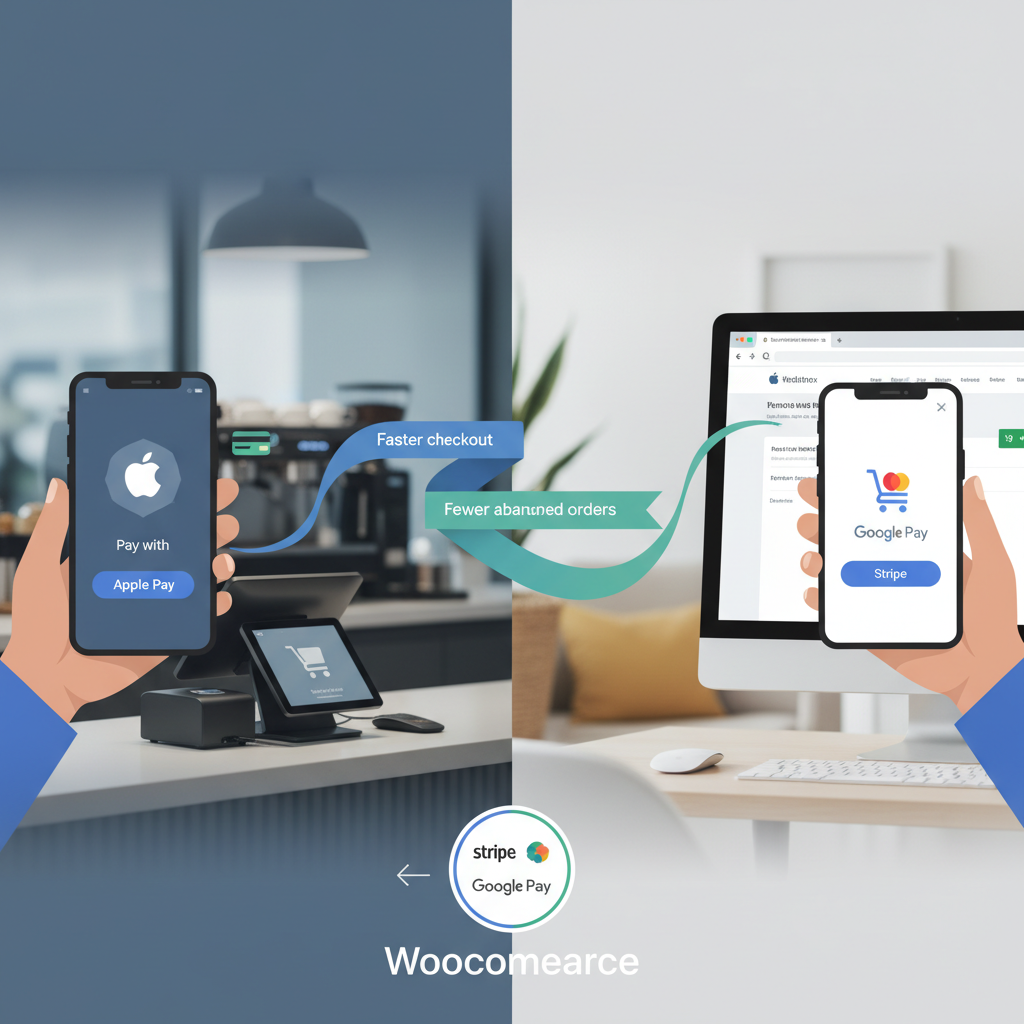
Apple Pay and Google Pay solve that problem in a single tap. If you run a WooCommerce restaurant site and you haven’t enabled mobile wallets yet, this guide walks you through exactly how to do it — the gateway choices, the setup steps, the domain verification traps, and the checkout tweaks that turn a “maybe later” into a confirmed order.
Why Mobile Wallets Matter for Restaurant Ordering
Food ordering has gone mobile-first, and it isn’t going back. Industry reports from the National Restaurant Association and Statista consistently show that more than 60% of digital food orders now originate on smartphones, and for delivery specifically, that figure climbs even higher. When you strip that down further, a growing share of those orders happen on iOS in Safari or on Android in Chrome — the two browsers where Apple Pay and Google Pay live natively.
The conversion impact is real. Stripe has publicly reported that merchants who enable the Payment Request Button (which surfaces Apple Pay and Google Pay) see checkout completion rates improve significantly on mobile, often in the range of 20–30% depending on the vertical. Restaurants tend to sit at the higher end of that range because the decision to order is impulsive: a diner who has to hunt for their wallet is a diner who might just decide to cook instead.
There are three concrete reasons wallets outperform traditional card entry:
- One-tap authentication using Face ID, Touch ID, or a fingerprint — no typing required.
- Pre-filled delivery address, which is huge for first-time customers who would otherwise abandon at the address form.
- Built-in trust: customers recognize the Apple Pay and Google Pay branding and don’t second-guess whether your site is legitimate.
For a restaurant averaging even 50 online orders a day, recovering a 15% chunk of abandoned mobile carts translates to real revenue — often several hundred dollars a week that was previously walking away at the payment step.
Payment Gateways That Support Apple Pay and Google Pay on WooCommerce
Not every gateway handles wallets equally well. Some support both natively through a single button, others require separate configuration, and a few restrict availability by country. Here’s how the major options compare for restaurant use.
Stripe
Stripe is the most popular choice for WooCommerce restaurants and for good reason. Its official plugin exposes the Payment Request Button, which automatically shows Apple Pay on Safari/iOS and Google Pay on Chrome/Android. Fees in the US are 2.9% + $0.30 per transaction, payouts land in about 2 business days, and it’s available in 40+ countries. It handles SCA (Strong Customer Authentication) automatically for European merchants.
Square
Square is a strong pick if you also run a brick-and-mortar location, because online and in-person sales sync into the same dashboard and inventory. Its WooCommerce plugin supports Apple Pay and Google Pay, though country availability is narrower (US, Canada, UK, Australia, Japan, Ireland, France, Spain). Fees are similar to Stripe.
PayPal
PayPal’s newer Advanced Checkout supports Apple Pay and Google Pay, but the setup is fiddlier and the wallet buttons aren’t always as prominent. Its main advantage is customer familiarity with the PayPal brand itself.
Mollie
Popular in Europe, Mollie supports Apple Pay natively and Google Pay through card processing. Excellent for restaurants in the Netherlands, Belgium, Germany, and France where local methods like iDEAL and Bancontact also matter.
Adyen
Enterprise-grade and best suited to multi-location chains processing significant volume. Lower per-Restaurant Website (2026)”>WooCommerce Restaurant Ordering System: Step-by-Step Configuration, Transaction Fees Comparison, and Optimizing Checkout for Faster Food Orders (Complete Guide)”>transaction fees at scale, but requires more technical setup and a minimum volume commitment.
Here’s a quick decision framework:
- Single-location restaurant, US/UK/AU: Stripe. Fastest to set up, cleanest wallet integration.
- Restaurant with a physical POS already: Square, for unified reporting.
- European restaurant: Mollie or Stripe, depending on whether you need iDEAL/Bancontact.
- Franchise or 5+ locations: Adyen for volume pricing, or Stripe Connect for multi-account routing.
All of these integrate cleanly with FoodMaster’s restaurant ordering system, which sits on top of WooCommerce and inherits whatever payment gateway you configure. That means you don’t need a specialized “restaurant payment plugin” — you use the standard WooCommerce gateway and FoodMaster handles the delivery, pickup, dine-in, and scheduling logic on top.
Step-by-Step: Setting Up Apple Pay on Your WooCommerce Restaurant Site
I’ll use Stripe as the example because it covers the widest audience, but the same principles apply to Square. Before you start, make sure your site has a valid SSL certificate (HTTPS everywhere — not just checkout) because Apple Pay refuses to load on non-secure domains.
1. Install the Stripe plugin
From your WooCommerce dashboard, go to Plugins → Add New and search for “Stripe Payment Gateway for WooCommerce” (the official one from Stripe). Install and activate it, then head to WooCommerce → Settings → Payments and click “Manage” next to Stripe.
2. Connect your Stripe account
Click “Connect with Stripe” and either sign in or create an account. You’ll go through business verification — for a restaurant, this means providing your EIN or tax ID, business address, and bank account for payouts. Verification typically completes within 1–2 business days.
3. Enable the Payment Request Button
Inside the Stripe settings, scroll to the “Payment Request Buttons” section and check “Enable Payment Request Buttons.” This single toggle activates both Apple Pay (on Safari) and Google Pay (on Chrome). Configure:
- Button type: “Buy” or “Order” — I recommend “Order” for restaurants.
- Button theme: dark or light, depending on your site design.
- Locations: enable on Product page, Cart, and Checkout. For restaurant menus, Cart is the most important.
4. Verify your domain with Apple
This is where most people get stuck. Apple requires you to prove you own the domain before it will render the Apple Pay button. Stripe automates this through their dashboard:
- Go to your Stripe Dashboard → Settings → Payment methods → Apple Pay.
- Click “Add new domain” and enter yourrestaurant.com.
- Stripe generates a verification file. You need to place it at
https://yourrestaurant.com/.well-known/apple-developer-merchantid-domain-association. - Some hosts (SiteGround, Kinsta, WP Engine) block dotfile directories by default. If verification fails, either add a rewrite rule in your
.htaccessor ask your host to whitelist the/.well-known/path.
Once Apple confirms the file, verification usually completes within a minute. If it doesn’t, the most common causes are: the file being served with the wrong Content-Type, a redirect from HTTP to HTTPS interfering, or a caching plugin serving a stale 404. Clear your cache and try again.
[IMAGE: Screenshot of Stripe dashboard showing the Apple Pay domain verification step with a verified green checkmark]
5. Test on a real iPhone
Simulators lie. You need a physical iPhone with a card added to Wallet, running Safari (not Chrome on iOS — that’s actually Safari under the hood but sometimes behaves oddly). Add an item to your cart, open the cart page, and you should see a black “Buy with Apple Pay” button above the standard checkout. Tap it, authenticate with Face ID, and confirm the order goes through in test mode.
If the button doesn’t appear, check: (1) domain is verified, (2) you’re in Safari on an Apple Pay-capable device, (3) you have at least one card in Wallet, (4) the cart total is above zero, and (5) your currency matches a supported Apple Pay currency.
Step-by-Step: Enabling Google Pay for Faster Android Checkout
Good news: if you enabled the Payment Request Button in Stripe, Google Pay is already live. The button dynamically renders as “Google Pay” when the user is on Chrome (desktop or Android) with a saved card in their Google account. No separate domain verification is needed.
That said, there are a few tweaks worth making specifically for the Android ordering experience.
Confirm the button renders correctly
On an Android phone in Chrome, navigate to your menu, add an item, and open the cart. You should see a “G Pay” button. If it doesn’t appear, the usual culprits are:
- Chrome doesn’t have a saved payment method (add one in Chrome settings → Payment methods).
- Your Stripe account is in a country where Google Pay isn’t supported for the customer’s card.
- A JavaScript error on the page is blocking the button from rendering — check the browser console.
Position the button inside the FoodMaster flow
FoodMaster uses a side cart drawer and a dedicated checkout page. The Payment Request Button integrates automatically at the top of the checkout, but you can also expose it in the mini-cart by enabling “Cart page” in the Stripe settings. For restaurants, I recommend showing it in both places — customers who know what they want can tap through in about 8 seconds from menu to confirmation.
Mobile testing checklist
- Test on Android Chrome, iOS Safari, and iOS Chrome.
- Test with delivery, pickup, and dine-in order types.
- Test with a scheduled order (tomorrow at 7pm) to confirm the wallet flow doesn’t skip the time picker.
- Test with a tip added — the tip amount should be included in the wallet confirmation sheet.
Optimizing the Checkout Experience for One-Tap Ordering
Enabling the buttons is step one. The bigger wins come from restructuring the checkout so wallet payments genuinely feel like one tap. Here’s what I recommend for restaurant sites.
Put the Express Checkout button above the fold
The Payment Request Button should be the first thing customers see when they open the cart — above the order summary, above the coupon field, above everything except maybe the delivery time picker. Every extra scroll is another chance to lose them.
Strip the checkout to essentials
WooCommerce checkouts default to a dozen fields nobody needs for a pizza order. Company name, second address line, country (if you only deliver locally) — remove them. Use a plugin like Checkout Field Editor or the built-in customization in FoodMaster to keep only: name, phone, delivery address, delivery instructions. Wallets pre-fill the address anyway, so this becomes near-invisible.
Enable guest checkout
Requiring account creation before a first order is the fastest way to kill conversions. In WooCommerce → Settings → Accounts & Privacy, enable “Allow customers to place orders without an account.” Wallet-paid orders can still be attached to an email for order confirmation and reordering later.
Save addresses for repeat customers
Apple Pay and Google Pay both pass the delivery address in the payment sheet, but you can go further by storing it against the customer email so future orders skip the address step entirely. FoodMaster does this automatically for logged-in customers and for guest emails it recognizes from prior orders.
Handle tips, delivery fees, and scheduled orders correctly
When a wallet payment is initiated, the amount shown to the customer must include the tip and delivery fee — otherwise you’ll get chargebacks or confused customers. Stripe’s Payment Request API supports “displayItems” so you can itemize the subtotal, delivery fee, tip, and tax inside the wallet sheet. If you’re using a tipping solution, make sure it fires before the wallet is opened. Our tipping for WooCommerce integration handles this ordering automatically, and you can read more about tip optimization in the related tutorials on this site.
[IMAGE: iPhone showing an Apple Pay confirmation sheet for a restaurant order with itemized subtotal, delivery fee, and tip]
For scheduled orders (customer wants pickup at 6:30pm tonight), the time selection must happen before the wallet button is tapped. Configure FoodMaster to require a time slot before enabling checkout — otherwise the wall
Commission-free ordering
Run restaurant orders on your own WordPress site
FoodMaster adds delivery, pickup, dine-in, POS, and kitchen tools — with zero per-order fees.