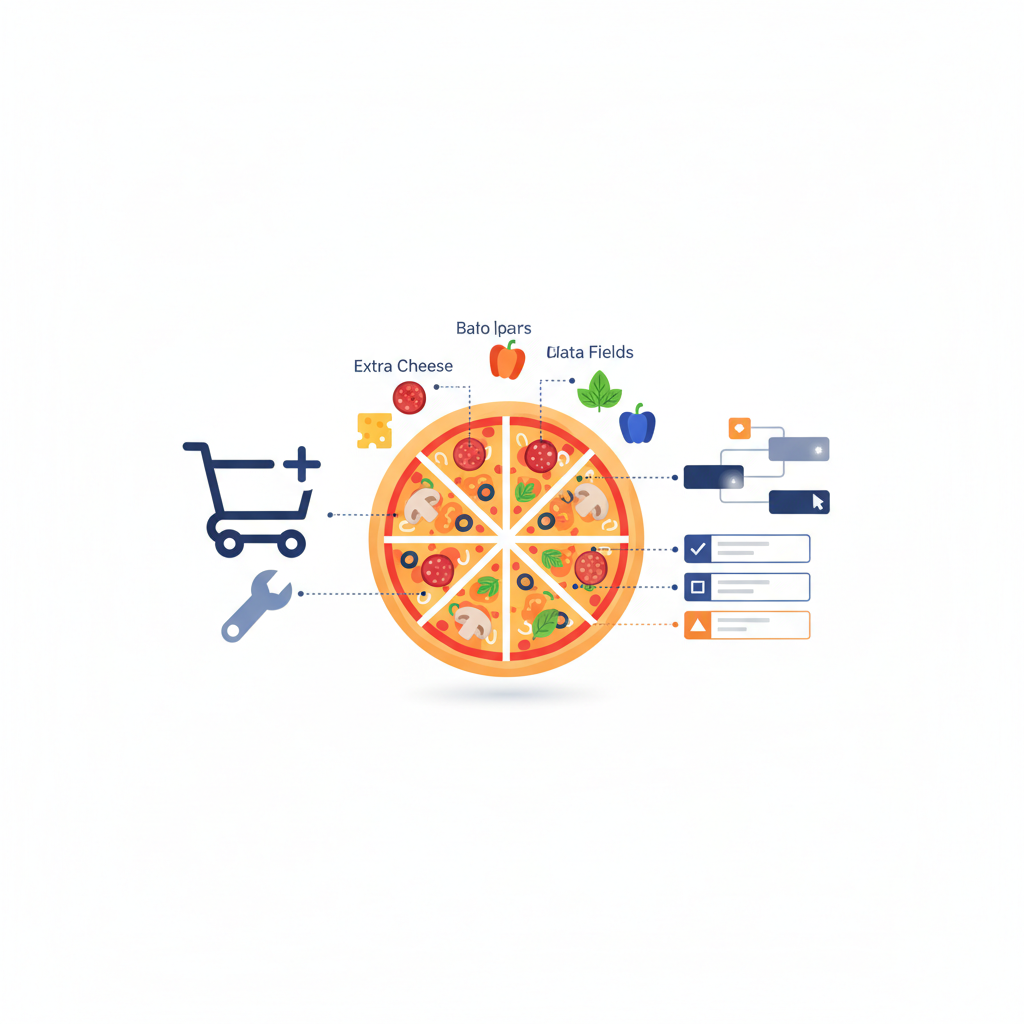

A fast WooCommerce store that occasionally loses a cart isn’t optimized. It’s broken—just with better-looking speed scores. The real goal is to make browsing feel quick while keeping prices, stock, delivery choices, and payments accurate for every customer.
That distinction matters during a restaurant’s dinner rush, when a stale menu or frozen topping selector costs more than a slightly slower banner. This 2026 guide follows a safer order: measure, change one thing, test the buying journey, and keep a clear route back.
Find Out What Is Slowing Down Your Store Before Installing Another Plugin
Start with a baseline, not another optimization plugin. Pick five representative pages: your homepage, menu or shop, a product, a populated cart, and checkout. Test logged-out browsing as well as an active shopping session, because these can take very different paths through your hosting stack.
Run the public pages through PageSpeed Insights using its mobile report. For carts and checkout, use your own browser: a public testing tool won’t automatically reproduce the basket, delivery address, and session you’re testing. Chrome’s device emulation helps, but a real phone on mobile data is a useful reality check.
Read the metrics without chasing a perfect score
Google’s Core Web Vitals describe three different problems. LCP, Largest Contentful Paint, measures when the largest visible content element appears. INP, Interaction to Next Paint, measures responsiveness to interactions. CLS, Cumulative Layout Shift, measures unexpected movement—such as a checkout button jumping when a banner loads.
The “good” thresholds are LCP of 2.5 seconds or less, INP of 200 milliseconds or less, and CLS of 0.1 or less, assessed at the 75th percentile of visits. PageSpeed’s lab score isn’t the same as passing these field metrics. Its lab results also don’t reproduce every real shopper’s interactions.
Open browser developer tools and select Network. Reload the page with browser caching disabled for a first-visit check, then repeat with caching enabled. Look at the main HTML request, image sizes, JavaScript files, and requests to outside domains.
A long wait for HTML suggests investigating server response time and cache status. Huge image transfers point toward media. If content appears quickly but tapping a product option feels sluggish, inspect JavaScript activity in the Performance panel. A slow third-party request matters most when it blocks rendering or interaction—not simply because it finishes last.
Finally, check hosting reports for CPU, memory, PHP worker saturation, and database pressure during busy periods. Record three to five runs per page, including cart update times. You need a repeatable picture, not one flattering screenshot.
Configure WooCommerce Caching Without Serving the Wrong Cart
Caching gets risky when “reuse this response” turns into “show one customer another customer’s state.” WooCommerce needs aggressive caching for suitable public content and deliberate exceptions for shopping sessions.
The four layers do different jobs:
- Page caching saves generated HTML, reducing repeated PHP and database work on eligible pages.
- Browser caching lets a visitor reuse files such as images, stylesheets, and JavaScript.
- CDN caching stores eligible responses closer to visitors. Static-file caching and HTML caching need different rules.
- Persistent object caching retains reusable application data between requests. It doesn’t turn a personalized checkout into a safely shareable page.
Set up one supported page-cache layer
For a beginner-friendly setup, use your host’s built-in WordPress page cache if the host confirms WooCommerce support. Don’t stack another full-page cache plugin on top just because a tutorial recommends one. Multiple layers make exclusions and purging harder to diagnose.
Back up the store and save the existing configuration. On staging, enable that single page-cache layer with its documented WooCommerce rules. Leave JavaScript delay and other unrelated optimizations off initially so you can identify what each change affects.
Verify exclusions for your actual cart, checkout, and account URLs, including translated slugs and checkout endpoints such as order payment and confirmation. Check session-specific areas too: saved addresses, personalized pricing, and customer-specific content cannot be treated like a public shop page.
Ask how the cache handles WooCommerce session cookies, including wp_woocommerce_session_, and cart-state cookies such as woocommerce_items_in_cart. Some integrations bypass page caching once a shopping session exists; others use carefully designed dynamic components. Neither approach should be assumed to work without testing.
Mutating requests must never receive a shared cached response. Confirm that POST requests, add-to-cart query strings, WooCommerce AJAX operations, and personalized Store API cart and checkout traffic bypass caching. Don’t apply a blanket CDN rule to every REST API response. Public product data and a customer’s current basket are not equivalent.
If your CDN caches HTML, repeat the exclusions there. Origin rules won’t protect shoppers if an upstream cache serves the wrong response before WordPress runs. Use your host’s documented cache headers or diagnostics to confirm public-page hits and personalized-page bypasses.
Then open two independent sessions, using separate browsers or normal and private windows. Add different products, apply a coupon in only one, and enter different delivery areas. Neither session should inherit the other’s cart, totals, or address.
Finally, change a product price and availability. Check that public pages refresh through the cache’s purge mechanism and that cart totals recalculate correctly. Fast but outdated pricing is not a successful result.
[IMAGE: Two separate mobile shopping sessions showing different WooCommerce carts beside cache diagnostics indicating a public shop page cache hit and checkout cache bypass]
Make Product and Menu Images Load Faster on Mobile
Food photography should make people hungry, not make their phones download your original camera files. A menu with dozens of oversized images can transfer far more data than its visible layout needs.
Inspect an image in developer tools and compare its displayed dimensions with the file being delivered. A photo displayed at 400 pixels wide might reasonably need an 800-pixel version for a high-density screen. It usually doesn’t need a 5,000-pixel original.
Resize source uploads to suit their largest genuine use, retaining originals elsewhere if needed. When changing WordPress image sizes, regenerate the relevant thumbnails and inspect existing pages. Merely changing a setting doesn’t guarantee that older images have suitable generated variants.
Compress for the photograph, not a universal number
Serve WebP or AVIF where your image-processing setup supports them, and verify that the resulting files are actually smaller. There’s no ideal quality setting for every dish. Fine toppings, steam, and dark backgrounds can show compression artifacts differently.
Compare images on a phone at their normal viewing size. If the pizza cheese becomes a blurry yellow blanket, you’ve gone too far. Aim for the smallest file that still sells the product honestly.
Check responsive delivery as well. WordPress commonly generates srcset attributes, but themes, page builders, and CSS background images can bypass or undermine responsive selection. Inspect the browser’s chosen image resource rather than assuming the presence of multiple image sizes solves everything.
Include width and height attributes, or reserve space with an appropriate aspect ratio, to reduce layout shifts. Lazy-load offscreen product images, but don’t lazy-load the main above-the-fold image if it’s your LCP element. That delays the content visitors are waiting to see.
My preference for ordering pages is one clear header image, then the menu. Sliders, autoplay video, and enormous galleries compete with the actual task. Category navigation, appropriately sized thumbnails, and pagination or well-tested progressive loading usually serve customers better than rendering hundreds of menu cards at once.
Reduce Plugin, Theme, and Script Overhead Safely
Plugin count is a poor performance diagnosis. A small plugin that adds text to an email may barely affect browsing; a single extension that queries external services on every checkout update can create a noticeable delay. Measure the work, not the icons in the dashboard.
Use staging to inspect request timings, slow database queries, and PHP errors with help from your host’s profiling tools. Establish a repeatable action—opening a product, choosing toppings, updating a cart—and change one component at a time.
Start with duplicate functionality. Two analytics integrations, overlapping pop-up tools, multiple image optimizers, and competing checkout customization plugins add complexity even when each works independently. Before removing anything, check its settings, shortcodes, stored data, and dependencies.
Simplify what customers actually load
Page-builder layouts can carry unnecessary nested containers, animations, icon libraries, and separate mobile sections that remain in the page even when hidden. Replace elaborate menu layouts with simpler structures on staging, then compare both loading and interaction times.
Load optional scripts where they earn their place. A map might belong on a location page rather than every checkout. Chat and marketing widgets should load according to page needs and consent requirements, without blocking ordering controls. Disabling them blindly can also break reporting or support workflows.
For restaurant stores, choose the ordering foundation before stripping out scripts. FoodMaster’s WooCommerce restaurant ordering system supports delivery, pickup, dine-in ordering, POS, kitchen display, QR table ordering, and automatic printing. Those workflows belong in your test plan; they aren’t disposable extras just because a performance report flags JavaScript.
Treat JavaScript delay as a compatibility change
Minification reduces file size; deferring or delaying scripts changes execution timing. They aren’t interchangeable. Combining files isn’t automatically beneficial either, especially on modern HTTP connections, and can make cache invalidation more awkward.
After each adjustment, test variable products, topping selectors, quantity controls, and add-to-cart feedback. Then test your actual checkout implementation—classic checkout or Checkout Blocks—and every supported payment widget. Watch the browser console for new errors.
Be particularly cautious with scripts that initialize express payment buttons, address validation, or checkout totals. Delaying them until the first interaction can make that first tap appear broken. Follow gateway compatibility guidance and exclude essential dependencies from delay when needed.
Don’t disable WooCommerce cart-fragment behavior globally without checking the theme’s mini-cart implementation. A faster page with a basket icon that never updates is another optimization you’ll end up undoing.
Prepare Your Hosting and Database for Busy Ordering Hours
A cached homepage can look excellent while checkout struggles. Public HTML may be served without much PHP work, but cart updates, delivery calculations, payment preparation, and order creation still need application and database capacity.
Consider a hypothetical pizzeria receiving a cluster of customers shortly before dinner. Shoppers customize pizzas, change addresses, and refresh delivery options while staff process orders. That workload bears little resemblance to repeatedly fetching an empty homepage.
Ask your host to correlate slow requests with PHP worker queues, CPU saturation, memory limits, database timings, and external service delays. More workers can help when requests are waiting, but increasing them without enough memory or database capacity can make matters worse. Extra hosting resources also won’t fix a slow external delivery-rate service.
Give dynamic requests better support
Persistent object caching can reduce repeated database work when the application reuses cacheable data. Use the host-supported implementation, confirm it’s active, and measure dynamic requests before and after. Ensure staging and production have isolated cache namespaces or instances so they can’t overwrite each other’s cached data.
Run a PHP version currently supported by PHP and compatible with your installed WordPress, WooCommerce, theme, and extensions. Test upgrades on staging first. “Newest available” and “ready for this store” aren’t always the same thing.
Database maintenance should focus on identified clutter: obsolete transients, excessive revisions, and logs outside your retention requirements. Take a database backup before cleanup. Don’t delete unfamiliar order metadata or tables because their names look old.
WooCommerce’s scheduled actions deserve particular care. Review overdue and failed tasks, identify which extension created them, and investigate recurring failures. Don’t bulk-delete pending actions; they may handle payment-related work, notifications, subscriptions, or integrations. Agree retention and cleanup settings with the responsible developer or host.
Coordinate load testing with your host on representative staging infrastructure. Use synthetic customer data and sandbox payments, and disable live email, SMS, webhooks, POS forwarding, and printing. Test browsing and ordering together, watching errors and response times—not just traffic volume. Nobody wants a load test sending imaginary burgers to a real kitchen.
[IMAGE: Staging restaurant ordering load-test dashboard showing cart and checkout response times, PHP worker usage, and database activity, with sandbox payments enabled and kitchen printing disabled]
Test the Full Ordering Journey and Keep the Improvements
Performance work isn’t finished when a page loads. It’s finished when a customer can place the correct order, pay successfully, and receive confirmation—and the staff receive the same order once, not twice.
Keep a short acceptance checklist and run it after cache changes, script optimization, PHP upgrades, and major plugin updates:
- Order as a guest and a returning customer. Test a real phone, plus the desktop browsers your customers use.
- Use two independent sessions with different baskets and addresses. Verify mini-carts, account details, totals, and confirmation pages remain separate.
- Choose variations and toppings, change quantities, remove products, and use the back button. Check that required selections remain enforced.
- Apply valid and invalid coupons. Test delivery boundaries, address changes, fees, taxes, pickup choices, and available ordering times.
- Change stock and menu availability. Confirm stale public content clears and unavailable items cannot complete an invalid purchase.
- Exercise each supported payment method, including express wallets where available. Cover success, decline, cancellation, and any additional authentication flow the gateway supports.
- Verify order status, stock reduction, customer confirmation, and downstream delivery to POS, kitchen display, or printing systems. Check failed attempts don’t produce duplicate orders.
If you offer gratuities through a WooCommerce checkout tipping option, include preset and custom tips in testing. Confirm the displayed total matches the payment and saved order after other checkout details change.
Compare results and keep a rollback plan
Repeat your original measurements under comparable conditions: same pages, devices, network settings, and cache state. Compare the median of several runs and investigate unusually slow attempts. An average can hide the occasional checkout stall that customers actually notice.
Field Core Web Vitals won’t immediately reflect a deployment. PageSpeed’s Chrome UX Report data uses a rolling 28-day collection period, and low-traffic pages may lack sufficient page-level data. Use immediate lab checks alongside production monitoring rather than waiting for a badge to change.
After deployment, watch payment failures, checkout errors, stale menus, and incorrect-cart reports. Record each change and its rollback steps. If trouble starts, disable the latest optimization, purge relevant caches, and retest. Prefer a targeted configuration rollback to restoring an old database that could erase new orders.
The best speed improvement is one customers barely notice: the menu appears promptly, their choices respond immediately, and payment works. Keep that version—not merely the one with the highest score.
Commission-free ordering
Run restaurant orders on your own WordPress site
FoodMaster adds delivery, pickup, dine-in, POS, and kitchen tools — with zero per-order fees.