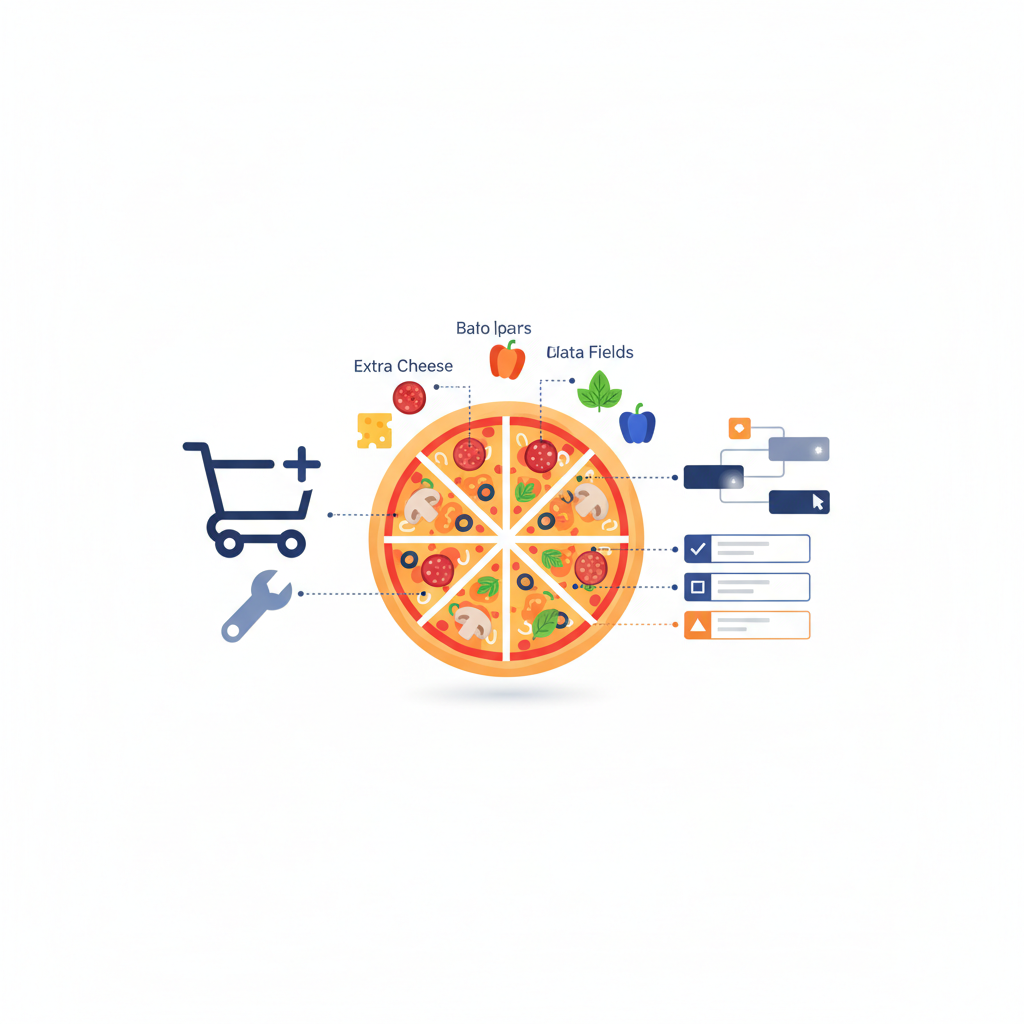
A $12 pizza shouldn’t become a phone call just because the customer wants mushrooms on one half. Product add-ons let shoppers choose toppings, pay for extras, and leave useful instructions before an order reaches your team.
The fields themselves are only half the job. Prices need to behave correctly when quantities change, and “no onions” needs to survive the journey from the product page to the kitchen ticket. Here’s how to build that workflow without turning your menu into a form nobody wants to finish.
What Are WooCommerce Product Add-Ons, and When Should You Use Them?
A product add-on is an extra choice or information field attached to a product. It might change the price, capture a preference, or collect text that your team needs to fulfill the order.
For a pizzeria, that could mean mushrooms for $2 and extra sauce for $1. A burger restaurant might offer cheese, bacon, and a preparation preference. Outside food ordering, a gift shop could collect a gift message without charging anything.
These choices belong to the item being purchased. If someone orders two burgers with different toppings, staff need to know which instructions apply to which burger—not see a single pile of notes attached to the whole order.
Add-ons versus variations
WooCommerce variations represent distinct versions of a product. Each variation can have its own price, SKU, stock settings, and image. Small and large pizzas are sensible variations when they have different base prices; bottled drinks in separately stocked sizes are another example.
Add-ons are usually better for optional extras and customer instructions. A paid topping doesn’t automatically need to become another variation. Otherwise, every combination of size, crust, cheese, and topping can turn product maintenance into an afternoon you won’t get back.
Use variations when the version needs its own commercial or inventory identity. Use add-ons when the customer is customizing that version. A large pizza variation with optional olives and a “cut into squares” instruction is a perfectly reasonable combination.
There’s some overlap: an add-on can change the price, so “costs extra” isn’t enough to decide. Ask whether the choice needs separately tracked stock or a distinct SKU. If it does, don’t assume a customization field will provide that behavior.
Choose a Product Add-Ons Plugin That Fits Your Store
WooCommerce includes simple and variable products, product attributes, variation pricing, and stock management. It doesn’t include a general-purpose product-page builder for paid topping checkboxes, gift messages, and similar customization fields. Those normally require an extension or custom development.
WooCommerce Product Add-Ons is the named reference for the field terminology and pricing examples below. The walkthrough describes an existing licensed installation rather than recommending another purchase. Its documented field types include multiple-choice selections, checkboxes, text fields, file uploads, customer-defined prices, and quantity fields.
For a restaurant, start with the overall ordering workflow. Our go-to foundation is FoodMaster’s WooCommerce restaurant ordering system, which supports delivery, pickup, dine-in ordering, POS, a kitchen display, QR table ordering, and automatic printing. That addresses the operational side a general-purpose field extension doesn’t cover by itself.
These are different layers. Don’t assume a particular third-party field type automatically works in every menu popup, kitchen display, or printed ticket. Verify the exact combination before committing your live menu to it.
Check the details that affect actual orders
- Fields: Can customers select one option, several options, or enter a short instruction?
- Pricing: Can an extra charge per item, once per line, or as a percentage—and which behavior do you actually need?
- Validation: Can a selection be required? If you need “choose exactly three,” confirm selection-limit support separately.
- Mobile access: Are labels readable and controls easy to tap without horizontal scrolling?
- Compatibility: Check your product template, quick-order interface, cart, checkout, and staff-facing integrations.
Basic field support doesn’t imply conditional logic, ingredient stock deduction, or order routing. Likewise, a file-upload field doesn’t automatically provide a print-proof approval workflow. List those requirements separately and establish whether they need another extension or custom integration.
[IMAGE: Mobile pizza product page showing a required preparation choice, topping checkboxes with visible prices, and a separate customer-instructions field]
Add Your First Custom Fields to a WooCommerce Product
Build the first example on staging with an existing simple product called “Classic Pizza,” priced at $12. Using a simple product keeps variation pricing out of the initial test. You can repeat the checks with variable products afterward.
1. Prepare the existing extension
For a store that already owns the extension, the standard WordPress installation route is Plugins → Add New Plugin → Upload Plugin. Upload the licensed ZIP, install it, and activate it on staging. Check the extension’s current WordPress and WooCommerce requirements before proceeding.
Keep a backup and record the versions you’re testing. Interface labels can change between releases; the relevant controls in WooCommerce Product Add-Ons are the product-level Add-ons panel and the global groups under Products → Add-ons.
2. Create a required preparation choice
Edit Classic Pizza and open the Add-ons section in Product data. Add a multiple-choice field labeled “Bake preference,” with “Standard bake” and “Well done” as its options. A radio-button display keeps both choices visible where that display setting is available.
Mark the field required and leave both options uncharged. A short description such as “Choose how you’d like your pizza baked” is enough. Avoid preselecting a choice when you need an intentional answer; verify the extension’s initial-selection behavior rather than assuming the field starts empty.
For a harmless preference, a standard default may be reasonable. For decisions that need explicit customer input, it can hide the fact that the customer never made a choice.
3. Add optional paid extras
Create a checkbox field labeled “Add extras.” Add “Mushrooms” with a $2 charge and “Extra sauce” with a $1 charge. Select quantity-based pricing for both so each extra is charged for every pizza on that cart line.
Leave this group optional and don’t preselect paid extras. Customers should see the extra charge before adding the pizza to their cart, not discover it during checkout.
4. Collect instructions and set the order
Add an optional long-text field labeled “Preparation instructions.” Use the description “For this pizza only, such as cut into squares.” Apply a sensible character limit if your field settings support one.
Arrange the fields as preparation choice, extras, then instructions. Save the product and check the actual storefront—not just the editor preview. Confirm that descriptions, required indicators, and prices remain visible on a narrow screen.
Add a configured pizza to the cart and complete a test order. Check the cart item details, checkout summary, WooCommerce order line, and customer and staff emails. The selections need to remain attached to the correct item throughout.
Price Extras Correctly and Reuse Add-On Groups
Pricing labels deserve more attention than they usually get. “Flat fee” and “quantity based” can produce the same total for one pizza, which makes a quantity-one test dangerously reassuring.
A worked pizza example
For this example, the $12 base price and both extra charges are configured as tax-exclusive amounts. Mushrooms cost $2 per pizza and extra sauce costs $1 per pizza. With both selected, the expected item subtotal is $12 + $2 + $1 = $15 before tax.
Increase the quantity to two with identical selections, and the expected line subtotal becomes 2 × $15 = $30 before tax. That excludes delivery fees, other charges, and discounts.
In WooCommerce Product Add-Ons, quantity-based charges multiply with the product quantity. A flat fee applies once to the cart line regardless of its quantity. If both extras were mistakenly configured as flat fees, two pizzas on that line would total $24 + $2 + $1 = $27 before tax.
A flat fee can suit a one-time setup charge. It’s usually the wrong choice for ingredients consumed on every item. Remember that separately customized cart lines can each incur their own flat fee; “once per line” isn’t “once per order.”
The extension also supports percentage-based pricing calculated from the product price. For ordinary toppings, fixed monetary charges are easier for customers and staff to understand. If percentage charges are involved, test them with variations, sale prices, and your tax configuration.
Reuse groups without showing them twice
Global add-on groups can apply across products or to selected product categories. A shared “Pizza extras” group assigned to your pizza category is easier to maintain than editing the mushroom price on every pizza individually.
Keep genuinely unique options at product level. Before publishing, check whether a product already receives equivalent fields from a global group. Overlapping global groups and product-specific fields are an easy way to display “Extra sauce” twice.
Use the extension’s exclusion or group-assignment controls where appropriate, then inspect representative products from every affected category. Also review display priorities so shared and local fields appear in a sensible sequence.
Finally, charging for mushrooms doesn’t mean mushroom inventory decreases. Add-on fields aren’t automatically ingredient records. Stock deduction needs a separately verified inventory workflow; an order note is not a recipe-management system.
[IMAGE: Pricing diagram comparing one $12 pizza with $3 in per-item extras at $15 against two identically customized pizzas at $30 before tax]
Make Customization Easy on Mobile and Clear for Kitchen Staff
A phone screen is where an overcomplicated customization form gets exposed. Keep frequently used options visible, group related choices together, and remove fields that don’t help customers or fulfillment staff.
“Extra cheese (+$2)” does more useful work than “Enhance your experience with additional cheese.” Short labels make the cost and action easier to understand. Put longer explanations in descriptions rather than squeezing them into the option name.
Use radio buttons for a short list where exactly one choice is needed, and checkboxes for independent extras. If a long list requires a dropdown, make sure its label remains visible after selection. Placeholder text alone isn’t a dependable label.
Check access, not just appearance
Navigate the product form using only a keyboard. You should be able to reach each control, see the focus indicator, select options, and submit the product without getting trapped. Check that a required-field error identifies the missing choice and helps the customer return to it.
With a screen reader, verify that controls announce their names, required state, selected state, and relevant price information. Zoom the page and test it on a narrow viewport. These checks catch obvious barriers, though they don’t replace a full accessibility assessment.
Send the right information to the right team
Keep “No onions” with the food item. Keep “Use the side entrance” in delivery instructions. Mixing them makes both the kitchen and driver work harder to find what matters.
Don’t present free-text notes as a reliable allergy-management process. Provide a clear allergy policy and an appropriate contact route, backed by staff procedures. A typed warning can be overlooked or lost in an integration, and the field itself cannot establish whether a meal is safe.
Place an order with a distinctive instruction such as “TEST: cut into squares.” Then inspect the staff email, order screen, kitchen display, and printed ticket. With FoodMaster’s kitchen display and automatic printing workflow, verify that your chosen customization fields are actually passed through and readable. Stored order data and visible kitchen instructions aren’t necessarily the same thing.
Test Your Add-Ons Before Taking Live Orders
Test through the same ordering route customers will use. A standard product page can work while a theme’s quick-view popup omits the fields entirely. Repeat the critical checks through menu grids, QR ordering entry points, and other purchase interfaces your store exposes.
A practical test matrix
- Required choice: Leave preparation blank. Adding the item should be blocked with a clear message unless a valid default is intentionally configured.
- Unpaid choice: Select “Well done” without extras. The pizza should remain $12 before tax under the example configuration.
- Paid choices: Test mushrooms alone, sauce alone, and both together. Expected subtotals are $14, $13, and $15.
- Quantity changes: Increase the fully customized pizza to two, then reduce it to one. Expect $30, then $15 before tax.
- Different customizations: Add one pizza with mushrooms and another with sauce. They should retain distinct selections rather than merge into one identically configured line.
- Taxes and coupons: Check your real tax settings, customer location, and each coupon type you offer. Confirm both the calculated amounts and displayed breakdown.
- Checkout and fulfillment: Complete a sandbox payment, then inspect the saved order, emails, kitchen interface, and printer output.
For coupons, write down the intended result before testing. Don’t assume topping charges are excluded from discounts simply because they appear as separate choices. Check how the extension represents charges and how your actual coupon rules treat them.
Troubleshoot on staging first
If fields are missing, check product assignments, category assignments, exclusion settings, and whether the product was saved. Compare the standard single-product page with any custom template or popup. Clear relevant caches after changes, without enabling page caching for personalized cart and checkout responses.
Unexpected totals usually warrant a check of pricing mode, duplicate groups, quantity, sale or variation prices, taxes, and discount rules. Strip the staging example back to one product and one extra. Add complexity back only after that calculation works.
For missing order metadata, establish where the data disappears: before the cart, during checkout, in the saved order, or only in the staff display. If WooCommerce stores the selections but the ticket omits them, investigate the integration’s metadata mapping or output template.
When a conflict remains, use staging to test with a standard WooCommerce-compatible theme and deactivate nonessential plugins one at a time. Don’t turn a live dinner service into a debugging session.
Before launch, confirm your backup, mobile checks, payment test, verified totals, and readable staff tickets. Then ask someone on the kitchen team to prepare an order from the ticket alone. If they need to call you for clarification, the setup still needs work. The best add-on form makes ordering easier—and leaves no guessing for the person making the food.
Commission-free ordering
Run restaurant orders on your own WordPress site
FoodMaster adds delivery, pickup, dine-in, POS, and kitchen tools — with zero per-order fees.