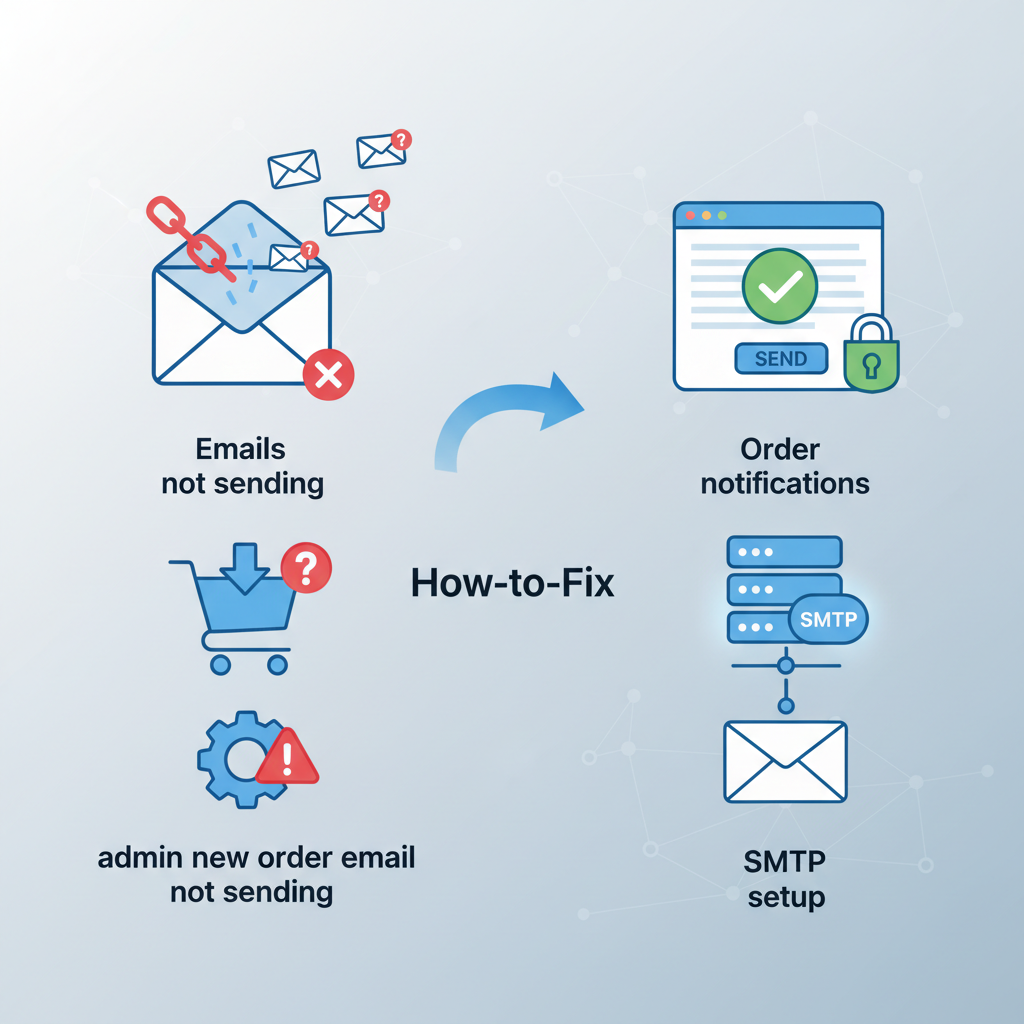
A customer pays for dinner, sees the order confirmation screen, and receives nothing in their inbox. Meanwhile, the restaurant’s order notification never arrives either. That looks like one email problem, but it can involve several completely different failures.
The quickest fix isn’t always installing SMTP. First, establish whether WooCommerce created the notification, whether WordPress handed it off successfully, and what happened after that. Fix the broken stage, then test a real order—not just a “Hello, world” message.
Why WooCommerce Emails Stop Arriving
WooCommerce email problems fall into three broad categories. Keeping them separate saves a surprising amount of troubleshooting time.
The email wasn’t generated. WooCommerce didn’t encounter the event that should trigger it, the notification was disabled, or an extension changed the normal workflow. For example, a card payment that leaves an order in Pending payment may never trigger the Processing order confirmation the customer expects.
The sending attempt failed. WooCommerce generated the message, but the mail system couldn’t send it. Incorrect SMTP credentials, a blocked connection, or an error in the WordPress mail configuration can stop both customer confirmations and restaurant order alerts.
The message was accepted but didn’t reach the inbox. The sending service accepted the email, but the recipient’s server rejected it later, filtered it into spam, or quarantined it. This is a delivery problem, not necessarily a WooCommerce problem.
A successful WordPress send result means the configured mail system processed the request without reporting an immediate failure. It does not prove inbox delivery. Even a provider’s “delivered” event generally means the receiving server accepted the message—not that a person can see it in their primary inbox.
Start with this diagnostic checklist:
- Identify one affected order and the specific notification that’s missing.
- Check whether its order status should have triggered that notification.
- Confirm the email is enabled and the destination address is correct.
- Send a WordPress test email and inspect the available logs.
- Check spam, quarantine, and the sending provider’s delivery events.
Keep the order number and approximate time handy. They give you a trail to follow instead of relying on “emails seem broken.”
Check WooCommerce Email Settings and Order Statuses
Inspect the notification that’s actually missing
Open WooCommerce → Settings → Emails. This screen lists the store’s notifications, including New order, Processing order, Completed order, and other messages added by extensions. Click Manage beside the affected notification; exact labels can vary with your WooCommerce version and email editor.
Confirm that the notification is enabled. For merchant-facing emails such as New order, check the recipient field carefully. An old manager’s address or a misspelled kitchen mailbox can make a working system look broken. Where the field supports multiple recipients, use the separator specified beside it.
Customer notifications normally use the order’s billing email address rather than a fixed address in these settings. Open the affected order and check that address too. A customer typing “gamil” instead of “gmail” isn’t something SMTP can repair.
Next, inspect the email sender options. Use a recognizable From name and a From address on a domain you control. “Harbour Pizza” is more useful than “WordPress,” and an authenticated restaurant-domain address is a better choice than an unrelated personal mailbox.
Follow the payment and status trail
Go to WooCommerce → Orders, open the affected order, and read its status and order notes. Look for payment confirmations, gateway errors, and recorded status changes around the time the notification should have been sent.
In a typical physical-product checkout, successful payment moves an order from Pending payment to Processing, triggering relevant notifications. Some orders that don’t require processing can move directly to Completed. An On hold order may generate the separate On-hold order customer email instead. Gateways and extensions can alter these paths, so the actual transition matters.
Pending payment usually means WooCommerce is still awaiting payment confirmation. Don’t assume every checkout submission should produce a Processing order email. Likewise, New order isn’t simply a notification for every database record created during checkout.
For a supposedly paid order stuck in Pending payment, compare the gateway transaction record with WooCommerce’s notes. Check webhook or callback delivery and the gateway’s logs. A payment can succeed externally while the callback that updates WooCommerce fails.
Don’t mark an unpaid order as paid to force an email. That can trigger preparation, affect stock handling, and leave inaccurate records. Establish the payment’s actual state first, then follow the gateway’s supported reconciliation procedure.
For restaurant workflows using FoodMaster’s WooCommerce restaurant ordering system, include delivery, pickup, and dine-in paths in this check. They may use different payment methods, so their expected status changes need to be understood separately.
Find Out Whether WordPress Is Sending the Email
Once the settings and status look right, send a test message using your WordPress mail plugin’s test-email tool. If no such tool is installed, choose a mail configuration tool that provides testing and error reporting. Avoid activating multiple plugins that compete to control WordPress mail.
Send the test to the merchant mailbox and an address hosted by a different mailbox provider. A site-wide sending failure will often affect both; filtering at one destination may affect only one.
A successful test narrows the problem, but it doesn’t validate WooCommerce’s triggers. Test tools usually send directly through WordPress mail without reproducing checkout, payment confirmation, or order-status changes.
Enable temporary email logging next. Depending on the tool, a log may show the recipient, subject, timestamp, sending result, and technical error. Some tools record the complete message, while others record only metadata. Check what yours stores before switching it on.
Reproduce the problem with a controlled test order. If the test message is logged but the expected order notification isn’t, investigate the WooCommerce trigger or an error occurring before the sending stage. If both appear with authentication failures, focus on mail transport instead.
[IMAGE: Diagnostic flowchart separating a missing WooCommerce email trigger, a failed WordPress mail handoff, and a message accepted by the provider but filtered by the recipient]
Read errors literally. “Authentication failed” points toward credentials or the provider’s authorization requirements. “Connection timed out” suggests a connection problem. A recipient rejection needs investigation at the address or receiving-server level, not another round of password changes.
For messages accepted by your provider, inspect its delivery events. Look for delivered, deferred, bounced, or suppressed results, and search the recipient’s spam and quarantine folders. A WordPress log cannot see every decision made downstream.
Keep this logging brief. Order emails can contain names, addresses, phone numbers, and purchase details. Prefer metadata-only logging, restrict administrative access, set a short retention period, and delete troubleshooting records once they’re no longer needed. Don’t paste unredacted logs into public support threads.
Set Up Reliable Email Delivery with SMTP or an Email API
WordPress normally uses its mail function to pass messages through the server’s configured mail system. On some hosting accounts, that route lacks the authentication, monitoring, or sending configuration a busy shop needs. An authenticated transactional mail service gives you a more controllable delivery path.
SMTP is the standard mail-sending protocol. An email API submits messages through a provider-specific HTTPS integration. Either can work well; use a supported connection that provides useful delivery logs and fits your hosting environment.
A worked SMTP configuration
This example uses your chosen transactional email provider with a WordPress mail plugin that supports authenticated SMTP. The field labels will vary, but the setup sequence is the same. Use the provider’s actual connection details—not values copied from another service’s tutorial.
- Verify your domain. Add the restaurant’s sending domain in the provider dashboard, then publish the ownership and authentication DNS records it supplies. Wait until verification passes.
- Authorize the sender. Configure an address such as orders@your-restaurant-domain as an approved sender. Use a monitored Reply-To address so customer replies don’t disappear.
- Create sending credentials. Generate a dedicated SMTP credential for this website. Don’t assume the provider’s dashboard password is also its SMTP password.
- Configure WordPress. In the mail plugin, choose SMTP, enter the supplied host and credentials, and set the approved From address and restaurant name.
- Select the specified security settings. Many providers support port 587 with STARTTLS or port 465 with implicit TLS. Follow the provider’s documented combination; the two configurations aren’t interchangeable.
- Send and trace a test. Send to two controlled mailboxes, check provider events, and inspect the received message’s authentication results.
If the plugin can enforce the From address, that can prevent extensions from substituting an unauthorized sender. Confirm that this doesn’t override a legitimate multi-domain setup. Also check WooCommerce’s sender settings so they agree with the transport configuration.
For an API connection, the equivalent setup usually involves selecting the supported provider integration and supplying a scoped API key instead of SMTP credentials. Keep keys and passwords out of screenshots, public repositories, and support tickets. Rotate them if exposed.
SPF, DKIM, and DMARC without the jargon
SPF identifies which systems may send mail for the envelope-sender domain. DKIM adds a cryptographic signature that lets receiving servers verify the signing domain and detect changes to signed content. DMARC checks whether a passing SPF or DKIM identity aligns with the domain in the visible From address.
Publish the records your provider supplies. Don’t create multiple SPF records for the same hostname. If one already exists, update the existing policy to authorize all legitimate senders, taking SPF’s lookup limit into account. Ask whoever manages your DNS to review it if necessary.
For DMARC, begin with monitoring while you identify legitimate senders, then consider stricter enforcement after validating them. An aggressive rejection policy applied prematurely can block your own order messages.
Keep transactional emails separate from promotional campaigns in purpose and, where supported, sending streams. Receipts and order updates serve a purchase; newsletters serve marketing goals. Adding promotions to an order message can change its compliance implications, and a mailing-list problem shouldn’t jeopardize dinner confirmations.
Troubleshoot Emails That Still Fail or Land in Spam
Once authenticated sending is configured, resist changing five settings at once. Match the symptom to the next useful check, make one change, and repeat the same test.
- Authentication fails: Recheck the username, SMTP credential or API key, and permissions. Confirm the account is enabled for sending and that the credential matches the selected connection method.
- Connections time out or are refused: Ask your host whether outbound connections to the specified host and port are permitted. Check firewall and DNS resolution issues. Don’t disable certificate verification to make an error disappear.
- Some messages send, then failures begin: Inspect rate limits, daily quotas, account restrictions, and billing status. An order burst can expose limits that a single test email never reaches.
- Only one recipient fails: Check the address, bounce reason, and provider suppression list. Fix the underlying cause before removing a suppression; repeated retries to an invalid address won’t help.
- Messages arrive in spam: Inspect SPF, DKIM, and DMARC results, sender alignment, and the provider’s delivery information. Authentication helps establish identity, but doesn’t guarantee inbox placement.
- Test messages work but order emails don’t: Return to order transitions, WooCommerce logs, template customizations, and extensions that intercept or queue notifications.
Sender alignment deserves a closer look when mail technically sends but filters poorly. The visible From address, envelope sender, and DKIM signing domain have different jobs. Ask the provider to confirm that at least one passing authentication mechanism aligns for DMARC; they don’t necessarily all need to use an identical address or hostname.
[IMAGE: Redacted email troubleshooting screen showing a delivery timestamp, recipient status, SMTP response, and SPF, DKIM, and DMARC authentication results beside a WooCommerce order]
Check logs and queues before blaming the template
Open WooCommerce → Status → Logs and inspect entries around the failed order. Relevant sources may include the payment gateway, fatal errors, or an email-related extension. Avoid enabling verbose logging indefinitely, particularly when gateway logs may contain customer information.
If an extension queues email through Action Scheduler, inspect WooCommerce → Status → Scheduled Actions for failed or overdue jobs. Read the action’s hook and log before retrying it. Not every WooCommerce email uses this queue, so an empty search doesn’t prove anything about standard notifications.
For delayed jobs, investigate WordPress scheduling and the host’s cron configuration. A scheduling backlog and an SMTP rejection are different problems, even when both produce the same complaint: “The email arrived late.”
Run plugin and theme conflict tests on staging, with outgoing email redirected to controlled addresses. Start with custom email templates and extensions that modify checkout, statuses, or mail sending. Don’t disable payment or ordering components on a live restaurant website during service. A missing notification is bad; a broken checkout is worse.
Test Real Order Notifications and Prevent Missed Orders
A mail test is a useful checkpoint. A real checkout workflow is the acceptance test.
Use a controlled test order with your gateway’s supported testing method. Staging is suitable for checking the workflow, but its mail configuration may differ from production. For final production validation, use an approved low-value purchase if necessary and account for any fees and refund handling.
- Place the order using a controlled customer address and record its number.
- Verify that payment produces the expected order-status transition and notes.
- Confirm that the merchant notification reaches the configured operational mailbox.
- Check the expected customer email for correct totals, fulfillment details, and working links.
- Repeat with another mailbox provider, then test other active payment paths, including any that leave orders On hold.
Record checkout, status-change, and delivery timestamps. An email that eventually arrives may still be too late to support restaurant operations. Test the order paths you actually use, not just the easiest card-payment scenario.
Resend a message without changing the payment
Open the order and inspect its Order actions menu. Depending on your WooCommerce version and extensions, available actions may include resending the New order notification or sending order details to the customer. Choose the appropriate available action and execute it.
These email actions don’t require charging the customer again or changing payment status. However, sending order details isn’t necessarily identical to resending the original Processing order email. Check what the selected action sends, especially if the order is unpaid. Don’t bounce an order between statuses just to recreate a notification.
Finally, keep email out of the single-point-of-failure role. FoodMaster’s restaurant ordering plugin with kitchen display and automatic printing provides operational options alongside email. Configure and test the relevant setup, and keep the order dashboard visible during service.
Those channels still depend on working infrastructure. Give someone responsibility for checking incoming orders and responding when an expected alert is missing. Reliable sending matters—but a practical fallback is what stops an email problem from becoming a cold dinner.
Commission-free ordering
Run restaurant orders on your own WordPress site
FoodMaster adds delivery, pickup, dine-in, POS, and kitchen tools — with zero per-order fees.