On this page
- What Is QR Code Ordering and Why Restaurants Are Switching to It in 2026
- What You Need Before You Start: Tools, Plugins, and Menu Prep
- The essentials
- Nice-to-haves
- Step-by-Step: Building Table-Specific QR Codes That Link to Your Menu
- Step 1: Enable dine-in as an order type
- Step 2: Create your table list
- Step 3: Generate URLs that pre-fill the table
- Step 4: Generate the QR codes
- Step 5: Print for durability
- Configuring the Ordering Flow: Dine-In vs Takeaway vs Delivery in One Site
- Detecting the order context
- Routing dine-in orders to the kitchen instantly
- Keep checkout under 30 seconds
- Payments, Tipping, and Splitting the Bill at the Table
- Digital wallets are non-negotiable
- Tipping done tastefully
- Pay-at-table vs pay-at-counter
- Splitting the check
- A quick word on security
Walk into a busy pizzeria on a Friday night and you’ll spot the same scene playing out at half the tables: someone holding a phone flat against a table tent, waiting for the little haptic buzz that means their menu has loaded. No flagging down servers. No dog-eared laminated menus. No “sorry, we’re out of that.” Just scan, tap, pay, eat.
QR code ordering went from pandemic novelty to permanent fixture faster than anyone expected, and by 2026 it’s less of a “nice to have” and more of a baseline customer expectation, especially for casual dining, cafes, and quick-service spots. The good news? If you’re already running WooCommerce, you’re roughly 70% of the way there. This guide walks you through the rest.
What Is QR Code Ordering and Why Restaurants Are Switching to It in 2026
QR code ordering — sometimes called scan-to-order or table ordering — is exactly what it sounds like. A customer sits down, scans a QR code printed on the table, and their phone opens a mobile-friendly version of your menu tied to that specific table number. They browse, order, pay, and their ticket prints in the kitchen without a server ever taking pen to pad.
The mechanics are simple, but the operational impact is substantial. Restaurants using self-serve ordering typically report:
- Faster table turnover. Customers order the moment they’re ready instead of waiting 8–12 minutes for a server to circle back.
- Higher average order value. Industry reports from POS providers like Toast and Square have consistently found that digital menus with images and upsell prompts increase ticket sizes by 15–30% compared to paper menus.
- Lower labor pressure. One server can comfortably cover more tables when they’re not taking orders — they focus on running food, checking in, and upselling.
- Fewer order errors. No handwriting mishaps, no “I said no onions.”
- Better data. You suddenly know which tables order what, when, and how often.
The use cases stretch across the industry. A neighborhood pizzeria might use QR ordering just for dine-in to speed up Friday night rushes. A cafe might combine it with pickup so morning commuters skip the counter line. A full-service restaurant can pair it with human servers — customers order drinks and appetizers via QR while servers handle mains and wine recommendations. Burger joints and food halls almost universally run on it now.
The one thing QR ordering isn’t great for? Fine dining that leans on hospitality theater. Everywhere else, it’s a fair fight.
What You Need Before You Start: Tools, Plugins, and Menu Prep
Before generating a single QR code, get your foundation in order. Here’s the honest checklist — nothing exotic, but skipping steps here creates headaches later.
The essentials
- A WooCommerce site on WordPress. Any recent version (WooCommerce 8.x or later) works. Make sure your hosting can handle concurrent mobile users — a Friday dinner rush of 40 phones hitting your site at once will expose a cheap shared host quickly.
- A restaurant ordering plugin. Vanilla WooCommerce is built for shipping physical goods, not routing hot food to kitchen printers. You need a plugin that adds order types (dine-in, pickup, delivery), table management, and kitchen integration. FoodMaster (formerly WooFood) handles this natively, including QR table ordering, automatic kitchen printing, and a built-in KDS.
- A structured menu. Categories matter here. “Starters,” “Mains,” “Sides,” “Drinks,” “Desserts” — the same logical structure a paper menu uses. Each product needs a clear name, one crisp photo, price, and a short description. Add allergen info and modifiers (extra cheese, no pickles, choice of sauce) as WooCommerce product options.
- Table identifiers. Number every table. Sounds obvious, but I’ve seen restaurants launch QR ordering without a consistent numbering system and end up with orders for “the round table by the window.”
- A payment gateway. Stripe is the most common choice because it supports Apple Pay and Google Pay out of the box — critical for scan-to-order because customers won’t type card numbers into a phone. Square and PayPal are fine backups.
- A QR code generator. Many ordering plugins generate these for you. If not, tools like QRCode Monkey or the built-in generator in most POS systems work fine. Print at minimum 3cm × 3cm for reliable scanning.
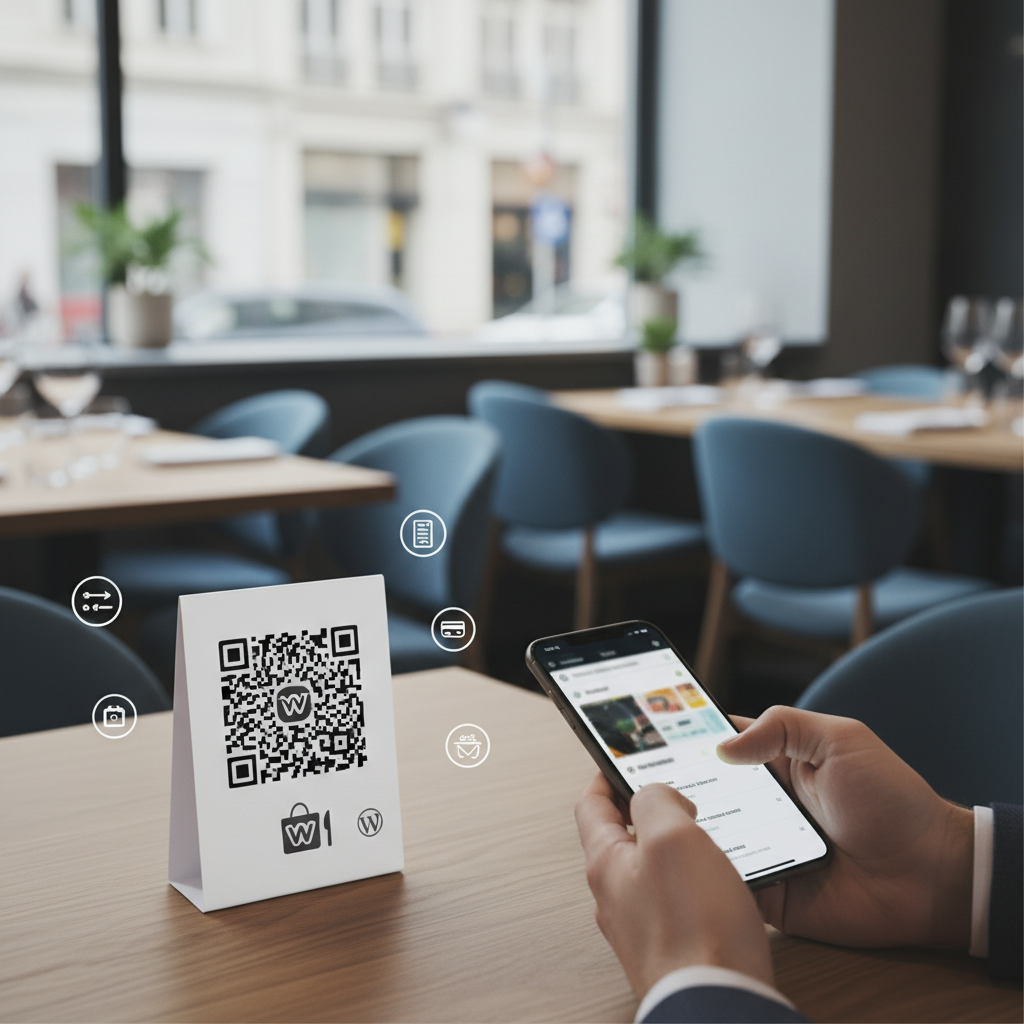
[IMAGE: A restaurant table with a small wooden stand holding a printed QR code, a phone showing the digital menu next to a coffee cup]
Nice-to-haves
- A thermal kitchen printer (Epson TM-T20III or similar) or a tablet running a KDS.
- Guest Wi-Fi with a simple password — critical, since roughly 20% of customers won’t have strong mobile signal indoors.
- Table tents or laminated stickers. Sticker paper works for casual spots; acrylic stands look more polished.
Step-by-Step: Building Table-Specific QR Codes That Link to Your Menu
Here’s where it gets practical. The goal is a unique URL for each table so that when someone scans at Table 5, the order automatically tags itself “Table 5” — no dropdown, no typing.
Step 1: Enable dine-in as an order type
In FoodMaster’s settings, navigate to Order Options and enable “Dine-In” alongside your existing Delivery and Pickup types. This tells the checkout to skip address fields and offer a table number field instead.
Step 2: Create your table list
Add each table by number (or by name, if you have zones like “Patio 3” or “Bar Seat 2”). Most restaurant plugins will let you configure this in a “Tables” or “Locations” section. FoodMaster lets you bulk-create tables and then generate QR codes for each in one click.
Step 3: Generate URLs that pre-fill the table
The magic is in the URL structure. Instead of sending everyone to yourrestaurant.com/menu, you generate:
yourrestaurant.com/menu?table=1yourrestaurant.com/menu?table=2yourrestaurant.com/menu?table=3
When a customer scans, the plugin reads the table parameter and locks the order to that table. If they try to check out as delivery, it politely blocks that — because they’re literally sitting inside your restaurant.
Step 4: Generate the QR codes
If your plugin doesn’t do this natively, paste each URL into a QR generator, download as PNG or SVG (SVG is better for print), and save them named clearly: table-01.svg, table-02.svg, and so on. Sounds tedious, but it takes 15 minutes for 30 tables.
Step 5: Print for durability
Coffee spills. Wine spills. Kids draw on things. A few tips from restaurants that have done this at scale:
- Print QR codes at least 3cm × 3cm, ideally 4cm × 4cm. Small codes fail to scan in dim lighting.
- Use matte laminate — glossy finishes reflect overhead lights and confuse phone cameras.
- Include a short instruction: “Scan to order & pay.” Don’t assume everyone knows.
- Add your Wi-Fi network name and password on the same tent. This single addition dramatically increases scan-to-order conversion.
- Test every single printed code with at least two different phones before deploying to the floor.
Configuring the Ordering Flow: Dine-In vs Takeaway vs Delivery in One Site
One of the biggest wins of running QR ordering through WooCommerce is that it lives on the same site as your existing delivery and pickup — one menu, one product catalog, one admin. The trick is making the flow feel different depending on how the customer arrived.
Detecting the order context
When a QR code URL includes ?table=5, your ordering plugin should:
- Force the order type to “Dine-In” and hide delivery/pickup toggles.
- Skip the address, delivery time, and pickup-time fields entirely.
- Tag the order with the table number in bold at the top of the kitchen ticket.
- Optionally, skip the “name” field or auto-fill it as “Table 5” for anonymous ordering.
Meanwhile, customers who land on your homepage from Google or social media get the full delivery/pickup experience. Same menu, different journeys.
Routing dine-in orders to the kitchen instantly
Delivery orders can tolerate a 30-second delay before they hit the kitchen. Dine-in orders cannot — the customer is sitting there, hungry, watching the door to the kitchen. Configure your setup so dine-in orders bypass any “confirmation” queue and go straight to:
- The kitchen thermal printer (auto-print on order placed).
- Your Kitchen Display System, if you’re running one.
- A backup notification on a manager’s tablet or phone.
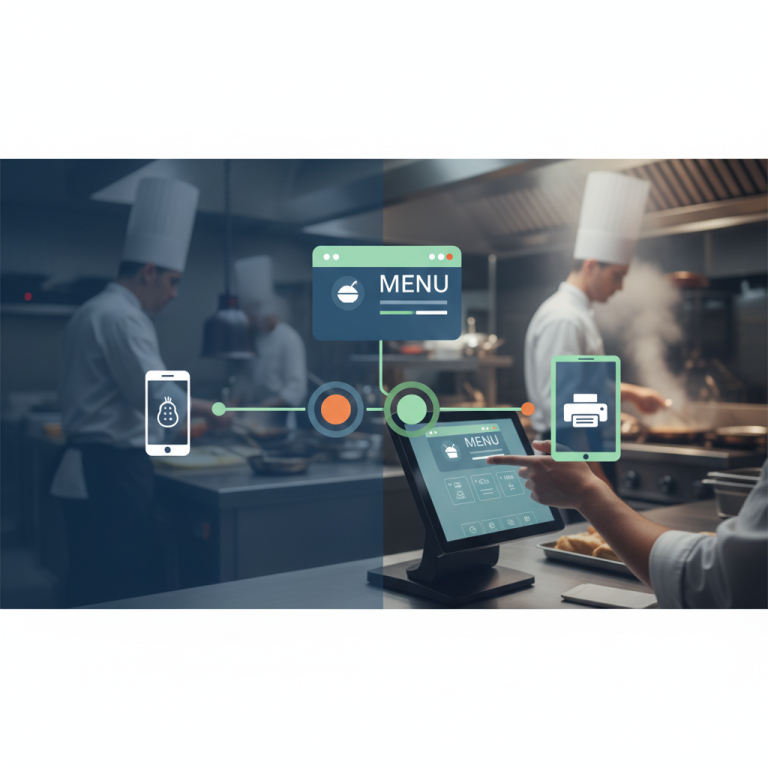
FoodMaster’s automatic printing feature handles this without any custom code — you set the rules once, and every dine-in ticket prints the moment payment clears.
Keep checkout under 30 seconds
The gold standard: from tapping “Checkout” to seeing the “Order confirmed” screen should take less than 30 seconds on a phone. To hit that:
- Remove account registration — allow guest checkout by default.
- Don’t ask for email unless it’s essential (some restaurants skip it for dine-in entirely).
- Enable Apple Pay and Google Pay as the primary payment methods.
- Show a running order summary as they add items, so the checkout screen is just “confirm and pay.”
Payments, Tipping, and Splitting the Bill at the Table
Payment friction is where a lot of QR systems quietly fail. If a customer has to fish out a physical card, type a 16-digit number on a tiny keyboard, and remember their CVV, they’ll just wave the server over — defeating the whole point.
Digital wallets are non-negotiable
Stripe’s WooCommerce integration supports Apple Pay and WooCommerce Restaurant (Faster Checkout, Fewer Abandoned Orders)”>Google Pay natively. Enable them. On a modern iPhone or Android, checkout becomes: tap “Apple Pay,” double-click the side button, done. Total time: 4 seconds. This alone can lift completion rates by 20% or more compared to card-only checkout.
Tipping done tastefully
Digital tipping is a delicate art. Preset options work best — 10%, 15%, 20%, and “Custom.” Show the tip amount in currency, not just percentage, so customers know exactly what they’re leaving. Avoid pre-selecting a high default, which many customers find manipulative and increasingly call out on social media. A dedicated tipping module for WooCommerce makes configuration straightforward.
[IMAGE: A smartphone checkout screen showing tip percentage options (10%, 15%, 20%, custom) with an Apple Pay button beneath]
Pay-at-table vs pay-at-counter
You have three basic workflows to choose from:
- Full self-service: Customer orders and pays via QR before food arrives. Best for cafes and quick-service. Zero staff intervention.
- Order via QR, pay at counter: Customer orders through their phone but settles up at the till when leaving. Works for casual sit-down restaurants that want the human touch at the end.
- Order via server, pay via QR: Server takes the order, then customer scans a QR at end of meal to pay their bill. Popular in full-service restaurants that don’t want to change the ordering experience but want to speed up settlement.
You can mix and match. Many restaurants enable option 1 for drinks and appetizers, then let servers handle the rest.
Splitting the check
Splitting is the feature customers ask about most and the one that’s technically hardest. There are two practical approaches:
- Split at ordering: Each person at the table scans and places their own order. Naturally splits, since each ticket is separate. Kitchen gets multiple small tickets tagged to the same table.
- Split at payment: One person orders everything, then at checkout the app offers “Split evenly” (divides total by N people) or “Pay for my items” (each diner pays their own line items).
The first is simpler to implement and works out of the box with most plugins. The second requires more sophisticated bill-splitting logic — worth it if your customer base skews toward group dining.
A quick word on security
Because payments happen on customer
Commission-free ordering
Run restaurant orders on your own WordPress site
FoodMaster adds delivery, pickup, dine-in, POS, and kitchen tools — with zero per-order fees.