On this page
- Why Multi-Location Restaurants Need a Different WooCommerce Setup
- Choosing Your Multi-Location Architecture: One Site vs Multisite vs Store Locator Plugins
- Option 1: Single WooCommerce Store with a Location Switcher
- Option 2: WordPress Multisite Network (One Subsite per Branch)
- Option 3: Location-Based Routing to Separate Sites
- Step-by-Step: Setting Up Location-Based Menus and Pricing with FoodMaster
- 1. Create Your Locations
- 2. Force a Location Choice Before the Menu Loads
- 3. Assign Products to Locations
- 4. Structure Categories Consistently
- 5. Test With Real Scenarios
- Configuring Delivery Zones, Pickup Times, and Opening Hours per Branch
- Defining Delivery Zones per Branch
- Handling Overlapping Zones
- Opening Hours and Prep Time
- Handling Closed Branches Gracefully
- Managing Stock, Staff Accounts, and Order Routing Across Branches
- Per-Location Inventory and 86’ing Items
- Role-Based Staff Accounts
- Order Routing to Printers and KDS
- Reporting Separated by Location
- Local SEO, Google Business Profiles, and Marketing for Each Location
Running one restaurant on WooCommerce is fairly straightforward. Running three, seven, or twenty branches on the same WordPress install? That’s where most owners hit a wall. Menus diverge, delivery zones overlap awkwardly, one branch runs out of chicken wings while another has a freezer full, and suddenly the “simple” ordering site becomes a support nightmare.
This guide walks through how to properly architect a multi-location restaurant on WooCommerce — from picking the right site structure to configuring per-branch menus, delivery radii, staff accounts, and WooCommerce Restaurant (Rank #1 on Google Maps)”>Local SEO for Restaurant Websites: How to Rank #1 on Google Maps and Attract Nearby Diners in 2026″>local SEO. If you manage a chain, a franchise, or even just two locations across town, this is the setup roadmap I wish someone had handed me years ago.
Why Multi-Location Restaurants Need a Different WooCommerce Setup
A standard WooCommerce install assumes one storefront, one inventory, one shipping configuration, and one team behind the counter. Restaurants with multiple branches break every one of those assumptions.
Here are the friction points that show up almost immediately when you try to force a single-store setup to serve multiple locations:
- Menu drift. The downtown branch sells sushi platters; the suburban branch focuses on family bundles. Prices differ. Some items are seasonal or exclusive to one location.
- Delivery geography. Each branch delivers to its own catchment area. A customer in postcode X should be routed to Branch A, not Branch B thirty minutes further away.
- Opening hours and prep times. Branch A closes at 10 PM; Branch B is 24/7. Sunday hours differ. Kitchen prep speeds vary.
- Stock and 86’d items. When Branch A runs out of salmon, only that branch should hide the salmon roll — not the entire network.
- Staff access. Branch managers need to see their own orders and reports, nothing else. Head office needs the aggregate view.
- Tax and compliance. Different municipalities can mean different VAT/sales tax rules, receipt formats, or delivery surcharges.
Miss any of these and you’ll end up with customers ordering food from branches that can’t fulfill it, staff drowning in irrelevant notifications, and a reporting spreadsheet that hides more than it reveals.
Choosing Your Multi-Location Architecture: One Site vs Multisite vs Store Locator Plugins
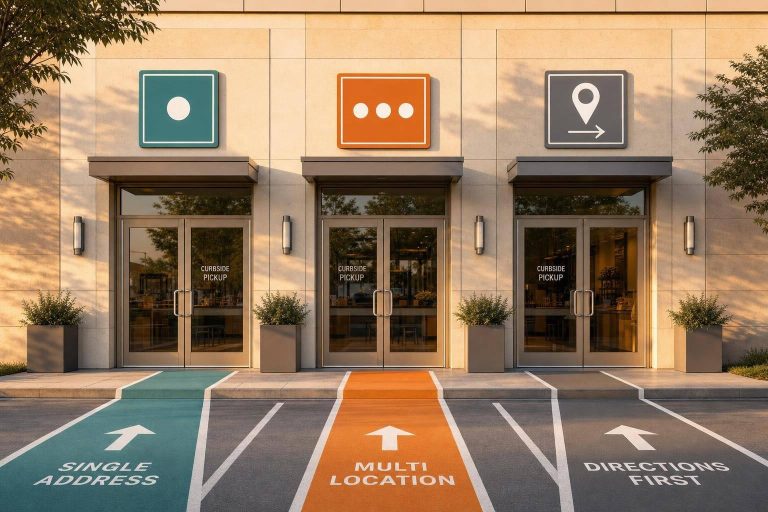
Before you install a single plugin, pick your architecture. There are three viable approaches, and the right one depends on how similar your branches are, your SEO ambitions, and your budget for maintenance.
Option 1: Single WooCommerce Store with a Location Switcher
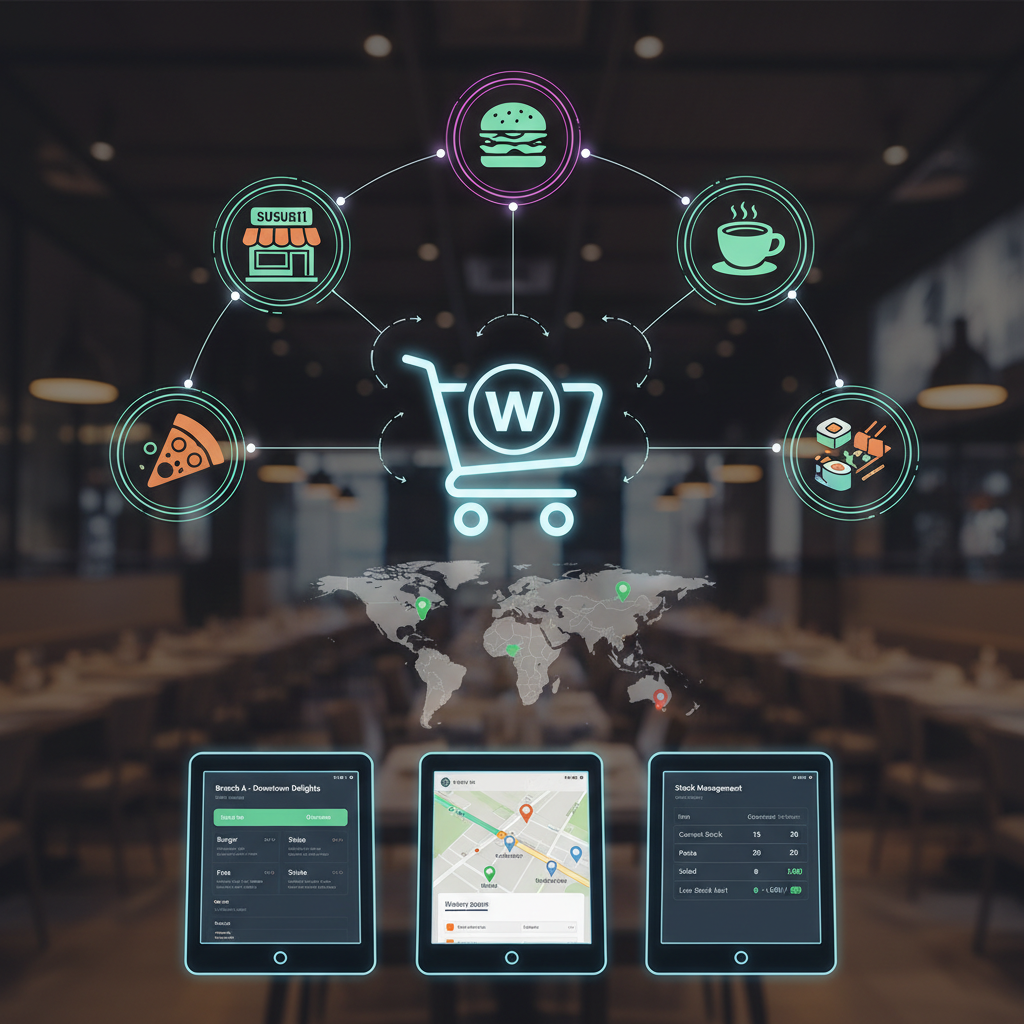
One WordPress install, one WooCommerce database, and a location taxonomy (or plugin-driven branch layer) that filters products, prices, delivery zones, and hours based on the branch the customer selects.
- Pros: Cheapest to maintain, one login, one plugin stack, unified customer accounts and loyalty, single checkout flow.
- Cons: Requires a plugin that genuinely supports per-location logic. Poorly implemented, you get shared carts and confused customers.
- Best for: Chains of 2–20 locations with mostly similar menus.
Option 2: WordPress Multisite Network (One Subsite per Branch)
Each branch runs on its own subsite (branch1.yourrestaurant.com or yourrestaurant.com/branch1), sharing themes and plugins from the network.
- Pros: Total isolation of orders, staff, menus, and content per branch. Each subsite can rank independently in local search.
- Cons: Higher hosting requirements, more complex updates, customer accounts don’t natively sync between subsites, loyalty programs become fragmented.
- Best for: Franchises where each owner-operator manages their own branch semi-independently.
Option 3: Location-Based Routing to Separate Sites
A marketing site with a location picker that redirects customers to entirely separate WooCommerce installs per city or country.
- Pros: Maximum flexibility for international brands with different currencies, languages, and legal requirements.
- Cons: Highest cost, no unified data, no shared customer accounts unless you build SSO.
- Best for: Multinational chains or brands with dramatically different regional operations.
For most independent chains and growing restaurant groups, Option 1 is the sweet spot. It keeps things manageable, gives you one dashboard, and modern restaurant plugins have caught up to the per-branch requirements. The rest of this article focuses on that path.
Step-by-Step: Setting Up Location-Based Menus and Pricing with FoodMaster
Vanilla WooCommerce doesn’t ship with a “branch” concept, so you need a restaurant ordering layer on top. FoodMaster (formerly WooFood) was built specifically for this — it introduces locations as first-class objects with their own menus, delivery rules, hours, and staff.
Here’s the practical setup sequence I recommend.
1. Create Your Locations
Inside the FoodMaster settings, create one entry per branch. For each, capture:
- Branch name (e.g., “Downtown”, “Airport Road”)
- Physical address and coordinates
- Contact phone and email
- Opening hours, per weekday
- Default preparation time (say, 25 minutes)
2. Force a Location Choice Before the Menu Loads
The single biggest UX mistake in multi-branch ordering is showing customers a menu before you know where they are. They add items, then discover half the cart isn’t available at their branch.
Configure FoodMaster’s location picker as a mandatory step on the ordering page. Customers either pick a branch manually or enter a postcode/address and get routed to the correct branch automatically. Store this choice in a session cookie so the customer doesn’t have to re-select on every visit.
3. Assign Products to Locations
Every menu item in WooCommerce should be tagged with the branches that carry it. FoodMaster uses a location taxonomy on products — you can:
- Assign an item to all branches (most items)
- Restrict it to specific branches (regional specialties)
- Override the price per branch (city-center surcharge)
For per-branch pricing, use the location-specific price field on the product. This is far cleaner than duplicating products, which would fracture your reporting.
4. Structure Categories Consistently
Even if menus vary, keep the category structure consistent across branches — “Starters”, “Mains”, “Desserts”, “Drinks”. Customers switching between branches shouldn’t feel like they’re using two different sites. Only the items inside categories should change.
[IMAGE: WooCommerce dashboard showing a product edit screen with location taxonomy checkboxes and per-branch price overrides]
5. Test With Real Scenarios
Before going live, walk through:
- Customer picks Branch A → sees Branch A menu and prices → adds items → checks out
- Customer changes to Branch B mid-session → cart should either clear with warning or filter unavailable items
- Customer enters a postcode → routed to the nearest open branch automatically
Configuring Delivery Zones, Pickup Times, and Opening Hours per Branch
Once menus are branch-aware, the next layer is fulfillment. This is where you tell the system who can deliver where, when, and how fast.
Defining Delivery Zones per Branch
There are two common approaches, and FoodMaster supports both:
- Radius-based zones. “Branch A delivers within 5 km, Branch B within 3 km.” Simple to set up, but ignores real-world geography like highways or rivers.
- Postcode-based zones. “Branch A serves SW1, SW3, SW5. Branch B serves E1, E2.” More precise, and it lets you charge different delivery fees per zone.
For most urban restaurants, postcode zones are worth the extra setup time. They eliminate the frustrating “you’re just outside our delivery area” situations that a raw radius creates. You can also layer minimum-order thresholds per zone — free delivery over £25 in your core area, £3 fee in outer zones.
Handling Overlapping Zones
When two branches can both deliver to a customer, you need a tiebreaker rule. Options:
- Nearest branch wins (measured by driving distance, not straight-line)
- Least busy branch wins (based on active order count)
- Customer chooses (transparent but adds a click)
I generally recommend “nearest branch” as the default with an option for the customer to override. It balances food quality (shorter delivery) with customer agency.
Opening Hours and Prep Time
Each branch needs its own schedule, including special hours for holidays. Prep time matters more than owners realize — it’s what drives the “earliest available” slot the customer sees. Set it realistically. A pizzeria at Friday 8 PM might legitimately need 45 minutes; a poke bowl shop at Tuesday lunch, 15.
Handling Closed Branches Gracefully
When one branch is closed, the ordering flow should:
- Hide it from the “nearest branch” auto-routing
- Show it as closed in the manual picker (with next opening time)
- Offer to switch the customer to the next-nearest open branch if their preferred branch is closed
If you also offer scheduled orders, let customers place orders in advance for a closed branch that will open before the scheduled time. It’s a small feature that captures a surprising amount of Sunday-evening-for-Monday-lunch business.
Managing Stock, Staff Accounts, and Order Routing Across Branches
Menus and delivery are the customer-facing half. The operational half — stock, staff, and order flow — is what keeps things sane behind the scenes.
Per-Location Inventory and 86’ing Items
Restaurants don’t usually track stock like ecommerce stores. Instead, they “86” items — flagging them as unavailable in real time when the kitchen runs out. FoodMaster lets a branch manager toggle any menu item as “out of stock at this location” without affecting the other branches.
Best practice: give kitchen staff a mobile-friendly view where they can 86 items with one tap. During a Friday rush, no one has time to log into WooCommerce and edit product settings.
Role-Based Staff Accounts
Set up WordPress user roles that scope visibility to a single branch:
- Branch Manager: sees only their branch’s orders, reports, and menu toggles
- Kitchen Staff: sees only incoming order tickets, can mark orders ready
- Head Office / Owner: sees all branches, all reports, all settings
This isn’t just a permissions nicety — it prevents accidents. A staff member at Branch B shouldn’t be able to mark a Branch A order as complete because they misread the notification.
Order Routing to Printers and KDS
Each order must land at the correct branch’s kitchen. FoodMaster handles this by tying orders to the location they were placed against, then pushing them to:
- The branch’s automatic ticket printer (via the FoodMaster printing app)
- The branch’s Kitchen Display System, if you use one
- The branch manager’s phone notification
If you want a deeper dive into kitchen workflows, our guide on integrating KDS and automatic printing with WooCommerce orders walks through the hardware and software combos that actually work in a busy kitchen.
[IMAGE: Split-screen showing a customer’s order confirmation on a phone and the same order printing on a kitchen thermal printer at the correct branch]
Reporting Separated by Location
Head office needs three views:
- Per-branch revenue, order count, and average order value
- Item-level performance per branch (which items sell where)
- Comparative dashboards across branches over time
Menu engineering — deciding which items to promote, cut, or reprice — depends entirely on this data. A best-seller downtown might be a dead item at the airport. Without location-segmented reports, you’d never know.
Local SEO, Google Business Profiles, and Marketing for Each Location
A single homepage listing all your branches will never rank as well as dedicated location pages. Search engines and customers both want specifics: address, phone, hours, menu, reviews.
Commission-free ordering
Run restaurant orders on your own WordPress site
FoodMaster adds delivery, pickup, dine-in, POS, and kitchen tools — with zero per-order fees.