
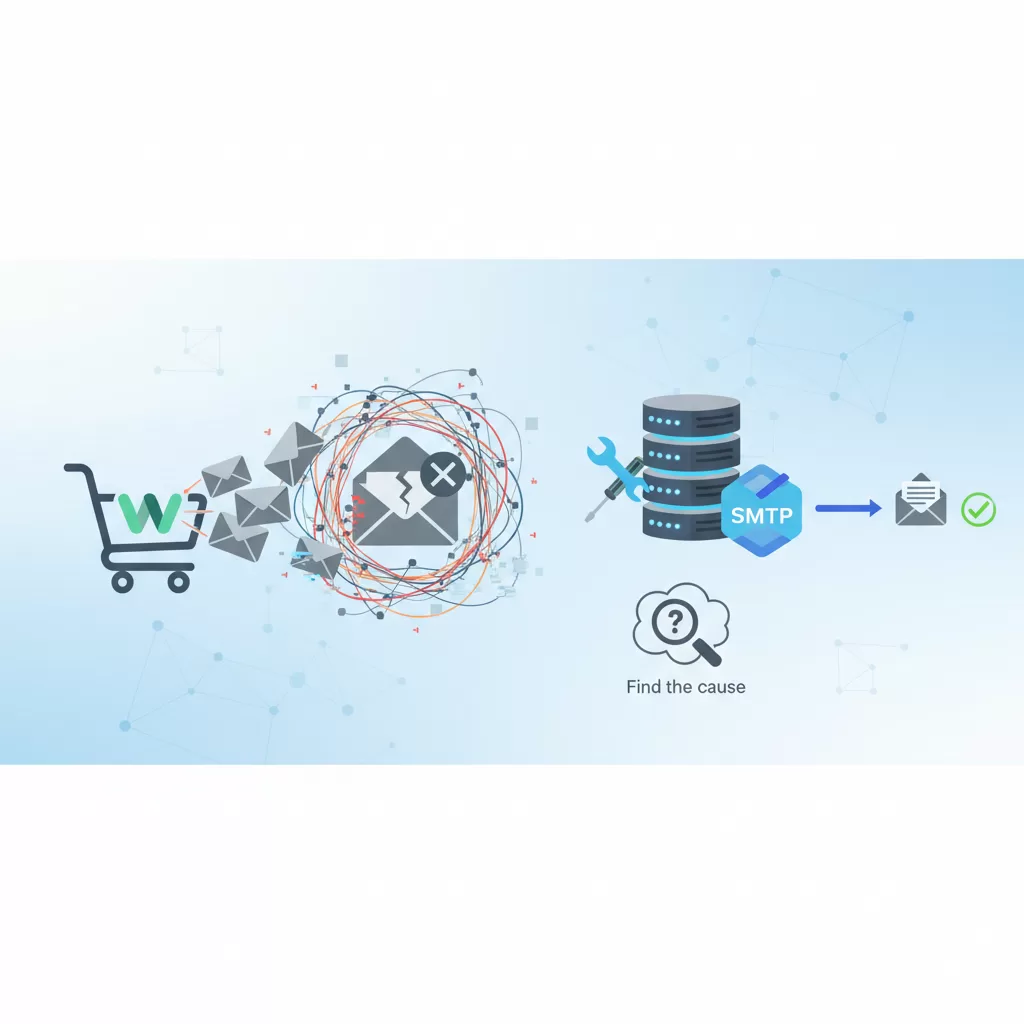
A pickup order can be sitting in WooCommerce, paid and ready to prepare, while the restaurant’s inbox stays silent. The customer gets nervous. The kitchen never sees the ticket. And suddenly an email problem looks like a payment problem.
Don’t start by installing three mail plugins or changing order statuses at random. WooCommerce email failures usually fall into three categories: the notification wasn’t generated, WordPress couldn’t hand it off, or the receiving mail system didn’t put it in the inbox. Finding that dividing line is the quickest route to a useful fix.
First, Find Out Which WooCommerce Emails Are Missing
“Order emails aren’t working” can describe several different failures. Start by identifying the missing message, its intended recipient, and one affected order number.
Suppose a customer orders two pizzas for pickup at 7:15 p.m. The restaurant should receive its enabled New order notification when the order reaches a qualifying status. The customer may receive a processing or on-hold email, depending on the payment method and order status. Those are separate notifications, not two copies of one message.
If the customer receives confirmation but the restaurant doesn’t, investigate the admin notification and recipient mailbox first. If neither receives anything, look for a shared problem: order status, email configuration, or the outgoing mail connection. If both messages are in spam, the messages were generated and sent; inbox placement is the issue.
A five-minute diagnostic checklist
- Find the order: Open WooCommerce → Orders and confirm that checkout created an order record.
- Read its status: Note whether it is pending payment, on hold, processing, completed, failed, or canceled.
- Check both addresses: Inspect the order’s billing email and the configured admin notification recipients.
- Search the mailbox: Check spam, quarantine, inbox categories, forwarding rules, and searches for the order number.
- Test another WordPress email: Request a password reset for a controlled account. Its arrival is a useful clue, although it doesn’t prove that WooCommerce notifications work.
A missing email does not prove an order or payment failed. Check the order notes and gateway transaction record before asking the customer to pay again. Equally, an order record alone doesn’t prove payment succeeded.
Keep the order number, checkout time, payment method, status, and missing notification together. That little incident record is far more useful than repeatedly refreshing an inbox.
Check WooCommerce Email Settings and Order Status
Open WooCommerce → Settings → Emails. You’ll see the notification types available on your installation; extensions can add their own. Select the relevant notification’s management screen rather than assuming every message shares one switch.
Check the notification and its recipients
For a missing restaurant alert, open New order. Confirm that the notification is enabled and that its recipient field contains the correct address. Where multiple addresses are supported, follow the field’s formatting instructions—typically comma-separated addresses—and check each one for typos.
Customer notifications normally go to the billing email saved on the order. Changing your WordPress administrator email won’t correct a customer’s mistyped checkout address. Inspect the affected order directly.
Next, check the sender options on the Emails settings page. Use a recognizable From name and a domain-based address you control, such as “Harbor Pizza Orders” with a mailbox or authorized sender on the restaurant’s domain. Don’t use the customer’s email as the From address.
Your mail plugin may override WooCommerce’s From address. If it has a “force sender” setting, make sure the final sender matches the identity authorized with your sending provider. Conflicting settings are a common source of confusion.
Match the expected email to the status transition
WooCommerce notifications respond to particular events and status transitions, not simply to an order existing. In the standard workflow, a transition into processing after successful payment commonly triggers the customer processing email and the admin new-order notification. An on-hold order can trigger an on-hold customer email and an admin notification.
A completed-order email relates to the order moving to completed. Some orders containing only products configured as both virtual and downloadable can complete automatically after payment. Extensions and custom code may alter these workflows, so compare the expected behavior with your actual setup.
Open the order and read its notes chronologically. Look for payment confirmation, transaction references, status changes, and gateway errors. A pizza order stuck at pending payment may never have reached the event needed for the expected email.
If the gateway shows a successful charge but WooCommerce still shows pending payment, investigate the payment integration. Don’t mark a real order paid merely to make an email fire: that can affect stock, reporting, and fulfillment.
After fixing the cause, use an appropriate resend action if your installation provides one. Check its label carefully; sending order details or a customer invoice isn’t necessarily the same as resending the original processing notification.
[IMAGE: WooCommerce order screen beside its email settings, highlighting the order status, chronological payment notes, enabled New order notification, and admin recipient field]
Set Up Reliable Email Delivery with an SMTP Plugin
WordPress normally sends application email through wp_mail(). Without a dedicated mail integration, delivery often depends on the hosting server’s mail configuration. That path may work, but it can lack the authentication, reporting, and delivery controls available through a transactional email service.
A mail plugin connects WordPress to a more deliberate sending route. It doesn’t repair missing order events; it improves what happens after WooCommerce asks WordPress to send a message.
Choose an API connection or traditional SMTP
WP Mail SMTP is one plugin that supports configuring this connection. Its available mailer integrations and logging features depend on the installed edition and version. Check those details before choosing a provider or planning your troubleshooting workflow.
There are two common connection types. An API-based mailer submits messages through the provider’s web API, usually using an API key or an authorization flow. Traditional SMTP connects to a mail server using its hostname, port, encryption method, and credentials.
Despite the plugin’s name, an API integration doesn’t necessarily use SMTP. API connections also avoid reliance on outbound SMTP ports that some hosts restrict. Neither method bypasses provider limits or guarantees inbox delivery.
Configure the connection carefully
- Authorize your sender. Add the restaurant’s sending domain or sender identity in the transactional provider’s account. Complete its required verification steps; full domain authentication is covered below.
- Select the matching mailer. In WP Mail SMTP, choose the supported provider integration, or the appropriate SMTP connection option when using SMTP credentials.
- Enter the exact connection details. For an API connection, follow the integration’s key or authorization instructions. For SMTP, use the provider’s specified server, port, encryption, and credentials. Port 587 with STARTTLS is common, but not universal.
- Set the From identity. Use the authorized domain-based address. Apply sender overrides deliberately so other WordPress messages don’t unexpectedly use an unauthorized identity.
- Send a plugin test email. Send to a mailbox you control, then inspect both the plugin result and the provider’s activity record.
Treat API keys and SMTP passwords like payment integration secrets. Don’t paste them into public support threads, screenshots, or ordinary order notes. Use the plugin’s documented secure configuration options where available, limit account permissions, and revoke exposed credentials.
Avoid running multiple plugins that all try to control outgoing mail. Their overrides can make it difficult to tell which configuration actually handled a message.
Before service, check sending quotas, rate limits, trial restrictions, and billing status. A test account may allow delivery only to verified recipients. And one order can generate several messages, so order volume isn’t the same as email volume.
A successful plugin test proves that this test message used a working sending path. It does not prove that WooCommerce generated the missing order notification. You still need a checkout test.
Authenticate Your Sending Domain with SPF, DKIM, and DMARC
Connecting a mail provider is only part of the job. Receiving systems also need evidence that the provider is authorized to send for your domain. That’s where DNS authentication comes in.
SPF identifies authorized senders for the envelope-sender domain—the technical return-path identity, which can differ from the visible From address. DKIM adds a cryptographic signature that the receiver can check using a public key published in DNS.
DMARC checks whether the visible From domain aligns with a passing SPF identity or DKIM signing domain. It also publishes a requested policy for messages that fail and can enable reporting.
The practical translation: publishing an SPF record somewhere isn’t enough. Your provider’s configuration must authenticate the message in a way that aligns with the restaurant’s visible sender domain.
Add the provider’s records, not somebody else’s example
Open your sending provider’s domain-verification area and copy its exact DNS record names, types, and values. Depending on the service, you may receive TXT records, DKIM CNAME records, and records for a custom return-path subdomain.
Add them wherever your domain’s authoritative DNS is managed. That might be your registrar, host, or another DNS service—not necessarily the company hosting WordPress.
Watch how the DNS editor handles names. Some panels automatically append your domain, so pasting a complete hostname into a relative-name field can create a duplicated domain name.
Don’t create multiple SPF records at the same DNS name. If an SPF policy already exists there, the authorized senders need to be reconciled into one valid policy, respecting SPF’s DNS-lookup limit. Ask the provider or DNS administrator to help rather than appending records blindly.
For DMARC, begin with monitoring before enforcing a restrictive policy. An initial p=none policy can help you identify legitimate sending sources through reports without requesting rejection. Include reservation systems, staff email, marketing tools, and receipts in that review.
Once DNS changes are visible, rerun the provider’s verification and inspect a received message’s authentication results or full headers. Look for SPF, DKIM, and DMARC outcomes. Passing authentication supports delivery, but reputation, content, recipient filtering, and mailbox rules still influence placement.
[IMAGE: Email delivery diagram showing WooCommerce sending through a mail provider, DNS checks for SPF and DKIM, DMARC alignment with the restaurant’s From domain, and the receiving mailbox]
Trace Emails That Still Fail or Go to Spam
Now follow one specific test order through the chain: order event, notification generation, mail handoff, provider processing, and recipient delivery. Record timestamps and, where available, the provider message ID. Otherwise, it’s easy to investigate yesterday’s test by mistake.
No generated message: inspect triggers and configuration
If appropriate logging was active before the test and shows no send attempt, return to the notification settings and status transition. A log enabled afterward can’t reveal what happened earlier. Also confirm that your logging tool captures the relevant sending path.
Check whether custom code disables an email, changes recipients, or modifies status handling. Email customizer extensions and theme template overrides also deserve inspection when errors or recent changes point in that direction. Check WooCommerce → Status → Logs and relevant PHP error logs for matching timestamps.
Investigate payment webhooks when there’s evidence that payment confirmation didn’t reach the order—for example, a captured payment in the gateway but an unchanged pending status in WooCommerce. Review the gateway’s callback records and integration logs. Webhooks aren’t a universal explanation for missing email.
Likewise, inspect WooCommerce → Status → Scheduled Actions when your setup defers emails or relevant extensions use background tasks. Look for failed or overdue actions tied to that workflow. Not every standard WooCommerce notification passes through this queue.
A sending error: inspect the connection
An authentication error points toward credentials, account permissions, or sender authorization. A timeout suggests a connection problem, blocked port, or unavailable endpoint. A rate-limit response points toward provider restrictions.
Read the actual error before changing settings. Repeatedly replacing passwords won’t fix a blocked SMTP port, and changing DNS won’t fix a revoked API key. Redact secrets before sharing error output with support.
Provider acceptance, but no inbox delivery: inspect the outcome
Provider acceptance means the service accepted the submission; it doesn’t mean the recipient received it. Check subsequent delivery events for deferrals, bounces, rejections, or suppression.
A suppressed address may have previously bounced or generated a complaint. Correct the underlying issue and follow the provider’s policy rather than repeatedly forcing messages to the same address. If the provider records delivery, that generally means the receiving server accepted the message—not that it reached the inbox.
At that point, inspect recipient quarantine, rules, spam placement, and authentication results. For a staff mailbox, your mail administrator may have a message trace that shows what happened after acceptance.
Keep logs private and conflict tests off the live checkout
Order emails can expose names, addresses, phone numbers, and purchase details. Prefer metadata-only logging where it’s sufficient, restrict access, and use a short retention period. Avoid storing full email bodies indefinitely just because a logging option exists.
For suspected conflicts, use a staging copy with outbound customer emails blocked or redirected and live payment activity disabled. Test a minimal configuration, then restore extensions individually. Don’t disable payment or ordering plugins on a busy production restaurant site to see what happens.
Test a Full Order Journey Before Your Next Busy Shift
A test email is a connection check. A test order is the operational check. You need both before trusting the fix during dinner service.
Use your payment gateway’s supported sandbox or test mode in an isolated test environment. Don’t switch the live restaurant into test mode while customers are ordering. Confirm that staging doesn’t send duplicate alerts to production printers, kitchen displays, delivery integrations, or SMS recipients.
- Place a realistic order. Include a pickup or delivery choice and representative modifiers. Use customer details and email addresses you control.
- Complete a supported test payment. Verify the gateway result, order notes, and expected status transition.
- Check the admin notification. Confirm it reaches the configured recipients and contains usable order details.
- Check the customer notification. Verify the processing, on-hold, or completed message appropriate to the workflow. Test completion separately if staff normally perform that step later.
- Repeat across mailbox providers. Use at least two receiving systems where practical. Check inbox placement and spam, not just the sender’s success message.
- Measure the delay. Compare checkout, provider submission, and receipt times against the restaurant’s preparation workflow.
Then agree on a fallback with the shift manager. Assign someone to monitor the WooCommerce order dashboard or the restaurant’s existing kitchen display. An unattended dashboard isn’t much better than an unattended inbox.
For restaurants building that workflow, FoodMaster’s WooCommerce restaurant ordering system includes POS, kitchen display, QR table ordering, and automatic printing alongside delivery and pickup ordering. Those tools can reduce dependence on email, but their configuration, connectivity, and order routing still need testing.
SMS can provide supplementary staff alerts where configured, subject to applicable consent requirements and delivery limitations. It shouldn’t become another single point of failure.
The finish line isn’t “the test email arrived.” It’s a paid order reaching the people who prepare it, with a backup route when a notification goes missing. Dinner service shouldn’t depend on somebody remembering to check spam.