On this page
- Why Third-Party Delivery Integrations Matter for WooCommerce Restaurants in 2026
- Self-Hosted Ordering vs. Third-Party Platforms: The Real Cost Breakdown
- Preparing Your WooCommerce Restaurant for Aggregator Integration
- Menu Structure Checklist
- Stock and Availability Sync
- Step-by-Step: Connecting DoorDash, Uber Eats & Grubhub to WooCommerce
- Option A: Middleware (Recommended for Most)
- The Setup Flow
- Option B: Direct API Integration
- Hybrid: Marketplace Listings + Your Own Drivers
- Managing Menus, Pricing & Availability Across All Channels
- Channel-Specific Pricing (The 15–20% Rule)
- Real-Time 86-ing
- Hours Sync
- Avoiding Rush-Hour Oversell
- Driving Customers Back to Your Direct WooCommerce Site
- 1. Bag Inserts and QR Codes
- 2. Direct-Only Promotions
- 3. Loyalty Programs
- 4. SMS and Email Follow-Ups
- 5. QR Table Ordering for Dine-In
Running a restaurant in 2026 means walking a tightrope. On one side, you have the aggregators — DoorDash, Uber Eats, Grubhub — bringing you a flood of new customers you’d never reach on your own. On the other, they’re quietly clipping 15% to 30% off every order, holding your customer data hostage, and turning your kitchen into a printer-tablet circus during Friday night rushes.
The good news? You don’t have to choose one path. With a properly configured WooCommerce setup, you can plug into all three aggregators, keep your direct-ordering channel healthy, and stop bleeding margin on every ticket. This guide walks through exactly how to do that — the tools, the numbers, and the traps to avoid.
Why Third-Party Delivery Integrations Matter for WooCommerce Restaurants in 2026
The delivery aggregator market has consolidated but hasn’t slowed down. DoorDash controls roughly 65% of U.S. food delivery market share, Uber Eats sits around 23%, and Grubhub holds most of the remaining slice, with strong pockets in New York and Chicago. Ignoring them means ignoring a customer base that increasingly discovers restaurants through the app rather than through Google or word of mouth.
But here’s the uncomfortable math: a typical marketplace commission runs 15% for pickup-only and climbs to 30% for full delivery with promoted placement. Add payment processing (already baked in), the occasional refund you eat unfairly, and the pressure to run discounts inside the app, and your effective take-rate can drop below 60% of gross sales.
The strategic play isn’t “aggregators vs. direct.” It’s using aggregators as a paid acquisition channel — treat them like Google Ads with delivery attached — while funneling repeat customers to your own WooCommerce site where you keep 97%+ of every dollar. This article shows you the mechanics.
Self-Hosted Ordering vs. Third-Party Platforms: The Real Cost Breakdown
Let’s put actual numbers on the page. Here’s what happens to a $50 order across four channels:
| Channel | Gross | Commission | Payment Fees | You Keep |
|---|---|---|---|---|
| Direct (WooCommerce + FoodMaster) | $50.00 | $0 | ~$1.75 (Stripe 2.9% + $0.30) | $48.25 |
| DoorDash Marketplace (delivery) | $50.00 | $15.00 (30%) | Included | $35.00 |
| Uber Eats (delivery, standard) | $50.00 | $15.00 (30%) | Included | $35.00 |
| Grubhub (delivery + marketing) | $50.00 | ~$13.75 (27.5%) | Included | $36.25 |
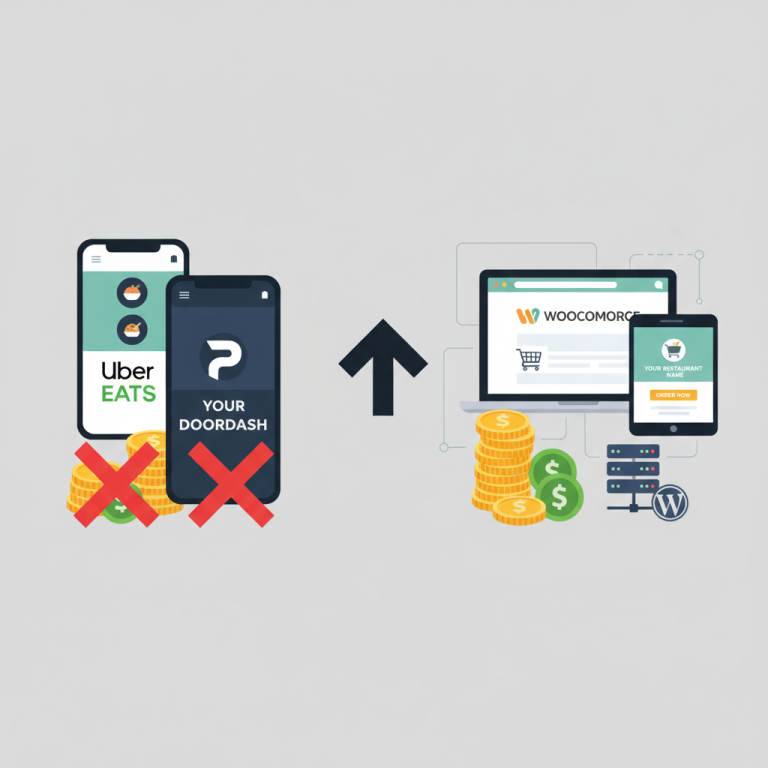
That’s a $13+ swing per ticket. Over 1,500 orders a month, direct ordering nets roughly $19,500 more than the average aggregator channel. That difference pays for a plugin license, a delivery driver, a POS tablet, and a marketing budget — with money left over.
Beyond dollars, direct ordering wins on four fronts that aggregators structurally can’t compete with:
- Customer data ownership. Names, phone numbers, order history, and email addresses are yours. Aggregators show you an anonymized ID.
- Branding. Your site looks like you. Aggregator listings look like every other restaurant on the app.
- Menu flexibility. Modifiers, combos, upsells, tipping, loyalty — all yours to design.
- No forced promotions. No “Buy 1 Get 1” mandates just to keep visibility.
A restaurant ordering plugin like FoodMaster for WooCommerce gives you the direct-order infrastructure — delivery zones, prep time, automatic printing, KDS, QR table ordering — without paying per transaction. Aggregators become your billboard; your website is your cash register.
Preparing Your WooCommerce Restaurant for Aggregator Integration
Before you connect anything, clean up your WooCommerce catalog. Every middleware and API integration expects structured, predictable data. Sloppy menus break syncs and cause the dreaded “item unavailable” flag that kills conversions.
Menu Structure Checklist
- Standardize product titles. “Margherita Pizza — 12 inch” is better than “Marg (medium)”. Aggregator search algorithms index literal text.
- Use consistent categories. Appetizers, Mains, Sides, Desserts, Drinks. Aggregators map these to their own taxonomy.
- Standardize modifier groups. “Size” (Small/Medium/Large), “Add-ons” (Extra cheese, Bacon), “Cooking preference” (Rare/Medium/Well). WooCommerce variations and product add-ons should mirror this structure.
- Upload 1200x800px+ images for every item. Uber Eats specifically boosts listings with photos on 80%+ of items.
- Set accurate prep times per item. A ribeye and a Caesar salad don’t take the same 15 minutes.
- Mark allergens and dietary tags. Vegan, gluten-free, contains nuts — required in several jurisdictions and boosts visibility.
[IMAGE: WooCommerce product edit screen showing a menu item with modifier groups, categories, prep time, and high-quality food photo]
Stock and Availability Sync
The number one cause of aggregator refunds is “restaurant marked item unavailable after order was placed.” Configure WooCommerce stock management so that when you 86 the salmon in FoodMaster, it propagates to every connected channel within 30 seconds. Middleware handles this — but only if your WooCommerce stock statuses are accurate to begin with.
Step-by-Step: Connecting DoorDash, Uber Eats & Grubhub to WooCommerce
There are two paths: middleware or direct integration. For 90% of independent restaurants, middleware is the right call — the direct APIs require developer time and ongoing maintenance you probably don’t want to own.
Option A: Middleware (Recommended for Most)
Middleware platforms sit between your WooCommerce store and the aggregators, translating menus and forwarding orders. The major players:
- Otter — Strong tablet consolidation, popular with virtual brand operators.
- Deliverect — Enterprise-friendly, deep POS integrations, roughly $99–$179 per location per month.
- Chowly — U.S.-focused, tight Grubhub relationships.
- Cuboh — More affordable, common with small independents.
The Setup Flow
- Sign contracts with each aggregator. DoorDash Merchant Portal, Uber Eats Manager, Grubhub for Restaurants. Expect 5–10 business days for menu approval.
- Choose your middleware and sign up. They’ll ask which POS/e-commerce system you use. Select “WooCommerce” or “Custom API”.
- Install the middleware’s WooCommerce connector. Most provide a WordPress plugin or webhook endpoint. You’ll paste an API key from the middleware dashboard into your WooCommerce settings.
- Map your menu. The middleware pulls your WooCommerce products. You’ll confirm which items go to which channels, adjust prices per channel, and match modifier groups.
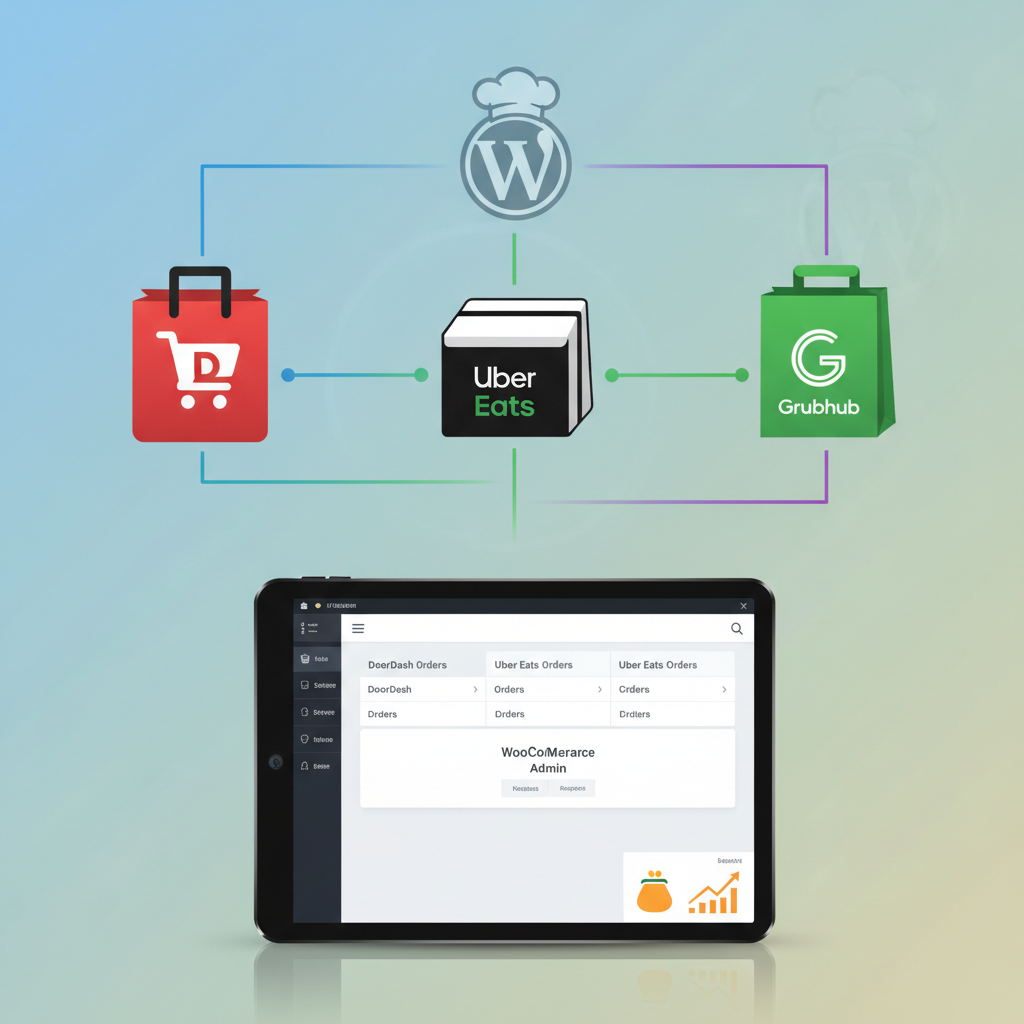
- Configure order routing. Incoming aggregator orders should hit your WooCommerce dashboard as normal orders with a source tag (“DoorDash”, “Uber Eats”). If you use FoodMaster, orders land in the same queue as direct orders, print automatically, and appear on your KDS.
- Test with a $5 order on each platform before going live. Verify printing, KDS display, and status updates (Accepted → Preparing → Ready).
Option B: Direct API Integration
If you have developer resources or a chain with 20+ locations, direct integrations via DoorDash Marketplace API, Uber Eats API, and Grubhub API eliminate the middleware monthly fee. You’ll build against each platform’s webhook system and handle menu sync, order acceptance, and status callbacks yourself. Budget 3–6 weeks of dev time and ongoing maintenance for API changes.
Hybrid: Marketplace Listings + Your Own Drivers
DoorDash Drive and Uber Direct are the “delivery-as-a-service” arms of these companies. Customers order on your WooCommerce site, and DoorDash/Uber dispatches a driver for a flat fee (typically $7–$10) rather than a percentage. FoodMaster supports this workflow — customers checkout on your branded site, you keep your margin, and the aggregator only handles logistics. This is often the best compromise for busy independents.
Managing Menus, Pricing & Availability Across All Channels
Once you’re live on three aggregators plus your direct site, managing four menus manually is a losing game. Here’s how to stay sane.
Channel-Specific Pricing (The 15–20% Rule)
Raise aggregator menu prices by 15–20% to offset commission. A $12 burger direct becomes $14.50 on DoorDash. Customers who compare will notice, and many will choose to order direct — which is exactly the point. This is not price gouging; it’s channel economics. Chipotle, Shake Shack, and thousands of independents do this openly.
Configure this once in your middleware, not in WooCommerce itself. Your direct site should always show the true (lower) price.
Real-Time 86-ing
When you run out of an item, 86 it in one place — your middleware or FoodMaster dashboard — and let the sync push to all channels. Never edit individual aggregator apps; that’s how items go missing on Grubhub for three days because someone forgot.
Hours Sync
Update holiday hours, weather closures, and reduced-menu times in your middleware. Aggregators cache hours aggressively — expect a 5–15 minute delay for changes to appear.
Avoiding Rush-Hour Oversell
The Friday 7:30 pm nightmare: 40 orders hit at once, kitchen can’t keep up, aggregators keep sending more. Two defenses:
- Order throttling — most middleware lets you cap orders per 15-minute window. Set it to your realistic kitchen capacity.
- Dynamic prep times — bump prep from 20 to 45 minutes during peak. This slows the funnel and sets customer expectations.
FoodMaster’s prep-time and order-limit features let you throttle your direct channel the same way, so nothing overwhelms the line.
[IMAGE: Restaurant WooCommerce Restaurant: Ticket Screens, Prep Times & Order Flow”>kitchen display system showing incoming orders from multiple delivery channels color-coded by source]
Driving Customers Back to Your Direct WooCommerce Site
Every aggregator order is a chance to convert a marketplace customer into a direct customer. Restaurants that nail this see 30–40% of repeat orders shift to direct within 6 months. Here’s the playbook.
1. Bag Inserts and QR Codes
Print a small card that goes into every delivery bag: “Order direct next time and save 15% — scan to order.” The QR code links straight to your WooCommerce menu with a discount code auto-applied. Cost: about $0.03 per card. Conversion: typically 8–15% of recipients try direct within 30 days.
2. Direct-Only Promotions
Never run the same promo on aggregators as on your site. Reserve your best offers — free delivery over $30, buy-2-get-1 on Tuesdays, birthday freebies — for direct orders only. Advertise them on your bag inserts and social media.
3. Loyalty Programs
Aggregators don’t let you track customers across orders. Your WooCommerce site does. Add a points-based loyalty system (WooRewards, YITH Points and Rewards, or similar) so every direct order earns credit toward future ones. This is one of the strongest retention levers a restaurant has.
4. SMS and Email Follow-Ups
When someone orders direct, you legally have their contact info. Send a thank-you SMS 30 minutes after delivery with a code for their next order. Send a monthly email highlighting new menu items. Compliance matters — always get opt-in consent at checkout.
5. QR Table Ordering for Dine-In
If you have a
Commission-free ordering
Run restaurant orders on your own WordPress site
FoodMaster adds delivery, pickup, dine-in, POS, and kitchen tools — with zero per-order fees.