On this page
- What Google Analytics 4 Can Tell You About Your WooCommerce Store
- The four events to understand first
- Create Your GA4 Property and Choose a Tracking Plugin
- Create the property and web stream
- Choose one owner for ecommerce tracking
- Connect WooCommerce and Configure Ecommerce Tracking
- 1. Connect the measurement ID
- 2. Enable and verify ecommerce events
- 3. Inspect the product and transaction data
- 4. Check a realistic restaurant basket
- Configure Consent and Keep Customer Details Out of Analytics
- Keep checkout information out of event payloads
- Place a Test Order and Troubleshoot Missing or Duplicate Purchases
- Follow one order from product view to payment
- When purchases disappear—or multiply
- Read Your First Sales Reports and Find Ordering Drop-Offs
- Start with acquisition, then inspect products
- Build a simple checkout funnel
- Tag campaigns and review weekly
A busy WooCommerce dashboard tells you that orders came in. It doesn’t tell you why the lunch-special email worked, which Instagram campaign brought paying customers, or where mobile shoppers abandoned checkout.
Google Analytics 4 fills in that journey. But only if your ecommerce events are configured correctly. A pageview tag alone won’t explain which products people added to their carts—or reliably report the resulting sales.
This guide covers a practical GA4 setup for WooCommerce in 2026, from creating your property to verifying a purchase. We’ll use restaurant orders as examples, although the same principles apply to other WooCommerce stores.
What Google Analytics 4 Can Tell You About Your WooCommerce Store
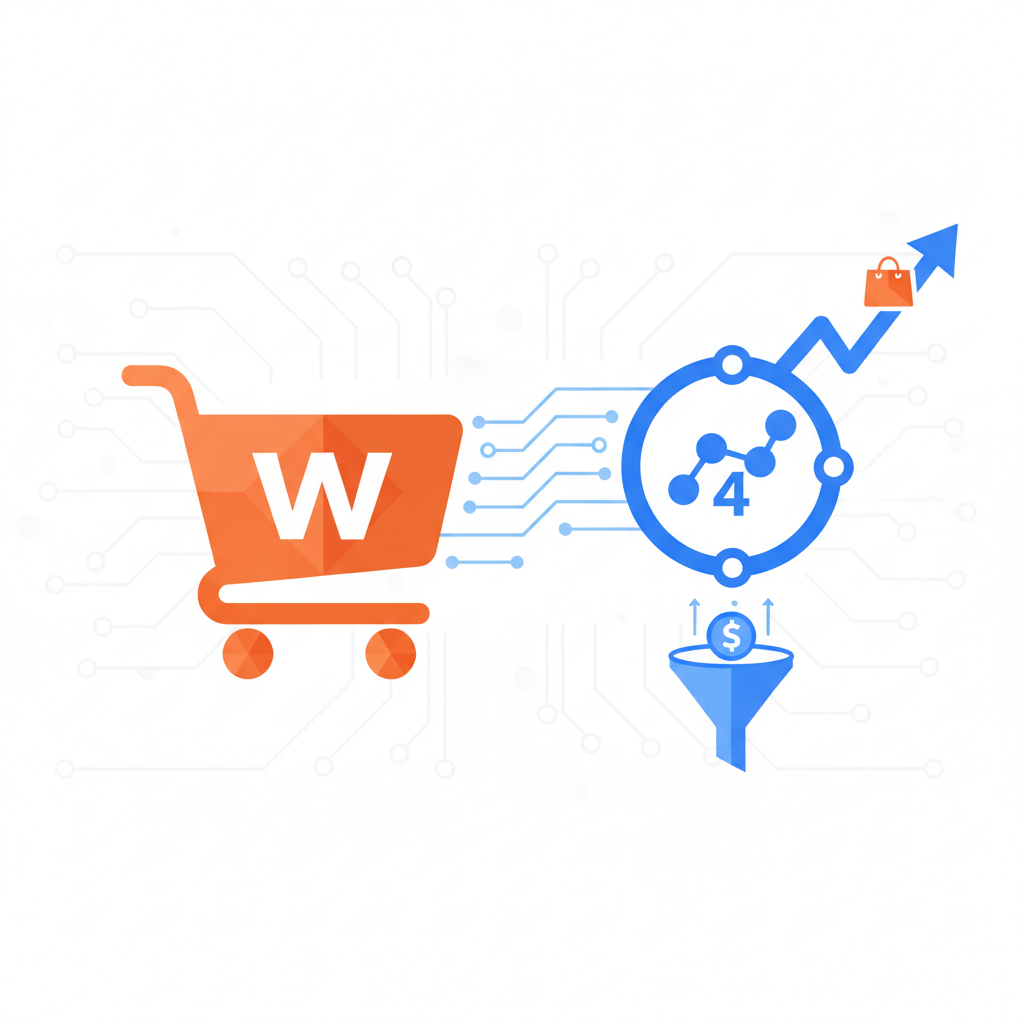
Think of WooCommerce as your order ledger and GA4 as your customer-journey reporting tool. WooCommerce records orders, payment statuses, products, taxes, and refunds. GA4 observes interactions and connects them with acquisition information, subject to consent and tracking limitations.
Suppose your restaurant receives 40 online orders on Friday. WooCommerce can tell you what sold and which orders need delivery. GA4 can help you investigate whether those customers arrived through organic search, an email promotion, or a tagged social campaign.
That distinction matters when you’re deciding where to spend your next marketing dollar. Traffic alone is a poor scoreboard. A campaign bringing fewer visitors may still generate more purchases.
The four events to understand first
GA4 uses events rather than treating every interaction as a page visit. For a basic WooCommerce sales journey, start with these:
- view_item: a shopper views a product’s details.
- add_to_cart: a shopper adds an item to their cart.
- begin_checkout: a shopper begins the checkout process.
- purchase: an order is reported as a purchase, with its transaction and item data.
A restaurant visitor might view a pizza, add it with extra cheese, start checkout, and complete payment. Those events reveal where the journey stops. Missing checkout events, however, can make a perfectly functional store look broken—so verify the tracking before blaming the menu.
Expect differences between analytics revenue and WooCommerce totals. Consent choices, browser blocking, missing payment returns, reporting time zones, refunds, and different definitions of revenue all affect comparisons. GA4 purchase value normally excludes separately reported tax and shipping; your order total may include both.
Use WooCommerce and your payment records for financial reconciliation. Use GA4 to understand behavior and marketing performance, not as a replacement accounting system.
Create Your GA4 Property and Choose a Tracking Plugin
Create the property and web stream
Use a Google account controlled by the business, not an outside contractor’s personal account. Give staff and agencies individual access afterward. Losing analytics access when someone leaves is an avoidable headache.
- Open Google Analytics and use Admin to create an account if your business doesn’t already have one. Review the account data-sharing settings rather than accepting them without reading.
- Create a GA4 property with a recognizable name, such as “Harbor Pizza — Online Store.” Set the reporting time zone and currency to match your store’s reporting needs.
- Complete the business details and objectives. These influence the initial report collection; they don’t install WooCommerce sales tracking.
- Create a Web data stream. Enter your store’s canonical HTTPS address and a descriptive stream name.
- Open the stream details and copy its measurement ID, which begins with G-.
Enhanced measurement can capture interactions such as scrolls and outbound clicks. It doesn’t automatically supply WooCommerce’s product prices, cart contents, or purchase values. You still need an ecommerce integration.
Review enhanced measurement’s form tracking on checkout pages, too. Generic form interactions aren’t substitutes for checkout events and can clutter your analysis.
Choose one owner for ecommerce tracking
For this walkthrough, the implementation is the official Google Analytics for WooCommerce extension, also commonly called WooCommerce Google Analytics Integration. It connects WooCommerce to GA4 without requiring you to build a custom ecommerce data layer.
Before installing any version, check its current documentation, update history, and compatibility with your WordPress and WooCommerce versions. Specifically verify support for your checkout: classic shortcode checkout and Checkout Blocks are different implementations. Custom one-page ordering interfaces need their own testing.
The basic integration is intended for storefront analytics, not a complete reporting backend. Don’t assume that refund synchronization, server-side payment confirmation, consent collection, custom modifier reporting, or customer identity features are included. Check the free-versus-paid boundaries of any proposed add-ons before buying them.
Next, audit existing tracking. Your theme, a header-script plugin, a marketing extension, and Google Tag Manager could all contain a Google tag. Tag Assistant can help identify what loads.
Multiple Google tags aren’t automatically a mistake; different products can use them. The problem is two implementations sending the same pageviews or ecommerce events to the same GA4 destination. Assign one implementation responsibility for each event.
Connect WooCommerce and Configure Ecommerce Tracking
1. Connect the measurement ID
Back up your site and test changes on staging where possible. Use a separate GA4 test property for staging so development orders don’t contaminate your live sales reports.
Install and activate the extension, then open WooCommerce → Settings → Integration → Google Analytics. Enter your G- measurement ID in the analytics ID field and save. Setting labels can vary by release; follow the installed version’s documentation rather than instructions written for Universal Analytics.
If the extension will handle pageviews, don’t also install a separate pageview snippet for the same stream. Conversely, an existing managed Google tag setup needs an explicit plan for which component sends what.
2. Enable and verify ecommerce events
Review the extension’s tracking settings, including purchase transactions and add-to-cart tracking where those controls appear. Its supported storefront interactions generate ecommerce events automatically once the relevant tracking is enabled; you shouldn’t need to create every product event manually in GA4.
For the standard product-to-checkout journey, verify view_item, add_to_cart, begin_checkout, and purchase in your installed release. Some events depend on the template and interaction used. A product-page add-to-cart button and a restaurant’s AJAX quick-order button aren’t necessarily equivalent.
Don’t create a purchase event from a generic “thank-you page viewed” rule. That shortcut lacks reliable transaction details and can count page reloads or unpaid orders as sales.
For a restaurant using FoodMaster’s WooCommerce restaurant ordering system, the appeal is keeping delivery, pickup, and dine-in orders within WooCommerce. Analytics still needs separate verification across its ordering flow, including QR table ordering and any quick-add interactions. Restaurant ordering functionality doesn’t automatically guarantee coverage by an analytics extension.
3. Inspect the product and transaction data
Event names are only half the job. GA4’s ecommerce implementation documentation describes the parameters that make those events useful.
- Product identifiers: use a stable item_id convention. Check whether the integration sends product IDs, variation IDs, or SKUs, and keep identifiers consistent across the journey.
- Currency: send the actual transaction currency, such as USD, alongside monetary values. The property’s reporting currency doesn’t replace this event parameter.
- Transaction ID: purchase should include a unique, stable transaction_id for the order—not a new random value on each page load.
- Items: verify item names, identifiers, quantities, and prices. Variation descriptions belong in item_variant when supported.
Custom order-number plugins deserve attention here. The customer-facing number and WooCommerce’s internal order ID may differ. Either can support reconciliation if the mapping is stable and understood.
4. Check a realistic restaurant basket
Consider a large pizza priced at $18, a $2 extra-cheese modifier, and an $8 side. The merchandise subtotal is $28. Add $2.24 tax and $3 delivery, and the customer pays $33.24.
Following GA4’s recommended purchase structure, value would be 28, tax 2.24, shipping 3, and currency USD. The item prices multiplied by quantities should reconcile with the merchandise value after applicable discounts.
The extra cheese might be included in the pizza’s $20 item price or represented separately, depending on how the ordering system stores it. Don’t assume that every modifier becomes a separate analytics item. Likewise, tips and other fees need an explicit reporting decision; they shouldn’t silently inflate merchandise revenue.
[IMAGE: Diagram of a WooCommerce pizza order progressing through view_item, add_to_cart, begin_checkout, and purchase, with a $28 merchandise value separated from tax and delivery charges]
Configure Consent and Keep Customer Details Out of Analytics
Configure privacy controls before collecting production traffic. Where consent is required, your consent management platform must control the actual tracking behavior—not merely display a banner while analytics runs regardless.
Choose a setup compatible with the integration that owns your Google tag. Test what happens before a choice, after rejection, and after acceptance. A banner connected to Tag Manager won’t necessarily control a tag injected independently by a plugin.
Google Consent Mode communicates consent states to Google tags. It doesn’t collect consent, determine your legal obligations, or guarantee compliance. Its basic and advanced implementations behave differently: advanced implementations can send cookieless pings when storage consent is denied.
Review Google’s Consent Mode documentation and agree on the appropriate behavior with your privacy adviser. Don’t describe a setup as “nothing is sent before consent” without testing that claim.
Keep checkout information out of event payloads
Names, email addresses, phone numbers, delivery addresses, and order notes must stay out of GA4 parameters. “Leave at the side door, call Maria” is useful to a driver. It has no place in analytics.
Inspect page_location, page titles, referrers, event parameters, and item names. Check checkout and confirmation URLs for personal data, access tokens, and order keys. Some WooCommerce confirmation URLs contain an order key; redact unnecessary sensitive URL components before they reach analytics.
Prevention at the source is preferable to cleanup. Don’t put customer details in URLs or pass order metadata wholesale into a tracking data layer. If using GA4’s available data-redaction controls as a safeguard, remember they don’t inspect every possible custom payload.
Never use an email address—even a hashed one—as a homemade customer identifier. A properly implemented User-ID uses a non-identifying internal value and still requires a considered privacy setup.
Place a Test Order and Troubleshoot Missing or Duplicate Purchases
Follow one order from product view to payment
Use a payment gateway’s supported test mode on staging first. Then validate the live setup with a controlled order if necessary. Use dummy customer details and record the WooCommerce order ID, items, tax, delivery charge, and expected merchandise value.
Connect Google Tag Assistant to your storefront and follow the customer journey. Enable the appropriate debug behavior, then open GA4’s DebugView. Accept analytics consent for this diagnostic test; separately test the rejection path afterward.
Look for view_item → add_to_cart → begin_checkout → purchase. Open each event and inspect its parameters rather than celebrating the appearance of four event names.
For purchase, confirm the transaction_id, value, currency, and items array. Check that a quantity of two isn’t reported as one, and that paid extras haven’t disappeared from the price.
Realtime helps confirm that activity is arriving, but DebugView is better for inspecting individual events. Standard reports take longer to populate—allow up to 24–48 hours for processing before treating a missing report row as proof of failure.
When purchases disappear—or multiply
Duplicate installations: inspect Tag Assistant for repeated purchase sends to the same property. Refresh the confirmation page and revisit it once. GA4 uses transaction IDs to help deduplicate purchases, but that’s not a substitute for fixing duplicate triggers.
Blocked scripts or consent: compare a clean browser session with your normal browser. Privacy extensions can block analytics. Also check whether the consent platform updates the tag after acceptance and whether a logged-in administrator is excluded from tracking.
Caching and optimization: cart, checkout, and customer-specific confirmation responses shouldn’t be served as shared cached pages. Temporarily disable script delay or combination to isolate a problem. A script delayed until the next click may never run on the final confirmation screen.
Checkout compatibility: test the exact checkout customers use, including express wallets, Checkout Blocks, mobile quick-order panels, and redirects. A successful classic checkout test doesn’t validate every alternative path.
Off-site payments: browser-based purchase tracking may depend on the customer returning from the payment provider. Payment can succeed without that return. Server-side reporting can address some gaps, but requires a separate, consent-aware implementation and coordinated transaction IDs to avoid duplicates.
Finally, inspect order status. A confirmation screen can appear for pending payment or an offline payment method. Canceled, failed, and unpaid orders shouldn’t be counted as completed paid sales. Verify the extension’s purchase trigger; if it can’t enforce your required payment-status rule, that needs an implementation change, not an invented checkbox.
[IMAGE: GA4 DebugView beside a WooCommerce test order, highlighting matching transaction ID, USD currency, $28 purchase value, item quantities, and a single purchase event]
Read Your First Sales Reports and Find Ordering Drop-Offs
Start with acquisition, then inspect products
In Reports, find Acquisition → Traffic acquisition. Report navigation varies with your selected business objectives and published collections; an administrator can adjust the report library if needed.
Use Session source / medium or Session campaign to compare traffic with purchases and purchase revenue. User acquisition answers a different question: how users were first acquired. Don’t mix the two scopes when judging a particular promotion.
Next, open Monetization → Ecommerce purchases, or the equivalent ecommerce report in your collection. Compare item views, cart additions, items purchased, and item revenue. Use purchase revenue rather than broader revenue metrics when reconciling order activity.
Build a simple checkout funnel
In Explore, create a Funnel exploration with view_item, add_to_cart, begin_checkout, and purchase as its steps. Allow indirectly followed steps so ordinary intervening events don’t break the journey. Add Device category as a breakdown.
A closed funnel includes only users entering at the first step. That can exclude restaurant customers who add food directly from a menu without opening a product page. Use an open funnel or start with add_to_cart when that better matches the ordering interface.
If mobile checkout completion trails desktop, investigate address fields, delivery-area errors, payment options, and modifier usability. Small samples and missing events can distort the picture, so reproduce the experience before redesigning checkout.
Tag campaigns and review weekly
For an email promotion, use consistent UTM values such as utm_source=newsletter, utm_medium=email, and utm_campaign=friday_pizza. Add them to the destination link with a campaign URL builder. Never include customer identifiers, and don’t tag internal menu links—they can muddy attribution.
Refunds require verified refund-event support; changing an order in WooCommerce doesn’t guarantee GA4 receives an update. Similarly, returning visitors aren’t necessarily repeat buyers. Cross-device customer analysis requires a verified identity implementation, and WooCommerce remains the better reference for order history.
- Compare purchases and merchandise revenue using matching dates and time zones.
- Review campaign results alongside traffic volume.
- Check mobile checkout drop-offs and unexpected event gaps.
- Retest after checkout, payment, analytics, or consent changes.
- Investigate discrepancies before acting on the numbers.
The useful setup isn’t the one with the most events. It’s the one you’ve tested, understand, and can trust enough to make next week’s ordering experience better.
Commission-free ordering
Run restaurant orders on your own WordPress site
FoodMaster adds delivery, pickup, dine-in, POS, and kitchen tools — with zero per-order fees.