A customer pays for dinner, sees the order confirmation screen, and never receives an email. Meanwhile, the restaurant’s admin inbox stays quiet. It looks like one WooCommerce problem, but the failure could be in several different places—and installing an SMTP plugin won’t fix all of them.
The quickest route to a reliable fix is to follow one controlled order from payment through to inbox delivery. Check whether WooCommerce created the notification, whether WordPress handed it off, and whether the receiving mailbox accepted it. That sequence saves a lot of guesswork.
Why WooCommerce Emails Go Missing—and How to Find the Cause
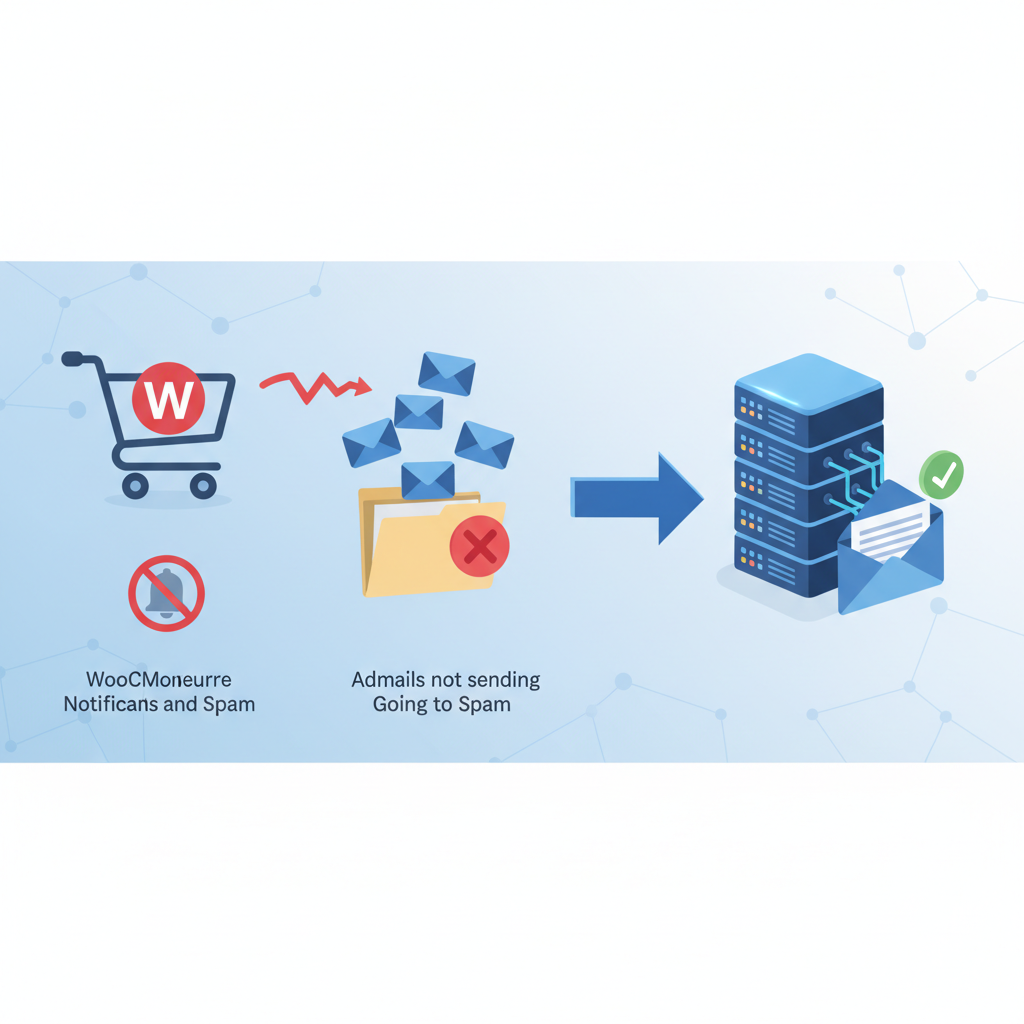
“WooCommerce isn’t sending emails” usually describes one of three situations. They look identical to the person waiting for a receipt, but they need different repairs.
The email was never triggered. WooCommerce generates notifications around particular events, including order-status changes. If a payment gateway never confirms payment, the order might stay pending and the expected processing email won’t be generated. Disabled notifications, custom code, and extensions can also interfere.
The sending attempt failed. WooCommerce requested an email, but WordPress couldn’t pass it successfully to the configured sending service. Incorrect SMTP credentials, blocked connections, or an unverified sender are common causes. This is where a properly configured mail connection helps.
The message was accepted, then filtered or rejected downstream. A successful send result doesn’t mean a receipt reached the inbox. The sending provider might later record a bounce, the recipient’s server might quarantine the message, or a mailbox filter might put it in junk.
Before changing anything, establish the scope:
- Are customer confirmations missing, admin alerts missing, or both?
- Have you checked spam, junk, quarantine, and inbox rules?
- Is the customer’s billing email correct, and is the configured admin recipient correct?
- Do other WordPress messages, such as a controlled password-reset email, arrive?
- Does the problem affect every order or only one payment method or recipient domain?
If password resets arrive but processing-order emails don’t, start with WooCommerce events and settings. If no WordPress messages arrive, investigate the shared mail transport first. These are clues, not verdicts: different messages can use different sender addresses or encounter different filtering.
Record one affected order number, its timestamps, status, and intended recipients. Keep those details nearby throughout testing so you’re tracing the same event rather than comparing unrelated emails.
Check WooCommerce Email Settings and Order Statuses First
Open WooCommerce → Settings → Emails. Find the notification that’s missing and open its management screen. Labels can vary with WooCommerce versions and extensions, but the checks remain straightforward.
Confirm that the notification is enabled. For admin notifications such as New order, check the recipient field; don’t assume it matches the current WordPress administrator email. Remove outdated addresses and check separators if you’re entering multiple recipients.
Customer notifications normally use the order’s billing email rather than a manually entered admin recipient. Open the affected order and inspect that address directly. A perfectly delivered receipt to a mistyped address is still a missing receipt from the customer’s perspective.
Next, review the email sender options. Use a recognizable From name and an address on a domain you control, such as orders at your restaurant’s domain. A personal mailbox address used through an unrelated sending service can create authentication and alignment problems.
Match the expected email to the actual order status
Open the order under WooCommerce → Orders and read its notes. Look for payment confirmations, gateway errors, and status changes. In a typical setup:
- Pending payment: payment hasn’t been confirmed. Don’t expect the usual paid-order confirmation simply because an order exists.
- On hold: payment may require confirmation, as with some offline methods. The customer on-hold notification can apply to relevant transitions.
- Processing: payment has generally been received and fulfillment is outstanding. The processing notification commonly serves as the customer’s paid-order confirmation.
- Completed: fulfillment is finished. The completed-order notification is separate from the initial confirmation.
Notifications depend on transitions, not just the status currently displayed. Some orders containing only products that are both virtual and downloadable can complete automatically, so not every order follows an identical path.
If your gateway shows a successful payment but WooCommerce remains pending, investigate its webhook or callback handling. SMTP won’t repair a missing payment update. And don’t mark a real order paid merely to trigger an email—verify payment first, then correct the underlying issue.
Use Email Logs to Identify Where Delivery Breaks
An email log turns “nothing arrived” into something you can investigate. Enable logging in your mail plugin if your installed edition includes it, or use a compatible logging tool that records WordPress mail attempts. Logging availability and detail vary; a connection error screen isn’t necessarily a searchable email history.
Useful fields include the timestamp, recipient, subject, sending result, and error details. A provider message ID is especially helpful when available because it connects a WordPress attempt to the provider’s delivery events.
Once logging is active, create a controlled test order using an address you own. Note its order number and move it through the payment workflow that previously failed. Then check whether the expected notification appears.
Read the result without jumping to conclusions
No matching log entry suggests the notification wasn’t generated—or that the logger doesn’t capture the sending path involved. Recheck enabled notifications, order transitions, custom email hooks, and any extension-specific queues. Order notes alone aren’t a complete mail audit.
A failed attempt points toward transport or configuration. An authentication error calls for credential checks. A connection timeout suggests network access, host restrictions, or an incorrect endpoint. A sender rejection often means the provider hasn’t authorized that address or domain.
A successful attempt means the configured mailer accepted the operation at that stage. WordPress’s wp_mail() success result does not establish inbox delivery. Continue into the provider’s records to look for acceptance, delivery, deferral, bounce, or suppression events.
If the installation uses background email processing or an extension queue, inspect that queue and its scheduler too. A waiting job can explain why the notification hasn’t reached the mailer yet.
Keep logging proportionate. Email bodies can contain names, addresses, order details, and private order links. Restrict access, disable body and attachment storage unless needed, and choose a short retention period appropriate to your investigation and privacy obligations. Debug logs shouldn’t become a permanent second customer database.
[IMAGE: Troubleshooting flowchart following a WooCommerce test order through its status change, WordPress email log, SMTP acceptance, provider delivery event, and recipient spam folder]
Set Up Reliable WordPress Email Delivery with SMTP or an API
WordPress’s default mail path often relies on the web server’s mail configuration. That can work, but it may provide limited visibility when something goes wrong. An authenticated transactional mail connection gives you clearer control over sender authorization and delivery diagnostics.
SMTP is the standard mail-submission route: WordPress connects to a mail server and authenticates before submitting messages. An API connection sends the same request through the provider’s web interface, usually over HTTPS. Neither automatically guarantees better inbox placement; domain authentication and sending reputation still matter.
For a concrete configuration example, WP Mail SMTP includes an Other SMTP connection option that can connect to Amazon SES using SES SMTP credentials. A dedicated SES API connector is a different integration, and availability or licensing can vary. Check current connector requirements and provider charges before choosing your connection.
1. Prepare the provider and sending domain
In your transactional provider account, add and verify the domain you’ll send from. With Amazon SES, identities and SMTP endpoints are region-specific, so keep the chosen region consistent throughout configuration.
Publish the provider’s required DNS records and wait for verification. Also check account restrictions: SES sandbox accounts generally require verified recipients as well as verified senders, and have restricted sending limits. Request production access before relying on it for ordinary customer notifications.
2. Configure one active mail connection
Back up the site before changing its mail setup. Install and activate the maintained mail plugin you’ve selected, and avoid running two plugins that both override the WordPress mail transport. They can produce confusing or conflicting results.
For the SMTP example, open the plugin’s settings and select Other SMTP. Copy the SMTP hostname from the provider’s selected region, then enter the supported encryption, port, username, and password.
Port 587 with STARTTLS is a common submission configuration. Follow the provider’s exact settings rather than combining a port from one guide with encryption settings from another. For SES, SMTP credentials are not the same thing as your ordinary account login or standard AWS access credentials.
3. Set the sender deliberately
Use a From address covered by your verified sending identity. If the plugin offers a Force From Email option, consider enabling it to prevent other components from substituting unauthorized addresses. Then check contact forms and other site emails for unintended changes.
Set Reply-To to a monitored mailbox when customers should respond elsewhere. The provider’s sending identity doesn’t necessarily include a working inbox, so make sure somebody actually receives replies.
4. Send a test and resolve connection errors
Send the plugin’s test message to a mailbox you control. If it times out, ask your host whether outbound SMTP connections are restricted. Use a provider-supported alternative port or API connector if necessary; don’t disable encryption as a workaround.
For authentication failures, check copied whitespace, credential type, region, and permissions. Store credentials using supported protected configuration methods, never in screenshots or public support posts. Rotate exposed secrets promptly. An API connection also needs carefully scoped credentials—not a broadly privileged account key.
Once the test succeeds, place an actual test order. The plugin test proves the transport can work; it doesn’t prove WooCommerce generated the right notifications.
Authenticate Your Domain and Troubleshoot Spam Placement
Authentication helps receiving systems establish who is sending a message and whether that sender is authorized. Three mechanisms matter here: SPF, DKIM, and DMARC. They solve related problems, but they aren’t interchangeable.
SPF authorizes sending systems for the envelope-sender domain, also called the MAIL FROM domain. DKIM adds a signature that receiving servers can validate against a public key published in DNS. DMARC checks whether a passing SPF or DKIM identity aligns with the domain in the visible From address.
The practical detail people miss: an SPF pass for the provider’s domain isn’t necessarily aligned with your restaurant’s From domain. Aligned DKIM can satisfy DMARC even when SPF alignment doesn’t, provided verification succeeds.
Work through the provider’s DNS instructions
- Publish the exact DKIM records shown for your verified identity. Providers may use CNAME or TXT records.
- If configuring a custom MAIL FROM domain, add the required SPF and any accompanying MX records at the specified hostname.
- Don’t publish multiple separate SPF records at the same hostname. Combine legitimate sending sources into one valid policy and respect SPF’s DNS-lookup limits.
- Publish a DMARC record at the appropriate _dmarc hostname. Review all legitimate senders before moving from monitoring to quarantine or rejection.
- Confirm verification in the provider dashboard, then inspect a received message’s authentication results for actual passes and alignment.
DNS changes aren’t always visible immediately because of caching and record TTLs. Also watch for DNS panels that append the domain automatically; entering the full hostname in the wrong field can create a record in the wrong place.
From and Reply-To serve different purposes. From identifies the apparent sender and is central to DMARC alignment. Reply-To tells the customer’s email application where to send a reply; changing it won’t fix a failing From-domain authentication check.
Once authentication passes, investigate provider events. A delivery event generally means the receiving mail server accepted the message—not that it landed in the primary inbox. A bounce can identify an invalid address or policy rejection, while a suppression entry can prevent repeated attempts to an address with a previous delivery problem.
Resolve the reason before removing suppressions, particularly spam complaints. Keep receipts recognizable, concise, and focused on the order. Authentication improves trust, but it cannot promise inbox placement or override recipient filtering.
[IMAGE: Annotated test receipt showing the restaurant From address, monitored Reply-To mailbox, passing SPF and DKIM results, DMARC alignment, and a matching provider delivery event]
Test Real Orders and Keep Restaurant Notifications Reliable
A mail-plugin test is only the first checkpoint. Run the complete checkout flow using controlled orders, a payment gateway’s supported test mode, and mailboxes you own at more than one mailbox provider. Never switch a live restaurant’s gateway into test mode during service.
For preparation, use WPSlash’s tutorial searches to locate relevant Stripe testing guides and WordPress staging tutorials. Keep staging emails restricted to test recipients, and check that its payment credentials, webhooks, and mail configuration are appropriate for testing rather than copied blindly from production.
Work through this end-to-end checklist:
- Place a test order and confirm that payment produces the expected order status.
- Verify the customer processing or on-hold notification, as appropriate to the payment method.
- Confirm the admin New order notification reaches every intended recipient.
- Move the test order to completed and check the enabled completed-order email.
- Test a refund notification where applicable. Distinguish recording a manual refund in WooCommerce from actually returning funds through the gateway.
- Match each expected email to its log entry, provider event, and received message.
For restaurants, email should be a receipt channel and a backup alert—not the only signal that someone needs to cook. A delayed message during the dinner rush can become a late delivery before anyone notices.
FoodMaster’s WooCommerce restaurant ordering system includes POS, kitchen display, QR table ordering, and automatic printing capabilities. Those operational tools can reduce reliance on inbox monitoring, but test their configuration and keep a fallback process for device or connectivity failures.
Before service, confirm the ordering workflow is healthy. During busy periods, assign someone to monitor failed messages and reconcile paid orders against the kitchen’s received tickets. Investigate repeated failures rather than blindly resending everything and creating duplicate alerts.
The fix is complete when a paid order reaches the right status, the kitchen sees it, and the customer receives the expected confirmation. Prove that chain once, document it, and repeat the test after meaningful payment, hosting, or mail configuration changes.
Commission-free ordering
Run restaurant orders on your own WordPress site
FoodMaster adds delivery, pickup, dine-in, POS, and kitchen tools — with zero per-order fees.