
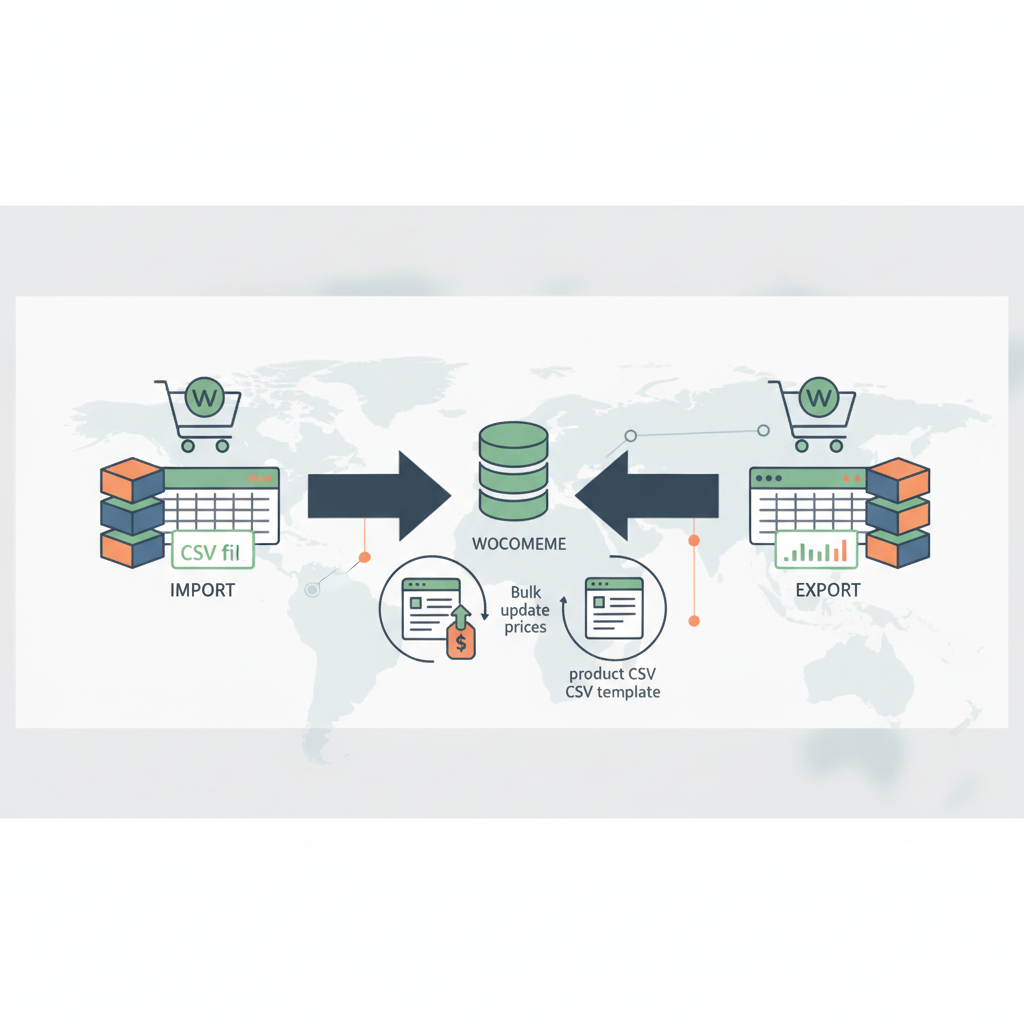
A spreadsheet can save you hours of rebuilding a WooCommerce catalog—or change every burger price to the wrong number before lunch. The difference usually comes down to preparation, identifiers, and one small test import.
WooCommerce includes product CSV import and export tools, so you don’t need another plugin just to upload a menu, move a straightforward catalog, or update prices. This guide follows a restaurant menu through those tasks, with the checks that prevent a convenient shortcut from becoming cleanup work.
What WooCommerce’s Built-In CSV Tools Can—and Can’t—Do
A CSV file is a plain-text spreadsheet: each row represents a product or variation, and columns hold values such as its name, SKU, price, and stock quantity. WooCommerce’s importer reads those columns and converts them into product records.
The built-in tools handle core product types, including simple and variable products. They can create products, update existing ones, and export product data for editing or transfer. WooCommerce’s product CSV documentation describes the supported schema and formatting rules.
Imagine a takeaway restaurant with 80 menu items already listed in a spreadsheet. Rather than creating every pizza, side, and drink by hand, the owner can reorganize that spreadsheet into WooCommerce’s format and import the basic catalog together.
That’s useful for restaurants building a menu with FoodMaster’s WooCommerce restaurant ordering system. FoodMaster provides delivery, pickup, and dine-in ordering, alongside POS, kitchen display, QR table ordering, and automatic printing. CSV importing helps populate the underlying WooCommerce products; it doesn’t automatically configure those ordering workflows.
A product CSV isn’t a complete store migration. Orders, customer accounts, payment settings, delivery zones, and theme configuration aren’t part of the standard product export. Extension-specific topping groups, preparation rules, or modifier relationships may need separate migration support.
Nor is an import ongoing inventory synchronization. Uploading a stock file sets values at that moment. It doesn’t maintain a live connection with your POS, supplier, or kitchen inventory system.
Prepare Your Product CSV Before Importing
Start with a destination-store export
The safest template comes from the WooCommerce store receiving the data. Create one representative product manually, then open Products → All Products → Export and download it. If your catalog includes variations, create a representative variable product too.
This gives you real column names and examples of how the destination store represents product data. It’s less error-prone than borrowing a spreadsheet with unexplained headings and hoping automatic mapping sorts everything out.
Keep that original export untouched. Make a working copy, then remove irrelevant columns so you can concentrate on the fields you actually intend to import.
A small restaurant-menu example
A basic CSV could use this header and product row:
Type,SKU,Name,Published,Visibility in catalog,Regular price,Categories,In stock?,Stock
simple,BRG-001,Classic Burger,1,visible,12.50,Burgers,1,40
Here’s what the important fields mean:
- Name and Type: “Classic Burger” is the product name; “simple” means it doesn’t have separately purchasable variations.
- SKU: “BRG-001” is a unique product identifier. Give each product and variation its own SKU.
- Regular price: “12.50” is a numeric price, without a currency symbol or thousands separator.
- Categories: “Burgers” assigns the menu category. Multiple categories use commas within a quoted CSV field; category hierarchies use the greater-than separator described in WooCommerce’s schema.
- Published and Visibility in catalog: These control publication and catalog visibility separately. A published product can still be hidden from catalog listings.
- In stock? and Stock: These represent availability and quantity. A numeric Stock value enables stock management for the product.
- Images: Add this column for direct image URLs. Multiple images belong in one comma-separated, quoted field, with the featured image first.
The burger’s quantity of 40 only makes sense if you actually track 40 sellable burgers. Ingredient-level inventory—buns shared across several products, for example—is a separate concern. Don’t invent quantities just to fill the column.
Protect the spreadsheet from spreadsheet software
Save the finished file as CSV UTF-8, not as an Excel workbook with a renamed extension. UTF-8 preserves names such as “Jalapeño Burger” and “Crème Brûlée.” Let your spreadsheet application handle CSV quoting, especially for descriptions containing commas or line breaks.
Set SKU columns to text before opening or pasting data. Otherwise, a spreadsheet may turn “000127” into “127” or display a long numeric identifier in scientific notation. Formatting the damaged cell afterward won’t restore lost digits.
For migration between stores, prefer unique SKUs over source-site product IDs. IDs belong to one WordPress database; the same number can identify something different on the destination. Remove source IDs from a new-store import rather than treating them as portable identifiers.
Finally, use publicly accessible image URLs that return actual image files—not sharing pages or links requiring login. Keep the source files accessible until importing and verification are complete.
[IMAGE: Annotated restaurant-menu spreadsheet showing text-formatted SKUs, decimal prices, category names, stock quantities, and an Images column with direct image links]
Import Products into WooCommerce Step by Step
1. Back up and choose a representative test batch
Take a current backup of the database and site files before importing into an established store. A staging copy is preferable for your first attempt, particularly when restaurant extensions or custom product fields are involved.
Choose five to ten representative rows rather than the first few rows at random. Include an accented name, an image, a longer description, and a stock-managed item. If importing variations, keep the relevant parent and variation rows together.
2. Upload the CSV
Open Products → All Products → Import. Select your CSV and review the available options before continuing.
For genuinely new products, leave the update-existing-products option unchecked. Use the delimiter expected by your file—normally a comma. If your spreadsheet exported semicolon-separated data, select the matching delimiter in the importer’s advanced options.
A file opening neatly in a spreadsheet doesn’t prove the importer will parse it correctly. The mapping screen is where you confirm that WooCommerce sees distinct columns.
3. Review every column mapping
WooCommerce automatically recognizes many standard headings, but inspect each match. “Menu section” might need mapping to Categories, while “Item code” might mean SKU. Anything irrelevant should be set to “Do not import.”
Pay particular attention to Regular price versus Sale price, and stock quantity versus stock status. A column full of “1” values could mean “available,” not “one remaining.” Those mistakes can produce a technically successful but operationally wrong import.
Don’t map unfamiliar extension columns to vaguely similar core fields. An extra-cheese modifier price isn’t the burger’s regular price. Leave unsupported data out until you’ve confirmed its migration method.
4. Run the import and read the results
Start the importer and leave the tab open while it processes. When it finishes, review the totals for imported, updated, skipped, and failed records, along with any available error details.
Investigate unexpected skips as well as outright failures. A duplicate SKU, incorrect product type, or unrecognized identifier can explain why a menu item never appeared. Save a copy of the test file and note any changes needed before proceeding.
5. Verify the actual storefront
Check the imported products in both the editor and the customer-facing shop. Confirm publication status, catalog visibility, categories, featured images, galleries, prices, tax treatment, stock quantities, and availability. Open the menu on a phone, too.
Add representative products to the cart. A price that looks right in the product editor can display differently when the destination store’s tax configuration differs from the source. Check modifier and variation selection where relevant.
For size or crust options represented by variations, refer to WPSlash’s variable-product tutorial search for setup guidance rather than treating every option as an unrelated simple product.
Once the test passes, import the remaining rows. Exclude successfully created test products from a new-product batch, or handle them deliberately through an update import.
Update Existing Prices and Stock Without Creating Duplicates
For bulk changes, enable Update existing products on the upload screen. WooCommerce uses the ID and SKU information supplied in the CSV to match existing records. In update mode, products that don’t exist are skipped rather than created.
An ID is useful when editing an export from the same store. A SKU is more portable and easier to reconcile with another business system. If you include both, verify that they identify the same product; don’t combine a destination SKU with an ID copied from another website.
Use the smallest practical update file
Suppose three dishes need new prices. Your file can contain just these columns and rows:
SKU,Regular price
BRG-001,13.50
PIZ-002,15.00
SIDE-003,4.75
That’s enough to identify the products and change their regular prices. You don’t need to resend names, descriptions, images, or categories. Review the mapping, enable updates, and test one row before processing the rest.
There’s a big difference between excluding a column and including a blank value. An omitted or unmapped field isn’t part of the requested update; a mapped empty field may clear or otherwise affect existing data, depending on the field. Remove columns you don’t intend to touch.
Also check active sale prices. Raising a regular price doesn’t necessarily change what a customer pays if the product still has an applicable sale price.
Treat stock imports as snapshots
A quantity update can use SKU and Stock columns. Add In stock? only when you also intend to control stock status, and check that backorder settings remain appropriate.
The tricky part is timing. If you export a quantity of 25, sell three units, and then reimport the old quantity of 25, you can undo those stock reductions. A CSV stock import sets an absolute quantity; it isn’t an instruction to add or subtract units.
For a restaurant taking live orders, coordinate stock uploads with the ordering operation and use a fresh, authoritative count. Frequent reconciliation across multiple sales channels calls for an integration rather than repeated manual snapshots.
Back up first, keep the original values, and verify the changed items immediately afterward. Also remember: omitting a product from the file does not delete it. Removing discontinued dishes requires a separate, deliberate action, such as changing publication or visibility settings.
Export Products and Move a Catalog to Another Store
Open Products → All Products → Export. The exporter lets you choose columns, product types, and categories, or leave those selections broad enough to export the whole catalog.
For a price-editing exercise, choose only the identifiers and relevant price columns. For migration, include the product fields the destination needs, along with all required parent and variation records. Filtering too aggressively can leave relationships incomplete.
The export screen also includes an option to export custom metadata. This can expose additional product data, but it isn’t a promise that every extension’s configuration will transfer successfully.
A safe store-to-store sequence
- Prepare the destination’s WooCommerce settings, including currency, taxes, units, and permalink structure.
- Install and configure extensions needed to interpret the incoming product data.
- Export the source catalog, retain an untouched copy, and prepare a working import without source-site IDs.
- Check unique SKUs and adjust relationship references where needed, especially for variations, grouped products, and linked products.
- Import a representative batch, verify it, then process the remaining catalog.
- Test ordering before retiring the source website.
A product export contains image references, not an archive of the image files. The destination importer can download supported images from accessible URLs, but those downloads still need checking. Don’t switch off the old domain while it’s supplying the product photos.
Custom metadata deserves the same caution. Some extensions use structured values, separate database tables, or references to other records. Exporting a meta value doesn’t necessarily recreate everything it depends on.
With a restaurant catalog, inspect toppings, paid extras, delivery restrictions, and dine-in behavior separately. If you’re using FoodMaster for restaurant ordering, verify its configuration and ordering workflows independently of the core product import.
Keep a full backup alongside the CSV. The spreadsheet is a portable catalog document—not a recovery package for your WordPress installation, uploaded files, accounts, or order history.
[IMAGE: Catalog migration workflow showing source-store export, SKU and relationship checks, destination test import, image verification, and a final restaurant checkout test]
Fix Common WooCommerce CSV Import Errors
When an import fails, resist the urge to upload the same file repeatedly. Read the reported error, inspect an affected row, and change one thing at a time. Check whether some records already succeeded before retrying.
- Columns map incorrectly or appear as one field: Check the delimiter and header row. Re-export a small destination sample and compare its structure. Map unfamiliar headings manually instead of accepting guesses.
- Duplicate SKU errors: Search both the CSV and existing products, including variations, for repeated SKUs. If you intended to update an existing item, enable update mode; if the items are different, assign genuinely unique identifiers.
- Images fail to import: Open each source link without being logged in. Confirm it returns an image file and isn’t expired or protected. Browser access alone isn’t conclusive: the source server may still block requests from your hosting server.
- Prices are missing or wrong: Remove currency symbols and thousands separators, and use decimal-point values such as “12.50.” Export calculated spreadsheet results as values and check Regular price and Sale price mapping.
- Accented names look corrupted: Save as UTF-8 and inspect the source text. If the spreadsheet already contains damaged characters, changing encoding won’t reconstruct the original names.
- Descriptions shift into other columns: Check CSV quoting around commas, quotation marks, and line breaks. Use a spreadsheet’s CSV export rather than manually assembling complicated rows.
- Imports stall or time out: Try a smaller, representative batch and inspect WooCommerce logs and hosting error logs. Image downloads, request limits, memory constraints, and extension processing can all contribute. Keep related variation records together when splitting files.
Smaller batches make troubleshooting easier, but they won’t fix malformed data. If one row fails repeatedly, isolate it. If failures occur unpredictably across otherwise valid rows, investigate server resources and connectivity with your host.
When the built-in tools are enough
Stick with the built-in importer for one-off catalog uploads, straightforward migrations, and occasional controlled price or stock updates. It’s a sensible starting point when your data fits WooCommerce’s schema and someone can review each run.
Consider a dedicated import plugin or purpose-built integration when you need scheduled supplier feeds, complex field transformations, extension-specific relationships, detailed recurring-job logs, or automatic inventory reconciliation. Confirm support for your exact data structure before committing.
For live stock synchronization, also check conflict handling and failure recovery—not just whether a tool can schedule a CSV upload. Start with one representative file, prove that it works, and keep the original export. That’s far easier than repairing a whole menu during the dinner rush.
Commission-free ordering
Run restaurant orders on your own WordPress site
FoodMaster adds delivery, pickup, dine-in, POS, and kitchen tools — with zero per-order fees.