A delivery fee looks simple until a customer three streets away gets charged twice as much as expected—or someone outside your delivery area manages to place an order. In WooCommerce, those problems often start with shipping zones, not the checkout page.
For restaurants, “shipping” can mean your driver taking dinner across town. You don’t need parcel tracking to use WooCommerce’s built-in delivery rules. You do need a clear service area, predictable fees, and a checkout that refuses unsupported addresses.
This guide uses a running example: $3 delivery nearby, $6 delivery farther out, and no delivery beyond those areas. We’ll also add free delivery and pickup without making customers guess which option to choose.
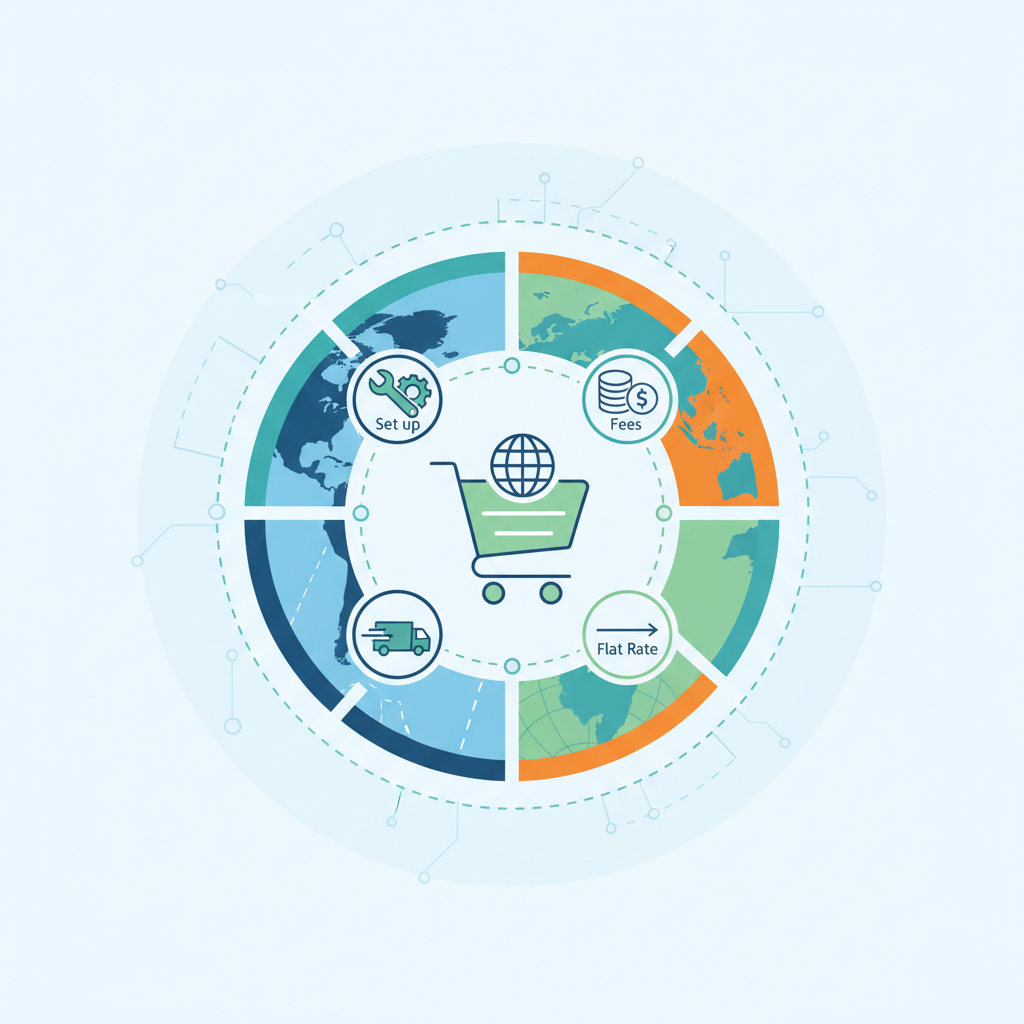
How WooCommerce Shipping Zones Work
WooCommerce separates shipping into three pieces: zones, methods, and classes. Understanding that distinction saves a surprising amount of troubleshooting.
A shipping zone is a geographic area you serve. It can cover countries, states or other supported regions, or a more specific set of postcodes. WooCommerce matches the customer’s shipping address to one zone, then offers the enabled methods inside it.
A shipping method is the option available within that zone. Core WooCommerce includes Flat rate, Free shipping, and zone-based Local pickup. Rename a flat rate “Local delivery,” and it becomes a perfectly reasonable restaurant delivery option.
A shipping class groups products with different fulfillment costs. You might assign bulky catering equipment to a separate class, for example. Classes don’t define delivery areas, and they aren’t a substitute for zones.
Our example delivery map
Suppose a restaurant has approved these illustrative US ZIP codes after checking its actual delivery routes:
- Nearby: 10001 and 10002, with a $3 delivery fee.
- Outer area: 10003 and 10004, with a $6 delivery fee.
- Unsupported: every other postcode, including 10005.
These boundaries are examples, not a recommendation for a real delivery territory. Check roads, bridges, traffic, and staffing before copying any postcode list into a live store.
Here’s the crucial limitation: core shipping zones don’t measure driving distance or draw map-based delivery radiuses. A postcode rule checks the address against a geographic rule; it doesn’t calculate whether the driver can arrive in twelve minutes.
That makes zones a good fit for fixed delivery districts. They’re less suitable when your promise is “delivery within five road miles,” particularly where a river or motorway turns a short straight-line distance into a long journey.
Create Your Shipping Zones Step by Step
1. Check where the store is allowed to ship
Open WooCommerce → Settings → General. Review your selling locations and shipping locations before creating individual zones. If your shipping destination settings exclude a country, a zone won’t override that restriction.
Confirm your store address and currency too. Our fees use dollars; enter amounts in your store’s configured currency, without a currency symbol in the cost field.
2. Add the nearby zone
Go to WooCommerce → Settings → Shipping → Shipping zones, then select Add zone. Give it an internal name such as “Nearby delivery — $3.” Customers see the shipping method’s title, not this administrative label.
Select the relevant country and state where appropriate. Use “Limit to specific ZIP/postcodes” to narrow the zone, then enter 10001 and 10002 on separate lines. Save your changes.
Don’t leave a whole state selected without the postcode restriction unless you genuinely serve that entire state. That small omission can turn a neighborhood restaurant into a very unwilling statewide delivery operation.
3. Add the outer zone
Create another zone named “Outer delivery — $6.” Select the appropriate region and enter 10003 and 10004 on separate lines.
Explicit postcode lists are easiest to audit. WooCommerce also supports postcode wildcards and numeric ranges: 1000 is a prefix wildcard, while 10001…10004 illustrates a numeric range. Neither notation understands your delivery routes.
Use those shortcuts carefully. A broad prefix can include addresses you never intended to serve, and a numeric range isn’t a geographic boundary. Alphanumeric postcodes, spaces, and extended ZIP formats deserve country-specific testing rather than assumptions about matching behavior.
4. Put specific zones first
WooCommerce checks zones from top to bottom and uses the first match. It doesn’t combine methods from every matching zone or automatically choose the cheapest fee.
Place narrow zones above broader ones. If your outer zone instead covered 10001…10004, the nearby zone would need to appear first so 10001 and 10002 receive the nearby methods.
A matching zone with no enabled methods also won’t fall through to another zone. First match means first match—even when that leaves the customer without delivery.
5. Leave unsupported locations without delivery
The built-in “Locations not covered by your other zones” area catches unmatched destinations. Leave it without delivery methods when you don’t serve those addresses, and remove any broader catch-all zone that accidentally offers delivery.
This blocks delivery for shipping-required baskets outside your territory. Pickup is a separate decision: you may still want customers outside the delivery area to collect their orders.
[IMAGE: WooCommerce shipping zone list showing Nearby delivery above Outer delivery, with example postcode restrictions and no delivery methods under Locations not covered by your other zones]
Add Flat Rates and Set Local Delivery Fees
Set the $3 and $6 delivery charges
Open your nearby zone and choose Add shipping method. Select Flat rate, then edit that method. Set its customer-facing name to “Local delivery” and enter 3 in the Cost field.
Save it, then repeat the process in the outer zone with a cost of 6. Enable both methods. The zone names help your staff distinguish the rules; the checkout displays the method title alongside its calculated price.
I prefer a short title such as “Local delivery” over “Nearby zone flat-rate shipping.” Customers need to understand what they’re buying, not how you organized the settings.
A simple numeric cost is a flat charge for that shipping package, not a fee for each product. In a typical single-package restaurant basket, two burgers and four burgers both receive the same $3 nearby fee.
WooCommerce can also evaluate cost formulas. For example, 3 [qty] multiplies the charge by item quantity. That isn’t what most restaurants mean by a delivery fee, so don’t use it unless you deliberately want quantity-based pricing.
Extensions can split a cart into multiple shipping packages, which may produce multiple shipping charges. If your total looks doubled, check the package structure before changing the rate.
Use shipping classes only when products justify them
For an ordinary takeaway menu, start without shipping classes. Adding a class to every dish usually creates administration, not value.
Classes become useful when certain products genuinely cost more to fulfill. Consider a catering order that includes a bulky beverage dispenser. Create a “Bulky catering” class under WooCommerce’s Shipping classes settings, then assign it in the product’s shipping settings.
In the flat-rate method, you can configure an additional cost for that class. A $3 base cost plus a $4 bulky-class cost would produce $7 before applicable shipping tax, assuming that class is present and no other charges apply.
Review the calculation type carefully. “Per class” adds the applicable class costs, whereas “Per order” uses the most expensive applicable class cost. The base Cost remains separate. Configure each zone’s flat-rate instance as needed; editing the nearby method doesn’t update the outer one.
Keep delivery, food prices, and tips separate
Delivery fees should describe the cost of delivery. Product prices cover the meal, while a voluntary tip serves a different purpose. Combining these into a vaguely named “service” charge makes receipts harder to understand.
If you accept gratuities, add a tipping option to WooCommerce checkout with Tipping – Add Order Tip for WooCommerce rather than treating tips as shipping costs. It supports custom or preset tip amounts; confirm compatibility with your checkout setup before launch.
Finally, review the flat rate’s Tax status alongside WooCommerce’s tax configuration. Delivery-fee tax treatment varies by jurisdiction and order circumstances. Have your accountant confirm the rules, then test the customer-facing totals rather than assuming $3 entered always means exactly $3 displayed.
Offer Free Delivery and Customer Pickup Without Confusing Buyers
Add a minimum-order free-delivery rule
Inside the nearby zone, add Free shipping as another method. Rename it “Free local delivery,” choose the minimum-order requirement, and enter an example threshold of $30.
That method belongs to this zone only. If outer-area customers should receive free delivery at $45, add and configure a separate free method in the outer zone. Don’t assume your nearby promotion applies everywhere.
Pay attention to the setting for applying the minimum-order rule before coupon discounts. Consider a $32 eligible basket with a $5 product discount: it qualifies against $30 before that discount, but not after the discount reduces the eligible amount to $27.
Tax display settings can also affect the subtotal used for the comparison. Test your actual configuration and describe the offer precisely—“Free delivery on qualifying food orders of $30 after discounts” is clearer than “Free delivery over $30.” Don’t assume delivery charges or tips help customers reach the threshold.
If you’re pairing the offer with a coupon, find the existing walkthrough through WPSlash’s WooCommerce coupon tutorials. Keep coupon creation separate from the zone configuration so each rule is easier to troubleshoot.
Decide whether paid delivery should remain visible
An eligible free method can appear alongside a paid flat rate. WooCommerce installations that expose “Hide shipping rates when free shipping is available” under Shipping settings can use that option to simplify the selection.
Check your installed version and test the result, including pickup visibility. If that setting isn’t available, conditional hiding requires compatible customization or an extension; adding another zone won’t solve it.
Choose the right pickup setup
Zone-based Local pickup is added like other zone methods. Its availability follows the customer’s matched zone, so adding it only to “Nearby” won’t make it available to everyone.
The Checkout block also supports a separate Local Pickup experience configured outside individual shipping zones. It can offer pickup locations without using the delivery-address zone as the eligibility rule.
Check whether your Checkout page uses the block or the classic shortcode, then choose the appropriate approach. Avoid enabling overlapping pickup implementations blindly—you can end up with duplicate choices and inconsistent address requirements.
[IMAGE: Restaurant checkout comparison showing paid local delivery below a minimum-order threshold, free delivery above it, and a clearly separate customer pickup selection]
Test Your Setup and Fix Missing or Incorrect Shipping Options
Saving settings isn’t a delivery test. Use complete, valid addresses, a shipping-required menu product, and the checkout customers actually use. Enter the country, state, and postcode rather than judging rates from an incomplete cart estimate.
Run this matrix on staging or with a safe test-payment workflow. The expected fees below assume no class surcharges or additional shipping tax.
- Nearby address, $20 basket: postcode 10001 should offer $3 local delivery, without minimum-order free delivery.
- Outer address, $20 basket: postcode 10003 should offer $6 local delivery.
- Unsupported address: postcode 10005 should have no delivery method. Pickup may remain available if configured independently.
- Overlapping zones: temporarily include a nearby postcode in the outer zone and confirm the higher-priority nearby zone wins.
- Threshold boundary: test eligible subtotals of $29.99, $30, and $30.01 against the nearby free-delivery rule.
- Discounted basket: test $32 less a $5 product coupon and confirm eligibility follows your before/after-discount setting.
- Product types: compare a physical-only cart, a virtual-only cart, and a mixed cart.
- Pickup: test both nearby and unsupported delivery addresses with your chosen pickup implementation.
“No shipping options available”
First, check the customer’s full shipping address and the store’s allowed shipping destinations. A correct postcode paired with the wrong country or state may not match the intended zone.
Next, inspect the first matching zone. Does it contain an enabled method? A broad empty zone above your nearby zone can intercept the address and leave checkout with nothing to offer.
Temporarily enabling shipping debug mode, where available under Shipping settings, can help identify the matched zone and bypass cached rate results during diagnosis. Turn it off after testing.
The delivery fee is wrong
Start with zone order, then inspect the matched flat rate’s base cost, formulas, shipping-class costs, and tax status. Check whether another plugin has split the basket into separate shipping packages.
If the customer qualifies for free delivery but still sees a charge, inspect the selected method. Free delivery may be available without being the option currently selected. Also verify coupon effects and the exact eligible subtotal.
Retest in a fresh customer session after changes. Make sure cart and checkout aren’t being served through inappropriate full-page caching; stale sessions and cached checkout pages can disguise an otherwise correct configuration.
Pickup or all shipping choices are missing
Missing pickup often comes down to the checkout type or zone scope. Confirm that you configured the pickup implementation supported by the current Checkout page, and that a zone-based method exists in the customer’s matching zone.
A virtual-only basket doesn’t require shipping, so normal shipping choices disappear. Restaurant dishes intended for delivery should generally remain shipping-required products; marking them Virtual just to remove shipping fields prevents the delivery-rate workflow you’re trying to build.
When a Restaurant Needs More Than Shipping Zones
Core zones answer a narrow question: which shipping methods apply to this address? They don’t manage the entire delivery operation.
Distance-based pricing needs a compatible extension that calculates distance. Before choosing one, establish whether it uses straight-line distance or road routes, what address lookup it requires, and what happens when that lookup fails.
Delivery slots, preparation buffers, and kitchen capacity limits need their own scheduling or ordering logic. A postcode zone can’t stop twelve customers from choosing the same collection time.
Minimum-order values also deserve a distinction: a free-shipping threshold controls eligibility for a free rate. It doesn’t prevent someone from ordering an $8 meal with paid delivery. Blocking delivery below a minimum basket value requires an additional compatible rule.
For a restaurant-centered setup, FoodMaster’s WooCommerce restaurant ordering system is a natural starting point. It supports delivery, pickup, and dine-in ordering, alongside POS, kitchen display, QR table ordering, and automatic printing, with zero commissions.
Still, don’t assume that means every distance, scheduling, or capacity rule is included. Confirm the current feature set and compatibility with your WooCommerce version, checkout type, payment methods, and any delivery extension. Ask specifically whether fees come from WooCommerce flat rates or a separate calculation, so you don’t charge twice.
Before you launch
- Approve the postcode boundaries and put specific zones first.
- Verify $3 nearby delivery, $6 outer delivery, and blocked unsupported delivery.
- Test free-delivery thresholds, coupons, tax, and pickup.
- Place mobile test orders and confirm the fulfillment choice reaches staff.
- Publish delivery areas, charges, minimums, and pickup instructions clearly.
Start with rules your team can explain in one sentence. When checkout charges match your published policy—and the kitchen receives the right fulfillment details—you’ve built a delivery setup that’s ready to work, not just look finished.
Commission-free ordering
Run restaurant orders on your own WordPress site
FoodMaster adds delivery, pickup, dine-in, POS, and kitchen tools — with zero per-order fees.